Wondering how to sew kids clothes without wasting fabric on things they outgrow in a season? Measure the child, pick washable fabric, start with simple shapes, and follow a few safety rules.
| Item | Value |
|---|---|
| Neck and hood drawstrings (upper outerwear) | Treated as a hazard in sizes 2T to 12 |
| Waist and bottom drawstrings (upper outerwear) | Covered in sizes 2T to 16 |
| Age range likely to wear sizes 2T to 12 | 18 months to 10 years |
| Sleepwear flammability rules cover | Sizes above 9 months and up to size 14 |
| Infant sleepwear exemption, one-piece length limit | Not longer than 25 ¾ inches (65 cm) |
These figures come from the U.S. Consumer Product Safety Commission’s drawstring final rule and its sleepwear fact sheet. Rules can change, so check the source before you rely on them.
How to sew kids clothes: what makes them different
Kids grow fast, wriggle constantly and wash their clothes far more often than adults do. A good children’s garment is therefore comfortable, durable and easy to put on, with fewer fiddly details than adult clothing. That is good news for you, because small garments use little fabric, sew up quickly and forgive many small mistakes.
Small pieces also make kids’ clothes a gentle way to practise. A bib, a skirt or a pair of pull-on pants teaches the same skills as an adult garment: cutting accurately, stitching straight seams, finishing edges and adding a closure. If you are brand new to the machine, the basics in sewing for beginners will help before you cut into your first piece of fabric.
This guide walks through the whole process in order:
- Taking measurements and choosing a size.
- Choosing fabric, thread and notions that survive the wash.
- Following the safety rules that apply to children’s garments.
- Picking projects in a sensible order of difficulty.
- Using techniques that suit small, stretchy and curved pieces.
Each project has its own step-by-step page, linked below where it fits.
Measure the child, not the age label
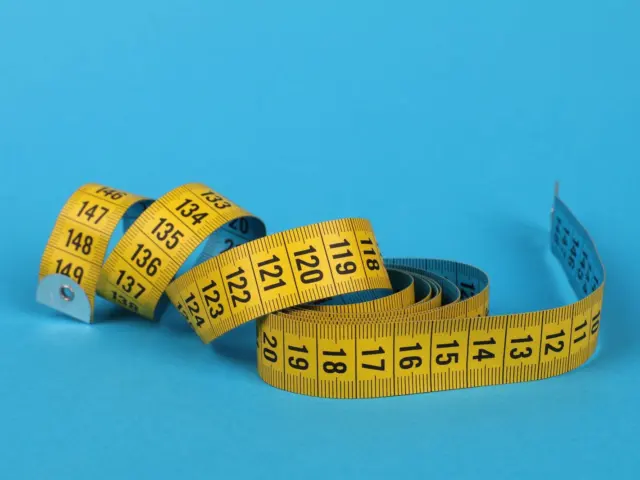
Size labels on patterns and ready-to-wear clothes are only a starting point. Two children of the same age can differ by several sizes in height, chest or waist. Take fresh measurements of the child before every project, and compare them to the pattern’s measurement chart rather than its age range.
You will usually need the following measurements:
- Height, taken standing against a wall without shoes.
- Chest, measured around the fullest part.
- Waist, measured at the natural narrowest point or where the pants will sit.
- Hip, around the fullest part of the seat.
- Inseam, for pants and shorts, from crotch to ankle.
- Arm length and head circumference, for sleeves, hoods and anything that must pull over the head.
Write the measurements down with the date. A short log is useful when you sew a gift or make a second garment months later. The guide to kids sewing pattern sizing explains how brands label sizes and how to choose between them.
Then decide how much room the child needs. Choose the size that fits the largest measurement, and adjust length separately. Add a little growing room in sleeves and hems, but not so much that a garment becomes a safety or comfort problem. A very long sleeve gets in the way of play, and a trailing hem causes trips.
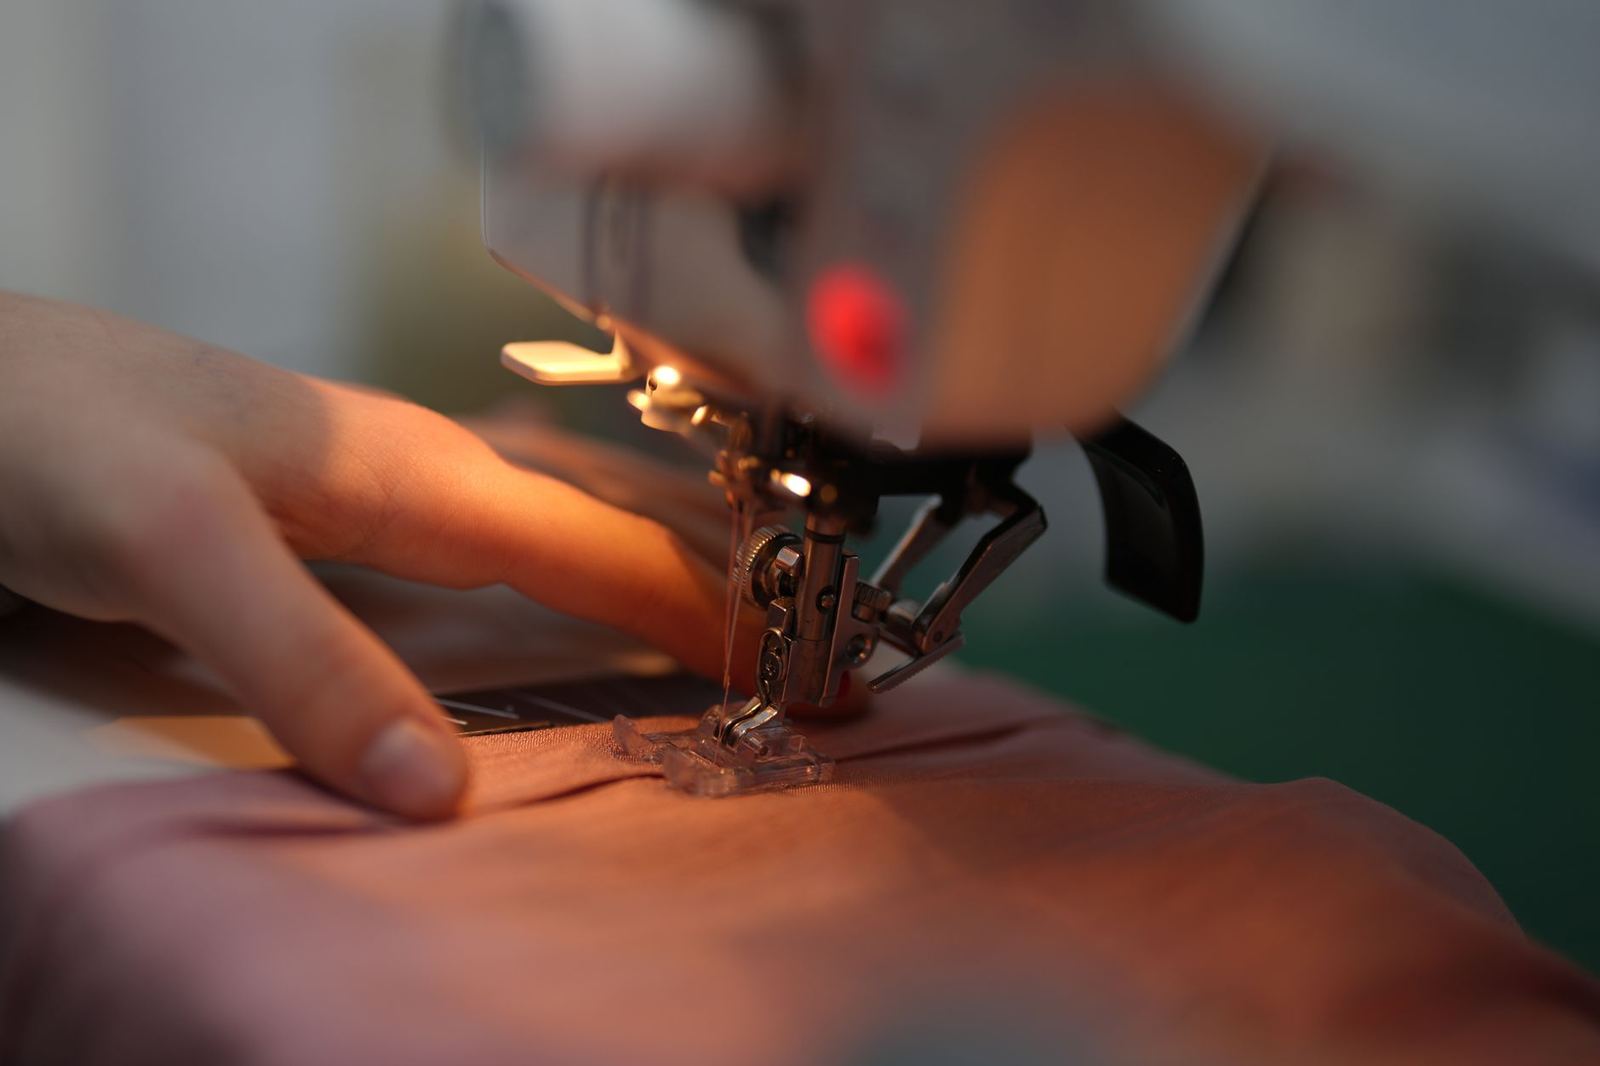
Build in room to grow
The easiest way to extend a garment’s life is to use adjustable features rather than oversizing everything. Good options include:
- A deep hem that can be let down as the child grows.
- Cuffs that fold back and unfold later.
- Elastic waistbands that stretch with the child.
- Adjustable button-in elastic inside a waistband.
- Overall straps or shoulder ties that can be moved or lengthened.
Choosing fabric, thread and notions
Fabric choice makes or breaks a children’s garment. Look for fibres that are soft against the skin, handle repeated hot washes and do not fray into a mess. A full breakdown lives in the guide to the best fabric for kids clothes, but the main points are below.
- Cotton jersey and interlock suit T-shirts, leggings, pajamas and rompers. Stretch needs a ballpoint needle and a stretch stitch.
- Quilting cotton suits dresses, skirts, bibs and simple tops, though it can feel stiff until it has been washed a few times.
- Cotton lawn or voile suits summer dresses and blouses. It is thin and slippery, so use fine needles and press carefully.
- Flannel suits receiving blankets; for children’s pajamas, use fabric and a garment design that meet the applicable CPSC sleepwear requirements. It sheds lint, so wash it before cutting.
- Corduroy and twill suit pants, overalls and jackets. They are heavier and want a denim needle and good pressing.
- French terry and fleece suit sweatshirts, joggers and hoodies. Seams get bulky, so use a longer stitch and a stretch needle.
Pre-wash every fabric the way you will wash the finished garment. Cotton shrinks, and a child’s outfit that shrinks after the first wash is wasted effort. Wash and dry the fabric on the same settings, then press it flat before you cut.
Beyond fabric, a few supplies are worth having on hand:
- All-purpose polyester thread, which is strong and holds up in the wash.
- Ballpoint or stretch needles for knit fabrics, and universal needles for wovens.
- Soft elastic, such as knit or non-roll elastic, for waistbands and cuffs.
- Snaps, plastic or metal, for baby clothes and easy changes.
- Fusible interfacing and lightweight fusible tape for stabilising necklines and hems.
- Soft labels positioned where they will not rub the skin.
Pick fasteners the child can handle. Snaps and Velcro suit toddlers, while buttons and zips suit older children who like to dress themselves. Skip small, loose decorations on anything for a baby, since buttons and appliqués can come off and be swallowed.
Safety rules to know before you sew
Children’s clothing is a regulated product category in the United States, and the main safety ideas are worth following even for a garment you make only for your own family. This is general educational information, not legal advice, and you should read the official texts for any garment you plan to sell.
Drawstrings
Drawstrings can pose serious entanglement and strangulation hazards. In its July 2011 final rule, the CPSC determined that children’s upper outerwear in sizes 2T to 12 with neck or hood drawstrings, and sizes 2T to 16 with certain waist or bottom drawstrings, present substantial product hazards. The agency estimated that the children likely to wear sizes 2T to 12 are between 18 months and 10 years old, as stated in the final rule.
The rule’s background notes that the earlier voluntary standard, ASTM F 1816-97, prohibited drawstrings around the hood and neck area of children’s upper outerwear. For waist and bottom drawstrings, it prohibited toggles, knots and other attachments at the free ends. The practical lesson is simple: leave drawstrings out of hoods and necklines, and use a snap, button, hook-and-loop closure or elastic instead.
That guidance is about upper outerwear. Pull-on pants with an elastic waist avoid the issue completely, which makes them a good first trousers project.
Sleepwear
Sleepwear has its own flammability rules. According to the CPSC’s sleepwear fact sheet, the rules cover all children’s sleepwear above size 9 months and up to size 14, and the garments must either pass flammability tests or be “tight-fitting” as defined by specified dimensions. The regulations sit in Title 16 of the Code of Federal Regulations, part 1615 for sizes up to 6X and part 1616 for sizes 7 through 14.
The same fact sheet says tight-fitting garments must stay within maximum dimensions at the chest, waist, seat, upper arm, thigh, wrist and ankle. Trim such as lace or ribbon may not extend more than ¼ inch (6.35 mm) from where it is attached. It also lists a limited exemption for infant garments sized 9 months or smaller, including a length limit of 25 ¾ inches for a one-piece garment and a label stating the age in months.
If you plan to make pajamas, use a snug-fitting pattern and read the fact sheet in full. A loose nightgown made of ordinary cotton is not the same product as a close-fitting pajama set.
Everyday habits that reduce risk
- Check that buttons, snaps and appliqués are sewn on firmly, and re-check after washing.
- Use short, flat elastic casings rather than long cords.
- Trim loose threads inside mittens, socks and baby clothes, where fingers and toes can get caught.
- Avoid ribbons, long ties and cords near the neck of baby and toddler garments.
- Test closures by tugging firmly before the garment is worn.
Projects to sew, from easiest to most involved
The best order is the one that teaches a new skill each time while keeping the garment simple. These projects follow that path, and each links to a full tutorial.
- Bibs use almost no fabric and teach layering, turning and topstitching. A good first project is the one in how to sew a baby bib for beginners.
- Simple skirts are a straight rectangle and a casing for elastic. A simple second project is in how to sew a kids skirt for beginners.
- Elastic-waist pants add curved seams and a waistband. The tutorial on how to make elastic waist pants for kids covers it step by step.
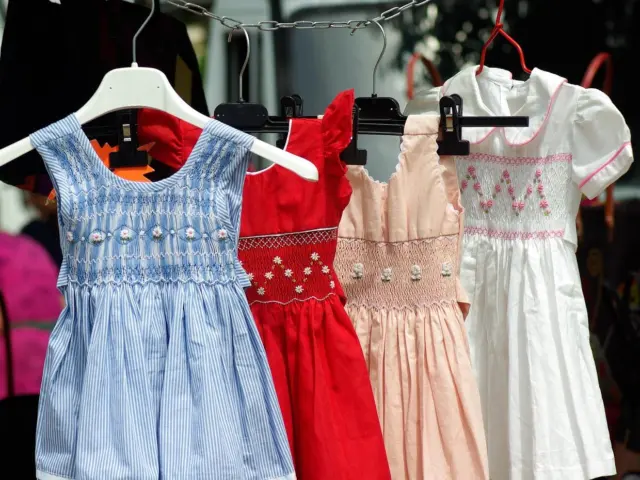
- Toddler dresses bring in bodices, gathers and armholes, and the walk-through on how to sew a toddler dress shows the sequence.
- Knit T-shirts teach stretch fabric and neckbands. Follow how to sew a child’s t-shirt when you are ready.
- Baby rompers combine snaps, legs and tiny curves, as shown in how to sew a baby romper.
If you would like more quick wins before you tackle clothing, browse the easy diy sewing projects for ideas that build the same skills.
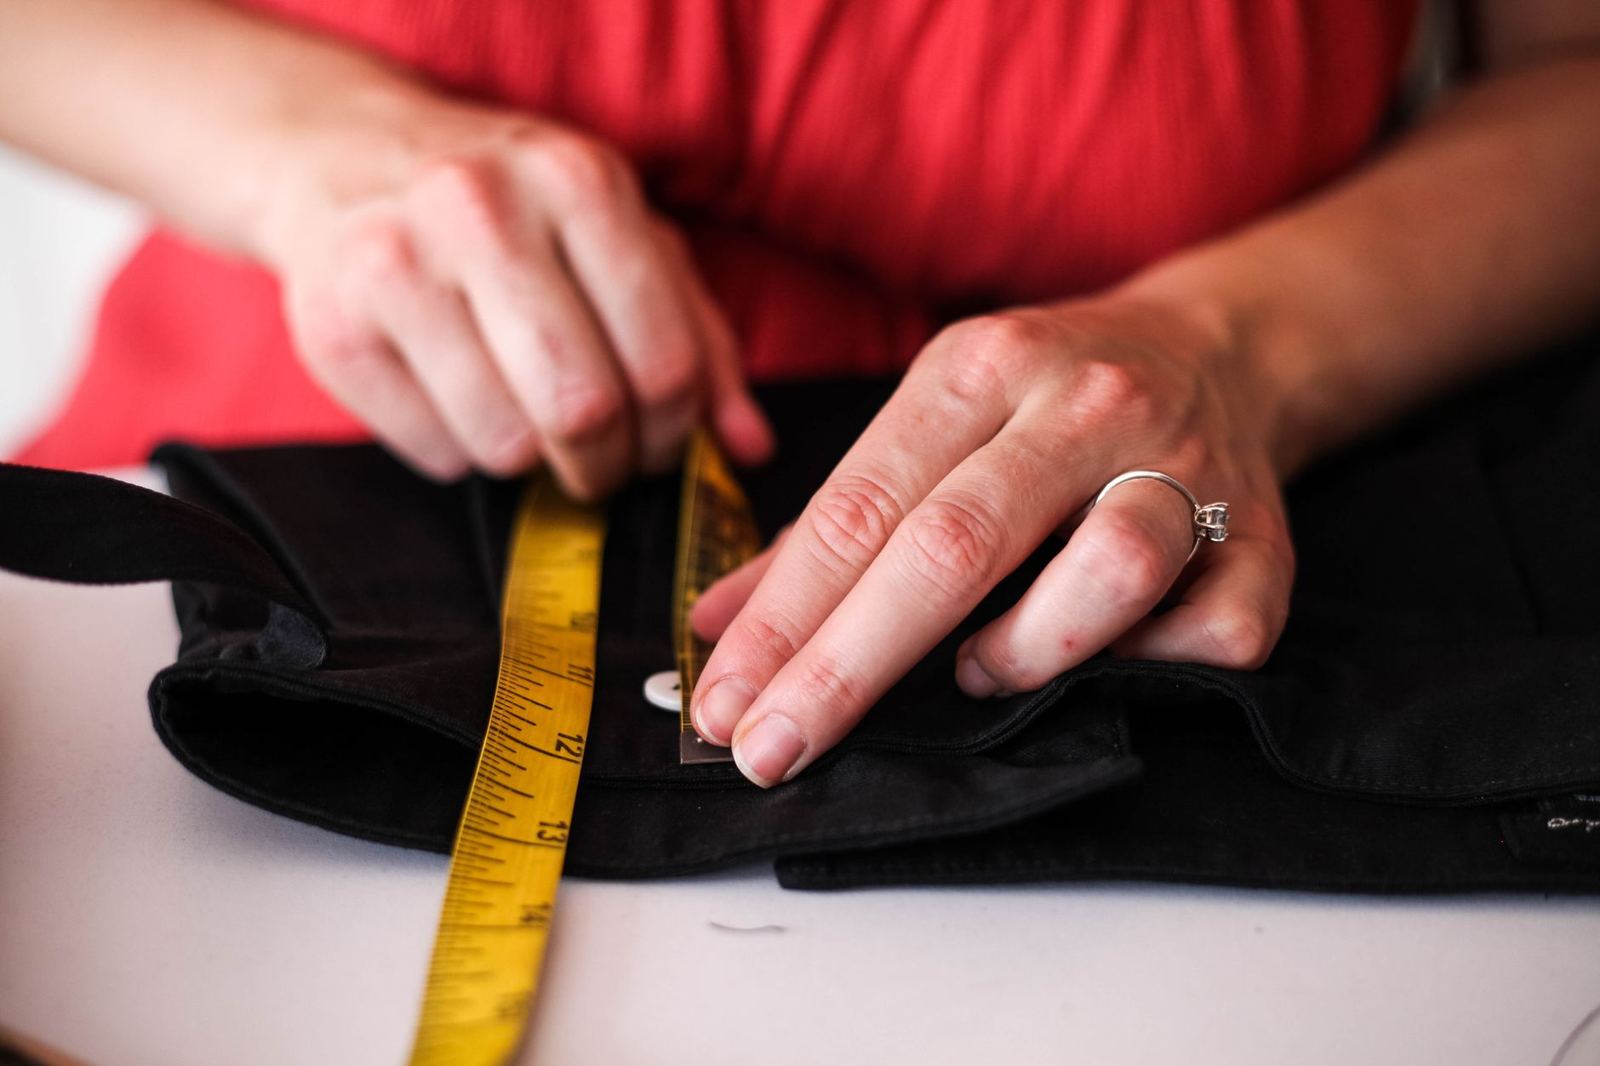
Make a test garment first
Children rarely stand still for a fitting, so a quick test version, or muslin, can save a lot of grief. Use inexpensive fabric with similar weight, drape and stretch to the intended fabric, and try the test garment on the child to assess fit. If a seam is awkward in the test, it will be awkward in the real thing.
For a simple project such as a skirt or a bib, you can skip this step. For a fitted bodice or a close-fitting knit, a test version can help identify fitting problems.
Techniques that suit small garments
Small garments are fiddly in a few predictable ways. The techniques below solve most of the common problems, and they apply across almost every project in this guide.
Cutting and marking
Accurate cutting matters more on small pieces, because a tiny error is a big proportion of the whole. Use sharp scissors or a rotary cutter, and keep pattern pieces on the grain line. Transfer notches with short snips into the seam allowance, and mark the right and wrong sides of similar-looking pieces with chalk or tape.
Sewing knit fabric
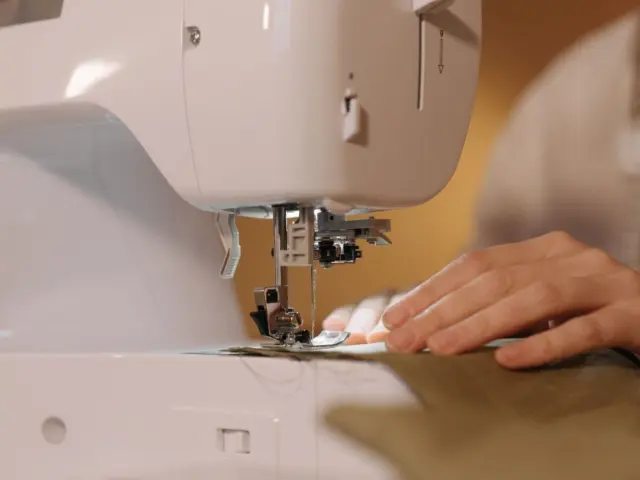
Knits need a different approach from wovens. Fit a ballpoint needle, choose a narrow zigzag or a stretch stitch, and let the machine feed the fabric without pulling on it. If you have a serger, it is handy for seams and edges, but a regular machine does the job well.
- Use a walking foot or reduce presser-foot pressure if the layers shift.
- Stabilise shoulder seams with clear elastic or a strip of fusible tape.
- Stretch the neckband slightly as you pin it, so it lies flat.
- Press with a pressing cloth and a gentle iron so you do not flatten or melt the fabric.
Finishing seams so they survive the wash
Children’s clothes face constant laundering, so raw edges that fray will not last. Finish seams with a serger, a zigzag stitch, or French seams on lightweight woven fabric. Secure seam ends using a method appropriate to the stitch: backstitch ordinary machine seams and secure serger thread tails. Reinforce stress points such as the crotch, underarm and the base of a placket.
Hems, necklines and closures
Hems on small garments are easier with the sleeve or leg still flat, before you close the side seam. Necklines must be big enough to pull over the head without strain, so test with a tape measure against the child’s head circumference. Set snaps and buttons on a stabilised area, using interfacing so the fabric does not tear out under daily use.
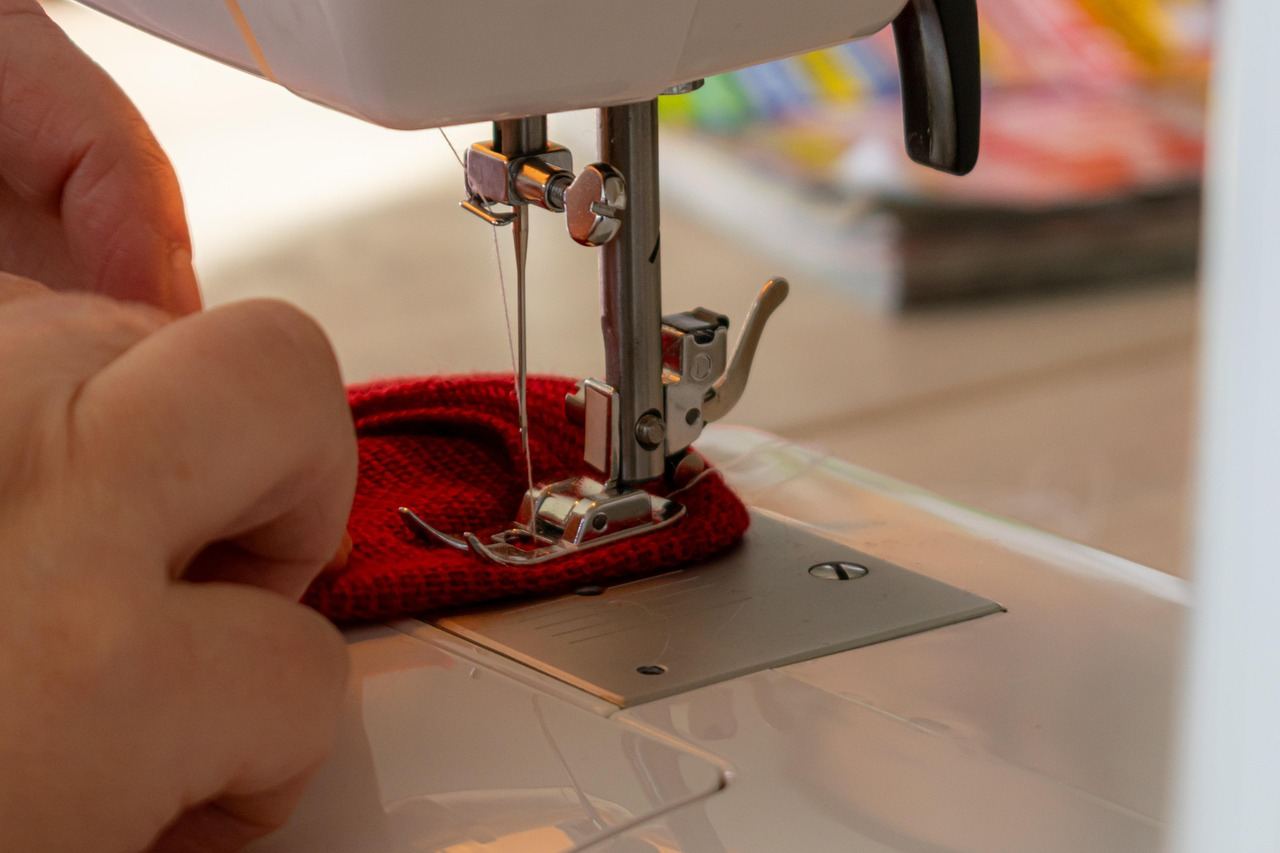
Press as you go
A good press turns a homemade look into a finished garment. Press each seam before crossing it with another, and press curves over a rolled towel or a tailor’s ham. Pressing takes a few extra minutes per project, but it keeps small, curved pieces from puckering.
A simple weekend plan
If you want a realistic way to begin, spread the learning over a few short sessions instead of one marathon. Short sessions suit busy households, and the garments stay fresh in your mind from one stage to the next.
- Session one: wash and press your fabric, take the child’s measurements and trace or print the pattern in the nearest size.
- Session two: cut the pieces, mark notches and sew the main seams, pressing after each one.
- Session three: add the waistband, neckline or closure, then hem the garment last so you can check the length on the child.
- Final check: tug every seam, closure and trim, snip loose threads and wash the finished piece once before it is worn.
Keep a note of what you changed, such as a longer rise, a wider neckline or a shorter sleeve. These notes can reduce guesswork next time, but take fresh measurements and check the fit as the child grows. Over time, your notes may help you identify useful adjustments, though each new pattern still needs a fit check.
Finally, remember that children’s clothes are meant to be worn hard. Stains, scrapes and outgrown seams are part of their life, so it is fine to choose cheerful, hardwearing fabrics and to enjoy the process rather than chasing perfect finishing on every seam.
Frequently asked questions
What is the easiest kids clothing item to sew first?
Show answer
A bib or a gathered skirt with an elastic waist are the usual starting points. They use little fabric, have few pieces and teach basic seams, hems and casings. Move on to pants, dresses and knit tops once those feel comfortable.
Should I wash fabric before sewing children’s clothes?
Show answer
Yes. Pre-washing removes finishing chemicals and lets the fabric shrink before you cut it. Use the same wash and dry settings you plan to use on the finished garment.
Can I put a drawstring in a child’s hoodie?
Show answer
It is best to avoid it. The CPSC’s July 2011 final rule treats hood and neck drawstrings on upper outerwear in sizes 2T to 12 as a substantial product hazard. Use snaps, buttons, hook-and-loop tape or elastic instead, and check the rule if you plan to sell.
How much bigger should I make a garment so it lasts longer?
Show answer
Choose the size that fits the child’s largest measurement, then add growing room through adjustable features. Deep hems, folded cuffs and elastic waists work better than simply cutting everything oversized.
Do the pajama rules apply to homemade sleepwear?
Show answer
The CPSC’s sleepwear fact sheet describes the flammability requirements for children’s sleepwear above size 9 months and up to size 14. If you sew pajamas, a snug, tight-fitting pattern is the usual route, and the fact sheet lists the dimensions and trim limits. Read it in full for any garment you plan to sell.