Wondering how to make elastic waist pants for kids without fighting zippers or fitting? Cut four leg pieces—two fronts and two backs, sew the seams, fold a casing, thread elastic through it, and close the gap. It is a gentle first pants project.
This guide is part of our series on how to sew kids clothes.
| Item | Value |
|---|---|
| Pattern size in the tutorial | 2T-3T |
| Fabric needed | About 1/2 to 1 yard |
| Seam allowance | 3/8 inch |
| Elastic widths that work | 1/2 or 3/4 inch |
Figures come from one free tutorial at Made Every Day and can change, so check the source before you rely on them.
Why elastic waist pants suit beginners
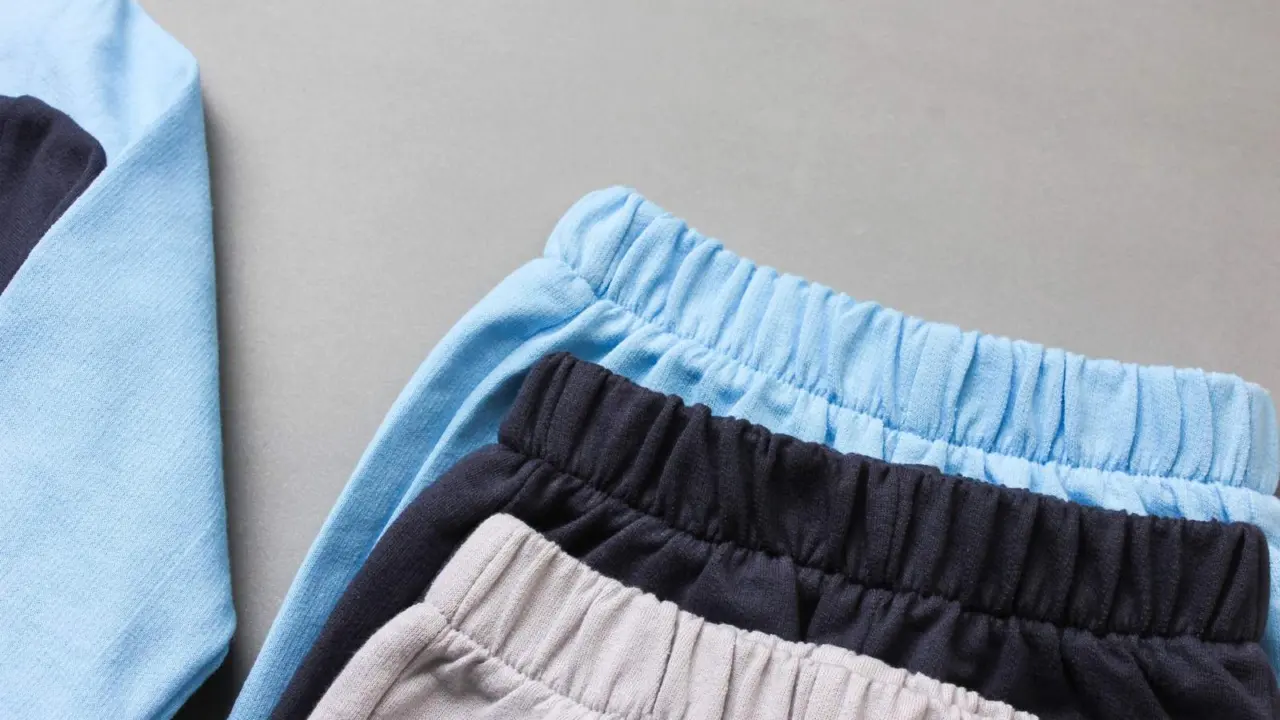
An elastic casing waistband is a folded tube of fabric with elastic inside. The tutorial we checked calls elastic-waist pants and shorts “one of the easiest things to make”.
There is no zipper, no button and no waistband facing to match. The elastic also gives a growing child some room, and kids can pull the pants on and off alone.
You need only a few supplies:
- Lightweight woven or knit fabric, such as cotton, linen, seersucker, chambray or lightweight denim.
- Elastic in a width that fits inside your casing.
- Thread, pins and a safety pin or bodkin.
- A pants pattern in your child’s size, or one you draft from a pair that already fits.
Choosing fabric and elastic
The tutorial lists cotton, linen, seersucker, stripes and plaids, knits, corduroy, chambray and lightweight denim as good choices. Pick something soft that you can wash often.
Amounts depend on size. The tutorial pattern is a size 2T-3T and uses about 1/2 to 1 yard of fabric, so print the pattern first and adjust it before you buy.
For elastic, the tutorial says that 1/2 or 3/4 inch widths work well. Whatever you choose, the casing must be a little wider than the elastic so it can slide through without twisting.
If your child wears cloth diapers or is sturdier through the middle, expand the waist and legs. The tutorial specifically advises adjustments in those cases.
Step-by-step: sewing the pants
Follow the order below. The seam allowance in the tutorial is 3/8 inch, so keep it consistent.
- Cut four leg pieces, two fronts and two backs, from your pattern. Mark the fabric grain and pin carefully.
- With right sides together, sew each front to its back along the outside seam.
- Sew the inner leg seams, then match the two legs and sew the crotch curve.
- Finish raw edges with a zigzag stitch or a serger so they do not fray in the wash.
- Hem each leg by folding the edge over and topstitching.
- Fold down the top edge to make the casing, leaving a gap for the elastic.
The tutorial sews from the waist to the end of the crotch with a 3/8 inch seam allowance, and says the direction does not matter. If you have a small side tag, it goes on the outside seam a few inches from the bottom of the leg.
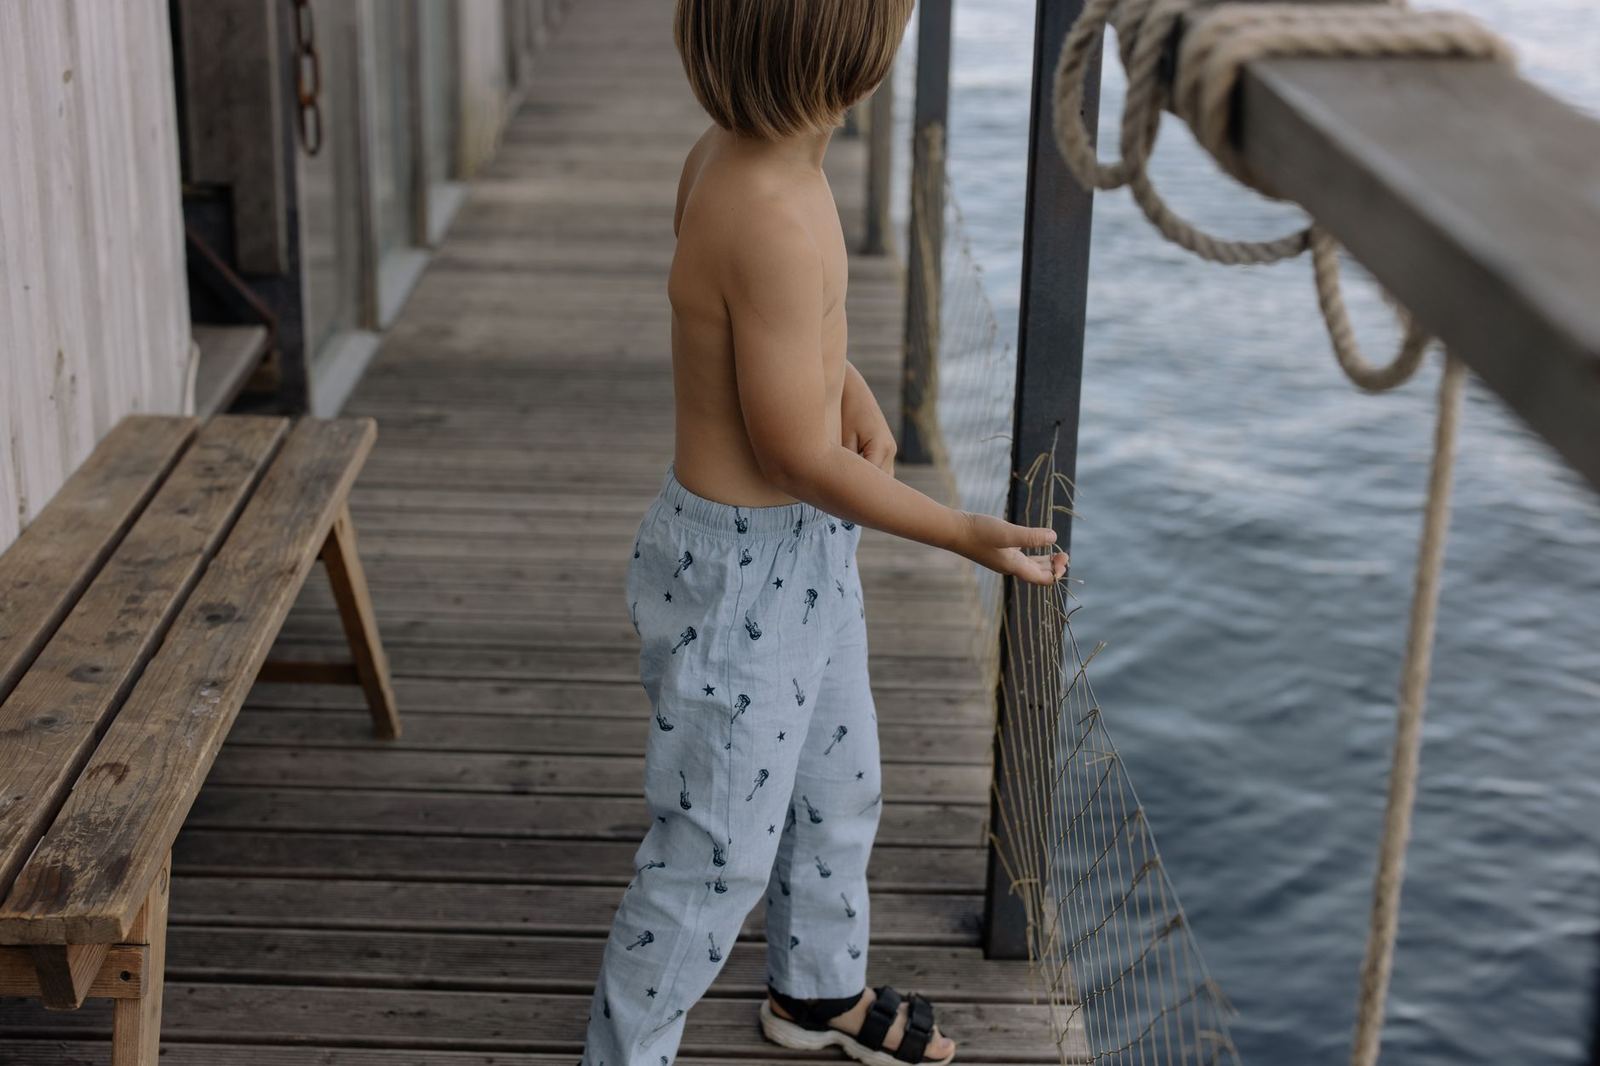
Making the casing and threading the elastic
This is the part that makes the pants. Take it slowly and the rest is easy.
The tutorial says to mark a start and stop point on the waistband with pins, because that is where the elastic goes in and out. Sew the casing from one point all the way around to the other.
Next, attach a safety pin or bodkin to one end of the elastic. Push it through the casing, and anchor the other end to the pants opening with a second pin so it does not vanish inside.
Once the elastic has traveled all the way around, overlap the ends and sew them together securely. Check that the elastic is not twisted before you do.
The tutorial closes the casing by pulling the waistband taut and sewing off the opening. Be careful not to catch the elastic in the stitching, and stretch the waistband flat as you sew so it can still stretch afterward.
Preparing before you sew
Wash and dry your fabric first, especially cotton and linen. Fabric that shrinks after the pants are finished can leave a child with a casing that pinches or legs that stop above the ankle.
Press the fabric flat, then lay out the pattern so the grain lines run straight down each leg. Pants that hang off-grain twist on the body and feel uncomfortable, even when the stitching is perfect.
Test your elastic too. Stretch it a few times and let it relax, and discard any piece that looks tired. Some people also wash a short length of the elastic with the fabric so they know how it behaves.
Finally, thread the machine with a thread that matches the fabric, and try a few stitches on a scrap. For knit fabric, use a stretch or ballpoint needle so the stitches do not skip or tear the fibers.
Fit tips for growing kids
- Measure your child’s waist and cut the elastic snug but comfortable, with extra for overlap.
- Leave the elastic loose enough to slip a finger underneath.
- Add a small tag or ribbon at the back so younger children can tell the front from the back.
- Make the rise a little lower in front for small tummies. The tutorial cuts the waist lower in the front so it does not dig into a baby belly.
- Add extra length to the legs if you want the pants to last another season, and cuff them at first.
Once you are comfortable, try a matching top. Our guide on how to sew a child’s t-shirt pairs well with these pants.
Customizing the pattern
Once the basic pair works, small changes make it your own. Shorten the legs for shorts, add patch pockets to the front, or use a contrast fabric for the hem cuffs.
Knit pants can feel similar to sweatpants; comfort depends on the fabric and fit. Woven pants in linen or seersucker are cooler for summer, and corduroy or lightweight denim suits cooler weather.
Keep notes on what you changed. Write the size, the fabric and the elastic length on a card, and you can repeat the pair quickly as your child grows.
Common mistakes and how to fix them
One possible problem is a casing that is too narrow. The elastic bunches or refuses to move, so unpick the stitching and refold with a wider allowance.
The second is sewing the opening shut with the elastic caught in it. Pin the elastic ends away from the needle and stitch slowly.
A third is skipping the finishing step. Press the waistband when you are done, and the pants will lie flat and look neater.
If you want a smaller practice project first, you could start with something like how to sew a baby bib to warm up your straight stitching.
Frequently asked questions
What elastic width is best for kids’ pants?
Show answer
The tutorial we checked says that 1/2 or 3/4 inch elastic works well. The casing needs to be a little wider than whichever you choose.
How much fabric do I need?
Show answer
For the 2T-3T pattern in the tutorial, about 1/2 to 1 yard. Print your pattern and adjust it for your child before buying.
How do I keep the elastic from getting lost in the casing?
Show answer
Attach a safety pin or bodkin to one end to push it through, and pin the other end to the pants opening so it stays put.
Can I use knit fabric?
Show answer
Yes. The tutorial lists knits along with cotton, linen, corduroy, chambray and lightweight denim.