Wondering how to sew a child’s t-shirt without wavy seams or a stretched-out neck? Use a ballpoint needle, a zigzag stitch and a neckband sewn flat before closing the second shoulder.
This guide is part of our series on how to sew kids clothes.
| Item | Recommendation |
|---|---|
| Needle | Ballpoint |
| Seam stitch | Zigzag instead of straight |
| First seam before the neckband | One shoulder seam only |
| Neckband fold | Lengthwise, wrong sides together |
| Neckband seam allowance | Pressed down towards the body |
These tips come from Sew Magazine and Heather Handmade. Methods can change, so check the sources before you rely on them.
Why knit fabric needs different handling
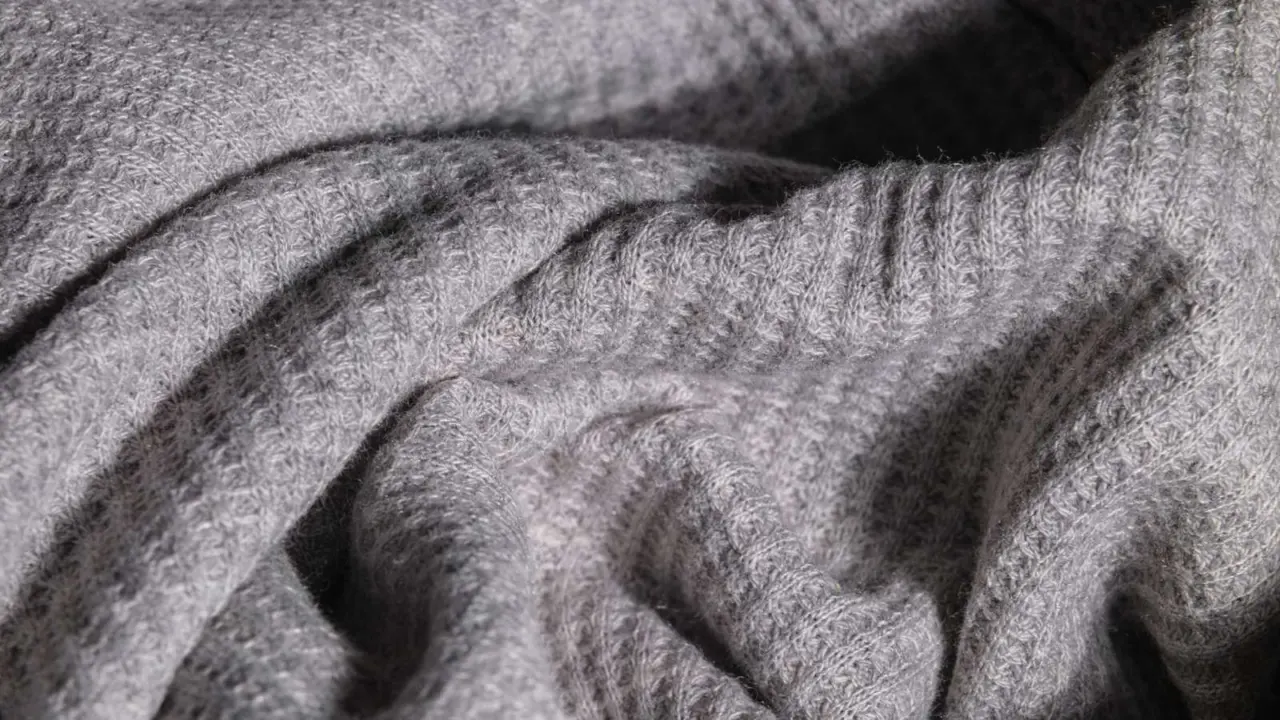
A knit is made of interlocking loops, so it stretches and recovers. That is exactly what a child needs for pulling a shirt over the head and for climbing, crawling and running.
It also means the fabric can grow under the presser foot, curl at the edges and skip stitches. Most of the advice below exists to keep the fabric from stretching out of shape while you sew.
A plain cotton jersey is the friendliest choice for a first tee. Very thin, slippery or very stretchy knits are harder to control, so save them for later.
Choose the right needle and stitch
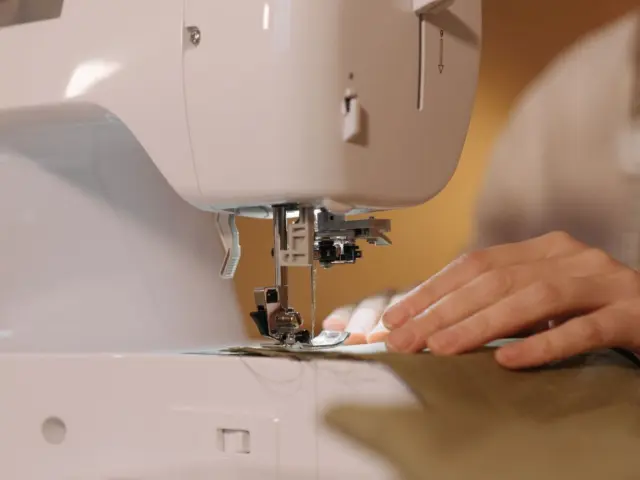
Use a ballpoint needle. Sew Magazine advises it because it prevents the fibres from being torn, as they would be with a regular universal needle.
Sew seams with a zigzag stitch rather than a standard straight stitch. That lets the seams stretch alongside the fabric when your child wears the garment, so threads don’t pop at the first big wriggle.
Test both on a scrap of your actual fabric before you cut into the real pieces. Look at the scrap after stitching: if the seam ripples, ease off the pressure on the presser foot or loosen the thread tension a touch.
Prepare the pieces
Pick a pattern in your child’s size; our guide to kids sewing pattern sizing explains how to match measurements to a size. Then gather what you need:
- Front, back and two sleeve pieces cut from stretch jersey
- A neckband strip, ideally cut with the stretch running along its length
- Ballpoint needles and matching thread
- An iron, clips or pins
- A walking foot, if your machine has one, to keep the layers feeding evenly
Pre-wash the fabric the way you will wash the finished shirt, to reduce shrinkage after sewing.
When you cut, lay the pieces so the grain runs straight down the body. Use sharp shears or a rotary cutter and let the fabric lie flat on the table rather than hanging off the edge, because dangling jersey drags and distorts.
Sew the shirt step by step
- Sew one shoulder seam and leave the other open, ready for the neckband.
- Fold the neckband in half lengthwise with wrong sides together and press.
- Pin the band to the neckline, matching one end of the band to one open shoulder and the other end to the other.
- Stretch the band to fit as you sew, but let the machine feed the fabric at its own pace.
- Press the seam allowance of the neckband down towards the body of the t-shirt.
- Close the second shoulder, attach the sleeves, then sew the side and underarm seams in one pass.
- Hem the sleeves and bottom edge with a stretch stitch.
Work with the garment flat as long as you can. Sleeves set in flat, before the side seams are closed, are far easier to handle on small sizes than sleeves sewn into a finished tube.
Get a neat neckline
The neckband can be tricky on a first tee. Heather Handmade describes holding the front fabric in one hand and the back in the other to stretch the band as you sew.
For a professional finish, topstitch around the neckline close to the seam with a stretch stitch, sewing through the seam allowance so it lies flat. Trim the allowance close to the topstitching.
If the neckline ripples or gapes, check whether the neckline stretched during sewing and whether the band length suits the fabric’s stretch and recovery.
Children dislike scratchy necks, so keep the band comfortable and check that the head opening is large enough. If your child is unavailable, check the opening against their head measurement; a doll cannot reliably confirm fit.
Sleeves and hems on small sizes
Small sleeves are narrow, so take your time. Pin the sleeve head to the armhole at the shoulder seam and the underarm, then clip the edges between so the fabric cannot shift.
For the hems, press the edge up first and clip it in place instead of pinning, because pins can leave holes and distort thin jersey. Sew with a stretch stitch from the right side so you can see that the hem stays even.
Let the fabric move through the machine without pushing or pulling. Gentle guiding helps reduce waviness; pulling can stretch the hem, and pressing may not fully restore it.
If the hem still ripples, a sheet of lightweight tear-away stabiliser under the fabric can help, and you tear it off afterwards. Try it on a scrap first to see whether your jersey needs it.
Fix common problems
Most knit troubles have a simple cause. Use this list when a seam misbehaves:
- Wavy seams: The fabric may have stretched during feeding; check handling, presser-foot pressure and thread tension. Guide it lightly and let the machine do the work.
- Skipped stitches: The needle may be unsuitable or blunt. Change to a fresh ballpoint needle.
- Tunnelling hems: Check thread tension and test stabilising the hem on a scrap; excessive tension can cause tunnelling.
- Curling edges: a light steam press or a clip instead of a pin often helps.
- Popped seams: The stitch may lack enough stretch. Unpick it and resew with a zigzag.
Keep a scrap of the same jersey beside the machine and test any change on it first. Small adjustments are quick to try and cost nothing.
Finishing and next projects
Give the finished shirt a last press, snip any loose threads and try it on. If the fit is a little off, note the change for the next one, such as a longer body or wider neck, and write it on the pattern.
Once the tee feels easy, match it with bottoms. Try how to make elastic waist pants for kids for a simple pair that suits the same knit fabrics.
Making several tees from the same pattern can help you improve. Each one teaches your hands how much to stretch a band and how lightly to guide the fabric.
Frequently asked questions
Can I sew a t-shirt without a serger?
Show answer
Yes. A zigzag or stretch stitch on an ordinary machine lets the seams stretch with the fabric, as Sew Magazine advises.
Why do I need a ballpoint needle?
Show answer
It prevents the fibres from being torn, which a regular universal needle can do to knits.
Which seam do I sew before the neckband?
Show answer
Sew one shoulder seam and leave the other open, then attach the band.
Which way do I press the neckband seam?
Show answer
Towards the body of the shirt, as Heather Handmade shows, then topstitch if you want it to lie flat.