Wondering why your project came out the wrong size? Seam allowance explained: it is the fabric between your stitching line and the cut edge, and most commercial patterns use 5/8 inch.
If you are just starting out, the sewing for beginners guide gives the wider picture.
| Item | Typical value |
|---|---|
| Commercial garment patterns | 5/8 inch (1.5 cm) |
| Home projects drafted by one sewist | 1/2 inch |
| Quilting and patchwork | 1/4 inch |
| Small items and detail pieces | 3/8 inch or 1/4 inch |
Figures come from Sewdirect and SewGuide. Conventions can change and differ by pattern company, so check the source and your own pattern before you rely on them.
What a seam allowance actually is
A seam allowance is the strip of fabric between the line you stitch and the raw edge you cut. The allowance usually sits inside the finished piece, though some seam designs leave it exposed.
Many patterns print the cutting line and the stitching line separately. Others build the allowance into the piece, so the paper edge is the cutting line and you measure the stitching line in from it.
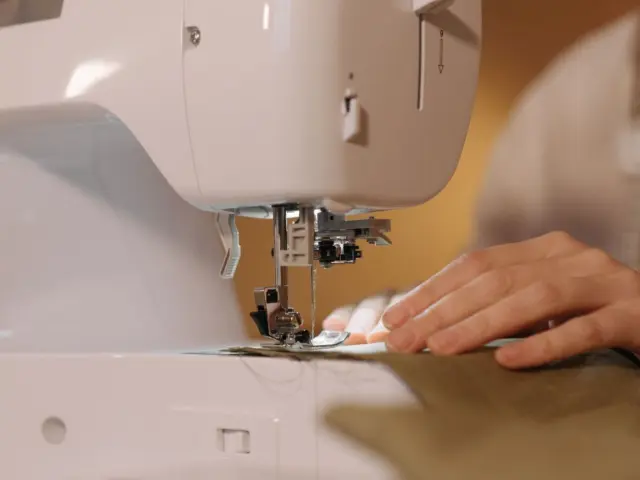
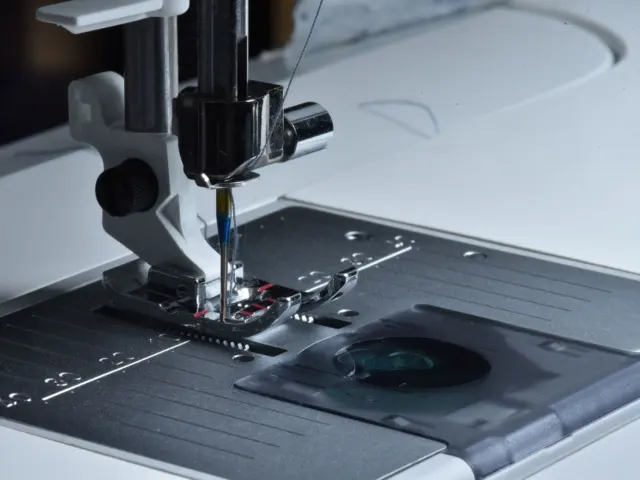
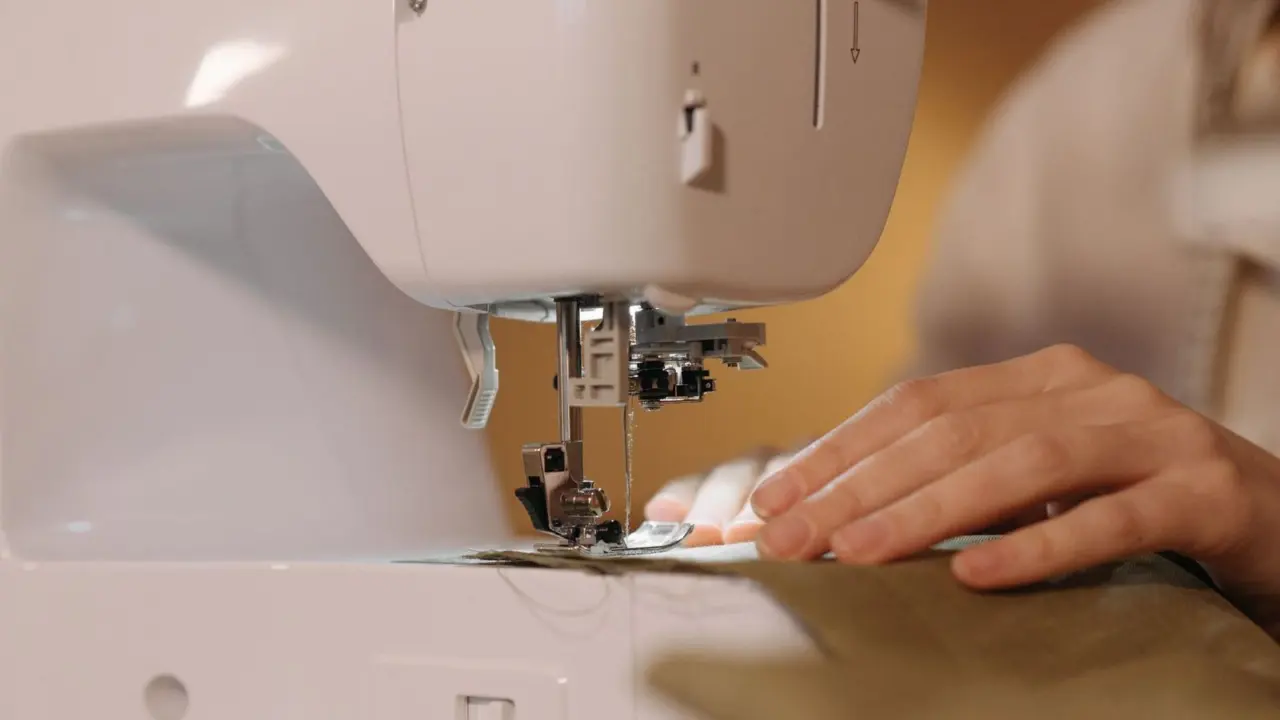
Your sewing machine helps here. The needle plate has marked lines, and when you keep the fabric edge on a chosen marking, the machine sews the seam at that distance from the edge.
Which seam allowance should you use?
The right width is the one your pattern names. Different kinds of sewing have settled on different habits, though.
- Garment patterns: the given allowance is usually 5/8 inch in commercial patterns.
- Home projects: some sewists draft with 1/2 inch.
- Quilting: 1/4 inch is common for joining patchwork pieces.
- Small details: a narrower allowance, as in the table above, makes tiny pieces easier to handle.
The first two facts are in SewGuide’s seam allowance guide, which also notes that quilters at times use even less.
Why 5/8 inch became the standard
Sewdirect explains that 5/8 inch gives enough extra fabric between seam line and cut edge that you safely catch both pieces. That cushion is forgiving when you are learning.
The same page says this width is easier to work with when you press a seam open or topstitch it. A narrow allowance can fray away or leave little to press.
Why it matters for fit and size
Each seam you sew a little wider removes fabric from the finished piece. On a garment with several seams, that small difference adds up, and the piece can end up smaller than intended.
The reverse is also true. If you sew narrower than the pattern expects, the piece gets bigger, and sleeves or waistbands may no longer meet their partners.
Consistency matters as much as the number. A seam that wanders from wide to narrow can distort the intended shape and fit.
When the allowance is not the standard
Patterns do not always follow the usual width. Sewdirect says that when the allowance is other than 5/8 inch, the amount is specified on the pattern piece and in the instructions.
Reducing it is common in a few places:
- very small items such as doll clothes
- small detail pieces such as belt carriers
- areas where you would otherwise trim away the excess
Learning how to read a sewing pattern is the surest way to catch these exceptions before you cut. Hand work uses allowances too, as you will see in this walkthrough on how to hem pants by hand, where the fold-under amount is your hem allowance.
How to sew a steady seam allowance
Accuracy is a habit you build, and a few simple steps help. Try them on scrap fabric before you touch your real project.
- Read the pattern and note the allowance it names for each seam.
- Pick the matching line on your machine’s needle plate, or stick a strip of tape at that distance from the needle.
- Place the raw edges against the line, with the fabric right sides together.
- Guide the fabric gently rather than pulling it, and keep your eyes on the edge, not the needle.
- Measure the first finished seam with a ruler. If it is off, adjust and sew another test.
A quilting foot with a built-in edge guide is one way to hold a narrow allowance steadily, because the fabric edge rides against the guide. Plenty of beginners find a marked tape easier than watching the needle plate.
What to do with the allowance after sewing
Once a seam is stitched, the allowance still has work to do. How you treat it affects how the piece looks, wears and lies against the body.
- Press it open so the seam lies flat, which suits most garment seams.
- Press it to one side when the seam needs extra strength or when pieces nest together, as in patchwork.
- Finish the raw edge with a zigzag stitch, a serger or pinking shears to reduce fraying; pinking shears are unsuitable for some fabrics, especially those that fray heavily.
- Trim or grade it on curves and corners, so the layers do not form bulky ridges.
SewGuide also covers grading, which means cutting the layers of a seam to different widths so they step down smoothly instead of building up a ridge.
A simple test before you cut your good fabric
Cut two small scraps from similar fabric and sew them together using your chosen allowance. Measure the finished width, then compare it with what the pattern expects.
This quick test seam shows whether your guide line, tape or presser foot is truly accurate. Thick fabrics take up more room in the fold, so a test on the real material is worth the few minutes it costs.
Keep the test scrap pinned to your sewing station. Next time you start a project, you can check your guide against it, and you will know at a glance whether the machine setting still matches your habit.
Common mistakes to avoid
Most seam allowance problems come from a few repeated habits. Spotting them early saves unpicking later.
- Mixing allowance widths within one project without meaning to.
- Assuming the pattern includes an allowance when it does not, then cutting along the stitching line.
- Letting the fabric drift away from the guide near the end of a long seam.
- Trimming too close to the stitching, which weakens the seam and invites fraying.
If you cut without an allowance by mistake, there is rarely a neat fix. Check the pattern markings first, and add the allowance before you cut whenever the pattern leaves it out.
Frequently asked questions
Is seam allowance included in the pattern piece?
Show answer
It depends on the pattern. Many commercial patterns include it, so check the instructions for the stated width before you cut.
Can I use a different seam allowance than the pattern says?
Show answer
You can change the allowance without changing the finished size if you adjust the cutting lines and preserve the original stitching lines. Adjust the affected edges; different seams may require different allowances.
Do I use the same seam allowance for quilting?
Show answer
Not usually. Quilting generally uses 1/4 inch, according to SewGuide, rather than the garment standard of 5/8 inch.
How do I sew an even seam allowance?
Show answer
Keep the raw edge lined up with the marking on your machine’s needle plate. Go slowly and stop to realign if the fabric drifts.