Wondering how to sew a baby bib that actually stays put? Cut two layers, stitch them with a half-inch seam, turn, topstitch and add snaps. It can be completed in one sitting, depending on your experience.
This bib is a small project in the wider world of how to sew kids clothes, and it is a gentle place to start.
| Item | Value |
|---|---|
| Pieces to cut | Two (2) bib pieces |
| Seam allowance when stitching | 1/2″ |
| Seam allowance after trimming | 1/4″ |
| Topstitch distance | 1/8″ around the perimeter |
| Pattern sizes available | 4 sizes (Newborn to 1-4 Years) |
Figures come from one free tutorial, Coral + Co.’s baby bib pattern, and can change, so check the source before you rely on them.
What you need before you start
A bib needs very little. The tutorial lists two fat quarters of cotton, flannel, terry cloth or minky fabric, plus snaps, pins or clips, thread and a sewing machine needle.
- Fabric for the front and the back
- KAM snaps, metal snaps or Velcro for the closure
- Pins or Wonderclips to hold the layers
- Scissors or a rotary blade and cutting mat
- A bib pattern template, sized for your baby
The same tutorial offers its pattern in four sizes: Newborn, 3-6 Months, 6-12 Months and 1-4 Years. Pick the size that matches your baby, and remember that babies grow quickly.
Choosing fabrics for a soft, absorbent bib
The front can be any pretty cotton. The back does the work of catching drool, so an absorbent fabric makes sense there.
The tutorial cuts one piece from cotton and one from terry cloth “to make it more absorbent.” Flannel and minky are also listed as options. If you would rather keep it simple, use the same fabric on both sides.
Pre-wash everything before cutting. A bib gets laundered constantly, so any shrinking should happen before the pieces are sewn together.
How to sew a baby bib, step by step
These steps follow the order used in the tutorial. Work slowly on the curves, because they decide how neat the finished edge looks.
- Cut two bib pieces from your pattern.
- Place the pieces with right sides of fabric facing each other, and pin or clip them.
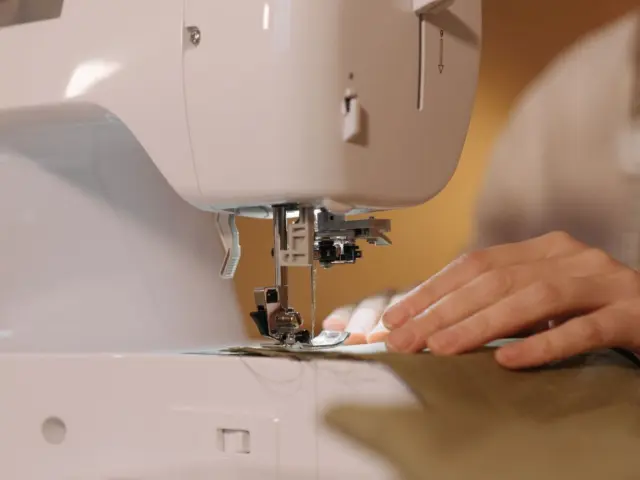
- Stitch around the edges with a 1/2″ seam, leaving an opening at the bottom for turning.
- Clip notches around the outer curves and snip straight clips around the inner curves.
- Cut 1/4″ deep into the seam allowance on each side of the opening.
- Trim the seam allowance to 1/4″ around the whole bib, leaving a small flap at the bottom.
- Turn the bib right side out and roll the seam allowance flat along the edges.
- Press to reduce the bulk.
- Tuck the half-inch flap at the opening under so it sits flush, and press.
- Topstitch 1/8″ around the perimeter, which closes the opening.
Clip up to the stitching but never through it. Cutting through the stitching can cause the seam to open.
Adding snaps or Velcro
Closures go on last. The tutorial adds KAM snaps or Velcro once the topstitching is finished, so the bib can open and close around the neck.
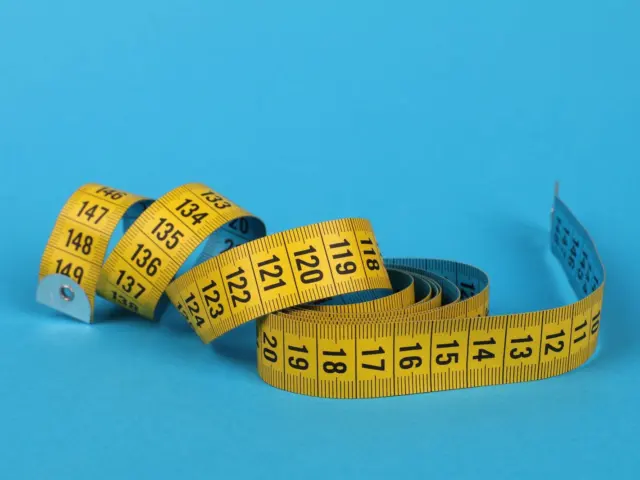
Check the neck opening against your baby’s measurements before marking the snap positions with the overlapping tabs laid flat. Give yourself a few adjustment positions if the neck needs to grow with the baby.
Snaps are the part most worth double-checking. Press each one firmly until it is fully set, then tug it hard. A snap that comes loose is a hazard for a small baby, so test it before every first use. Velcro is a reasonable choice if you are not confident in your snap setting.
Preparing your pattern and cutting accurately
Good bibs start with careful cutting. Trace or print your template onto paper, cut it out cleanly, and check that the neck opening and the overlapping tabs are marked.
Lay the fabric flat and smooth it before you place the template. Terry and flannel have a nap or a slight stretch, so cut both layers in the same direction. Follow the pattern’s grainline when cutting, and pre-wash the fabrics to reduce later shrinkage.
- Use sharp scissors or a rotary blade for clean cuts, and avoid stretching the fabric as you cut.
- Keep the template weighted or pinned so it cannot slide.
- Cut the front and the back one after the other, not stacked, if your fabric is thick.
- Mark the opening on the bottom edge with a small pen dot before sewing.
Sewing tips that make the bib look store-bought
Most of the polish comes from patience at the machine. Slow down on curves, and lift the presser foot to pivot rather than pulling the fabric.
Start and end each seam with a few backstitches so the stitching survives repeated washing. Leave the opening wide enough to get your hand in, because a tight gap makes turning awkward and stretches the seam.
When you turn the bib, use a blunt tool such as a chopstick to push the curves out gently. Do not use anything pointed, because it can poke through the seam. If the back is terry cloth, avoid pressing the iron directly onto its pile.
If your terry is very thick, try a walking foot or a slightly longer stitch. A longer stitch also looks tidier when you topstitch around the edge.
Caring for a handmade bib
Bibs take a beating, so wash the finished piece once before the first use. This also shows you whether the seams and snaps hold up.
Wash handmade bibs in warm, not hot, water with a mild detergent, and dry them on a gentle setting. Check the snaps each time you fold laundry. If a snap loosens or a seam opens, repair it before the bib goes back on the baby.
Make two or three bibs in different fabrics while the pattern is out. They make lovely gifts, and a spare is handy on days when the first one is in the wash.
Fixing common problems
- Terry shifts while sewing: pin or clip generously and sew slowly, with the terry layer feeding evenly.
- Bulky edges: trim and clip as in the steps, then press well after turning.
- Puckered curves: add a few more clips on the inner curves.
- Neckline too tight: make the neck opening slightly larger on your pattern rather than reducing the seam allowance.
Once a bib feels easy, move on to a bigger project such as how to sew a toddler dress. For a different kind of shaping and finishing, try how to make elastic waist pants for kids.
Frequently asked questions
What fabric is best for a baby bib?
Show answer
Cotton works well for the front, and terry cloth is a good absorbent back. Flannel and minky are other options listed in the tutorial.
What seam allowance should I use?
Show answer
The tutorial stitches with a 1/2″ seam, then trims it to 1/4″ after clipping the curves.
Can I use Velcro instead of snaps?
Show answer
Yes. The tutorial lists KAM snaps, metal snaps or Velcro as closure choices.
How do I close the turning opening?
Show answer
Tuck the flap under so it sits flush with the edge, press it, then topstitch 1/8″ around the whole bib.