Starting sewing for beginners can feel like a lot of gear and rules. You only need a few tools, the right needle and simple practice projects. Start small and build from there.
| Item | Value |
|---|---|
| Universal needle sizes made by Schmetz | 60/8, 65/9, 70/10, 75/11, 80/12, 90/14, 100/16, 110/18, 120/19 |
| Stretch needle sizes | 65/9, 75/11, 90/14 |
| Jersey (ball point) needle sizes | 70/10, 80/12, 90/14, 100/16 |
| Fabric use for jersey needles | Knits and some stretch fabrics |
| Tape measure type | Non-stretching |
These figures come from the SCHMETZ needle guide and a Utah State University Extension supplies list. Product ranges can change, so check the source before you rely on them.
What you really need to start sewing
A beginner kit is smaller than most shopping lists suggest. The Utah State University Extension supplies list names a core set of basic tools, and most of them are cheap and last for years.
- Sharp fabric shears, kept for fabric only
- Straight pins and a pin cushion
- A seam ripper, because every sewer unpicks stitches
- A tape measure and a ruler with a grid
- Marking pen, pencil or chalk
- Thread and hand needles, plus machine needles
Pins matter more than they look. The same extension list warns that dull pins can damage fabrics, so throw out bent or blunt ones. For measuring, it says to select a non-stretching tape measure, since a tape that stretches gives you false numbers.
An iron and ironing board are the quiet heroes of neat sewing. Pressing each seam as you go makes a handmade piece look finished instead of homemade. Buy a basic iron if you do not own one, and keep it near your sewing space.
You do not need a rotary cutter, a dressmaking ham or a tailor board yet. The extension list places those under advanced project supplies. Add them later if a project calls for them.
Your machine, needles and thread
Choosing a machine and getting to know it
A simple, reliable machine beats a fancy one that overwhelms you. Look for a straight stitch, a zigzag stitch, an adjustable stitch length and a reverse lever. Those four features cover almost everything in your first months.
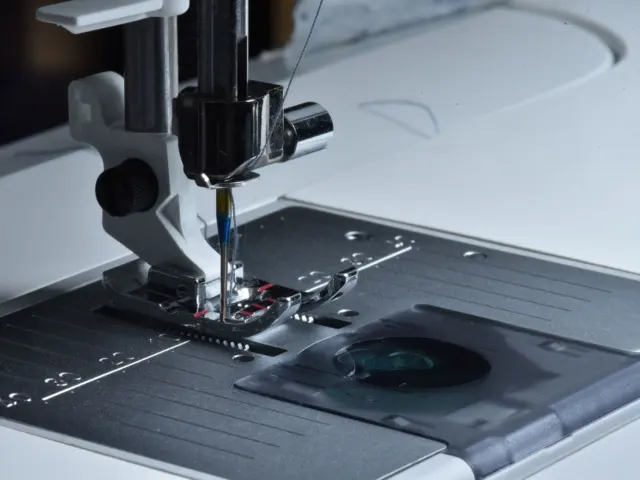
Before you sew, read the manual that came with your machine. Find the handwheel, the presser foot lever, the tension dial, the stitch selector and the bobbin case. Knowing these parts saves you from most early frustration.
The first skill to learn is threading the machine, both the top thread and the bobbin. Incorrect threading can cause loops or skipped stitches; also check the needle type, condition and installation. Our step-by-step guide on how to thread a sewing machine walks you through it.
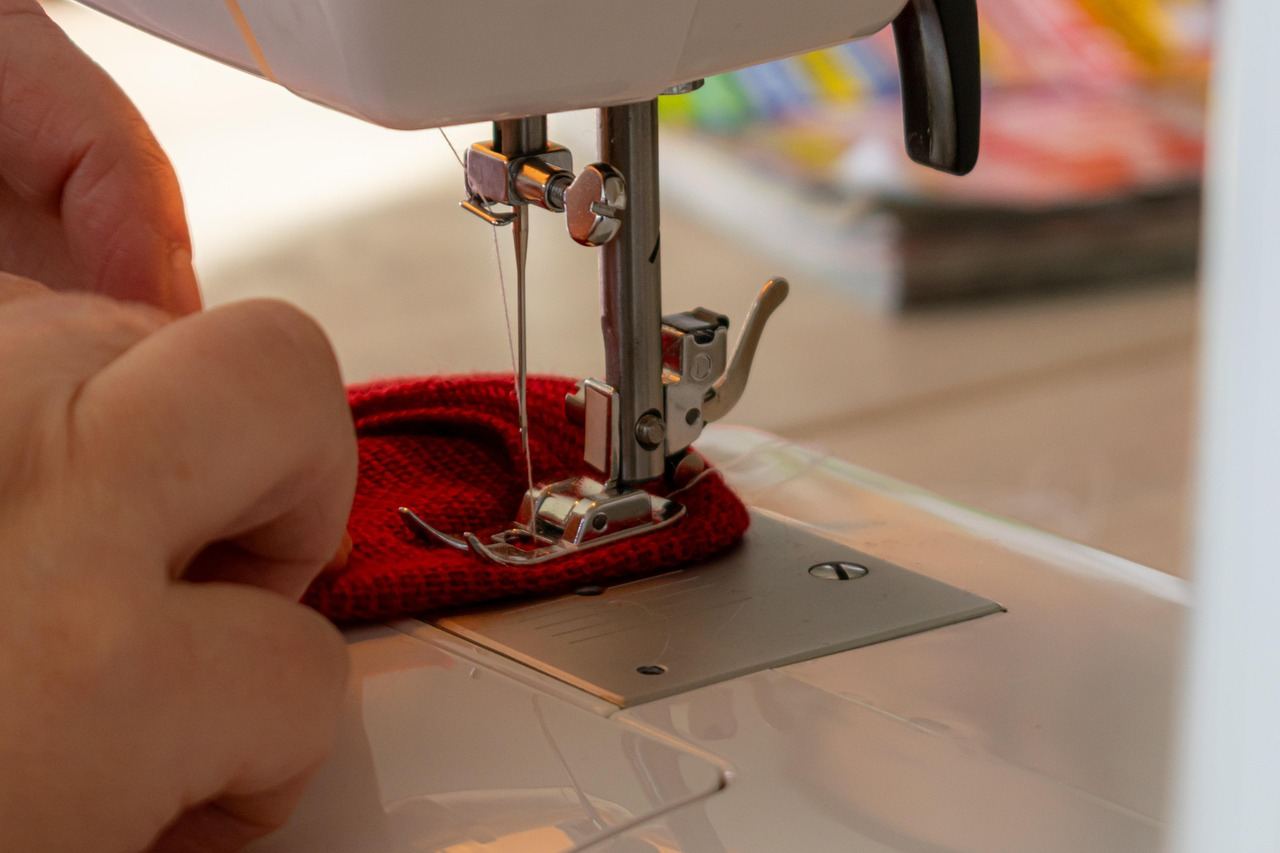
Practise on scrap fabric before you cut into anything you care about. Stitch a few lines, change the stitch length, and watch how the feed dogs pull the cloth. A short practice session builds more confidence than a long read.
Needles and thread: matching them to your fabric
The wrong needle is a classic cause of skipped stitches and snagged fabric. Machine needles carry two numbers, such as 80/12, and a higher number means a thicker needle. Thin fabrics need finer needles, and heavy fabrics need stronger ones.
According to the SCHMETZ needle guide, universal needles come in sizes 60/8, 65/9, 70/10, 75/11, 80/12, 90/14, 100/16, 110/18 and 120/19. For knits and some stretch fabrics, the same guide lists jersey (ball point) needles in sizes 70/10, 80/12, 90/14 and 100/16. It also lists stretch needles in sizes 65/9, 75/11 and 90/14.
A simple rule of thumb for starting out:
- Use a universal needle for ordinary woven fabric such as cotton.
- Use a jersey or stretch needle for T-shirt knits.
- Pick a finer needle for light fabric and a thicker one for heavy fabric.
- Replace the needle when it bends, burrs or starts to skip.
For a deeper comparison, see our guide to types of sewing machine needles. Buy an assorted pack so you can swap sizes as your fabrics change.
For thread, an all-purpose polyester or cotton-wrapped polyester in a neutral colour is a safe first spool. Use the same thread in the top and the bobbin while you learn. Cheap, fluffy thread sheds lint and causes tension trouble, so spend a little more.
Your first stitches: straight lines, seams and tension
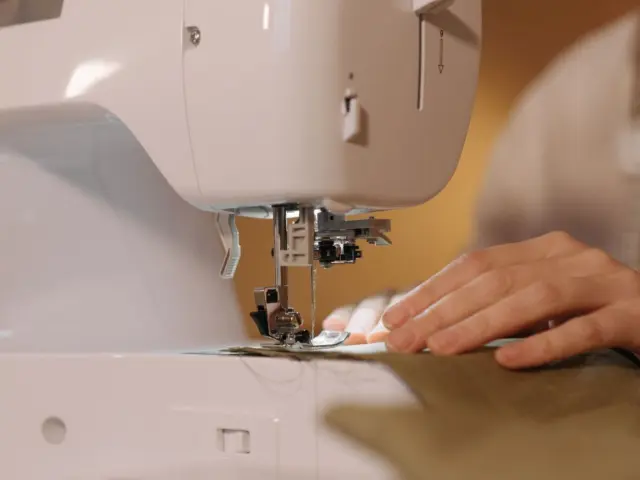
Nearly every beginner project is straight lines joined at the edges. Learning to guide the fabric gently, without pushing or pulling, is the whole skill. Let the machine feed the cloth while your hands only steer.
Start with paper. Take an old sheet of lined paper, remove the thread and sew along the lines. Our lesson on how to sew a straight line covers speed, hand position and where to look while you stitch.
When you move to fabric, follow this order:
- Place two scraps with right sides together and pin across the edge.
- Lower the needle into the fabric at the start, then lower the presser foot before sewing.
- Sew a few stitches, press reverse for a few more, then go forward again to lock the seam.
- Sew slowly along your guide line and remove pins as you reach them.
- Backstitch again at the end and cut the threads.
- Press the seam open or to one side.
The distance between the stitching and the cut edge is the seam allowance. Patterns state it, and your machine plate usually has guide lines to help. Read seam allowance explained for how to keep it even and why it changes the fit.
Puckering or looping can indicate a tension problem, but fabric feeding, needle choice and stitch settings can also contribute. Re-thread the machine with the presser foot raised, since that opens the tension discs. Then test again on scrap before changing the dial.
Hand sewing, patterns and your first projects
Hand sewing skills worth learning first
Even if you own a machine, a few hand stitches rescue you again and again. Hand sewing is useful for repairing loose buttons, fallen hems and small tears. These jobs also teach you how thread and fabric behave.
The basics to practise are:
- Running stitch, for gathering and quick joins
- Backstitch, for strong seams by hand
- Slip stitch, for invisible closings and hems
- Whip stitch, for finishing edges and attaching trims
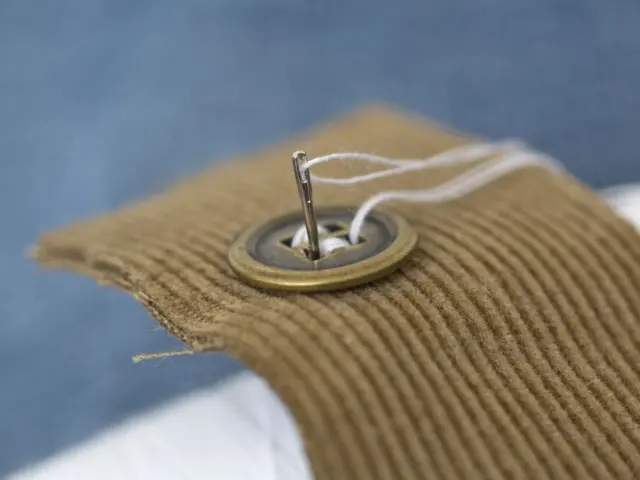
Buttons are the best first repair. Follow how to sew on a button and you will learn to knot thread, add a shank and secure the end. For trousers that are too long, how to hem pants by hand shows a neat slip-stitched hem.
Use a short length of thread, about the length from your fingertips to your elbow. Longer thread tangles and weakens as it passes through the cloth. Use shorter lengths of thread to help reduce tangling.
Reading patterns and picking easy fabrics
A commercial pattern is a set of instructions as well as paper pieces. It lists the fabric amount, notions, sizes, and the order of construction. Learning the symbols early makes every later project less scary. Our guide on how to read a sewing pattern explains the markings, grainlines and size charts.
Choose stable woven fabric for your first garments and gifts. Quilting cotton, cotton poplin and light linen hold their shape and press well. Slippery satins, stretchy knits and sheer fabrics shift under the needle, so save them for later.
Pretreat fabric according to its care instructions and intended cleaning method before cutting; cotton and linen can shrink. Check the grain too, so the pattern pieces follow the straight threads. Cut with sharp shears and keep the cloth flat on the table instead of lifting it.
When you are ready for a zipped bag or a skirt, learn how to sew a zipper. It looks harder than it is, and a basic zipper foot does most of the work.
Beginner projects to build confidence
Pick projects that use straight seams and forgiving fabric. A finished object, even a plain one, teaches more than a drawer of practice scraps. Good starters include:
- A tote bag with two rectangles and handles
- A simple envelope pillow cover
- An elastic-waist skirt or pyjama shorts
- A zipped pouch once you are ready for a zipper
- Napkins or cloth wipes with mitred corners
Our list of easy diy sewing projects gives you ideas sorted by skill. If you want to make something for a child, how to sew kids clothes covers sizing, safe fastenings and fabrics that wash well.
Take the pressure off by treating the first version as a trial. Use cheap fabric, note what went wrong, and sew it again. Many sewers keep the early attempts, since they show how far they have come.
Cutting, pinning and pressing like a careful sewer
Good sewing starts before the machine is switched on. Careful cutting and pressing decide whether your pieces line up, and rushed cutting can contribute to uneven seams.
Lay the fabric flat on a large table so the weight of the cloth does not hang off the edge. Pull-and-drag cutting stretches the fabric and distorts the shape. Let the table hold the cloth and make long, steady cuts with sharp shears.
Follow the pattern layout for the grainline. The grain runs parallel to the finished edge of the cloth, and pieces cut off grain can twist or hang badly after washing. If you are unsure, fold the fabric so the selvedges meet, and check that the fold lies smooth.
Pinning keeps layers from creeping while you sew. Place pins at right angles to the seam, with the heads toward the raw edge, so you can pull them out as you reach them. Never sew over a pin, since a needle that strikes metal can bend, break or knock the machine out of time.
Pressing is different from ironing. Press by lifting and lowering the iron on the seam, instead of sliding it, so the fabric does not stretch. Use the heat setting that suits the fibre, and test on a scrap if you are unsure about synthetics.
- Press the seam flat first, the way it was sewn, to set the stitches.
- Open the seam and press again, or press both allowances to one side as the pattern says.
- Use a press cloth on delicate or shiny fabric to avoid marks.
- Let the fabric cool for a moment before you move it.
Marking is the last prep step. Chalk, a washable pen or a pencil can transfer darts, pockets and fold lines from pattern to cloth. Test any marker on a scrap first, because some inks do not wash out of every fabric.
Finishing edges and keeping seams tidy
Raw edges fray, and loose threads can pull a seam apart in the wash. A seam finish keeps the inside of your project strong and neat, and it also makes the piece feel more professional.
You have several easy options that work on a basic machine:
- A zigzag stitch run along the raw edge, trimmed close to the stitching
- Pinking shears, which cut a zigzag edge that frays less
- An overlock stitch, if your machine offers one
- A turned-and-stitched edge for light fabrics
Clip threads as you go, trim outward corners before turning, clip inward curves and notch outward curves, without cutting the stitching. These tiny steps turn a flat bag corner into a sharp one.
Hems are the other common finish. A simple double-fold hem is pressed, pinned and stitched close to the folded edge. It works on napkins, curtains, skirts and sleeves, and it is a good place to practise even spacing.
Habits, a learning path and fixing mistakes
Looking after your tools and your habits
Good habits make sewing cheaper and calmer. Keep your fabric shears for cloth only, because cutting paper dulls the blades quickly. Store them closed, and have a second pair for paper and cards.
Clean the machine often. Lint builds up under the needle plate and around the bobbin case, and it can cause skipped stitches and uneven tension. Switch the machine off, remove the plate as the manual shows, and brush the dust out gently.
Keep a small notebook with your projects. Write down the fabric, needle, thread, stitch length and what you would change next time. After a few projects, you will have your own reference that no guide can match.
Finally, pace yourself. Try brief, regular practice sessions to build your skills. Stop when you are tired, because mistakes multiply when you rush.
A simple learning path for your first weeks
A plan stops you from jumping between projects without finishing any. Treat the first weeks as a ladder, with each step adding one new skill. The learning path below uses the guides in this site and builds from easy to harder work.
- Learn the machine parts and thread it until it feels automatic.
- Sew lines on paper, then on scrap fabric, aiming for steady speed.
- Practise seams with backstitching, pressing and a consistent seam allowance.
- Make something flat and square, such as a napkin or a pillow cover.
- Try a tote bag, which adds handles, topstitching and boxed corners if you wish.
- Move on to an elastic-waist garment, using a simple, well-reviewed pattern.
- Add a zipper, then a hem, and then try a fitted piece.
Do not worry if a step takes longer than you planned. Everyone repeats some lessons, and a second attempt is often easier than a first. Celebrate the finished object, then note one thing to improve.
If you get stuck, go back to the last step you could do comfortably, and sew another of those. Confidence grows from successful repetition, not from forcing a hard project. Join a local class or a friendly sewing group if you want feedback from a real person.
Safety and comfort basics
Sewing is gentle, but it still involves sharp points and hot surfaces. Keep fingers clear of the needle, and switch off or unplug the machine when you change needles, clean it or leave the room. Put loose pins in a pin cushion or a magnetic holder instead of on the floor.
Take care with the iron as well. Turn it off when you finish, store it on its heel, and keep the cord out of walkways. Children and pets should stay away from the cutting and pressing area.
Posture matters during long sessions. Sit with your feet flat, your elbows relaxed and the machine at a height where you do not hunch. Good light, ideally from above and to one side, cuts eye strain and helps you see fine stitches.
Common beginner mistakes and how to fix them
Almost every problem has a short list of likely causes. Check these before you blame the machine:
- Skipped stitches: the needle is bent, dull or the wrong type for the fabric.
- Bunched thread underneath: the top thread is not seated in the tension discs, so re-thread with the presser foot up.
- Wavy seams: you are pulling the fabric instead of letting the feed dogs move it.
- Uneven seam width: your eyes are on the needle instead of the guide line.
- Frayed edges: finish raw edges with a zigzag stitch or pinking shears.
Unpicking is a normal part of sewing. Slide the seam ripper under a stitch, cut it, and pull the thread free, then brush away the loose ends. Do not rush this step, as a nick in the fabric is harder to repair than a crooked seam.
Set up a comfortable space too. Good light, a firm chair at the right height and a clear table reduce errors and tired shoulders. Short, regular sessions give you repeated opportunities to practise.
Frequently asked questions
Do I need an expensive machine to learn?
Show answer
No. A basic machine with straight stitch, zigzag, adjustable stitch length and reverse is enough for your first projects. Keep the money for good shears, needles and thread.
What fabric is easiest for a first project?
Show answer
Medium-weight woven cotton, such as quilting cotton or poplin, is the easiest. It is generally stable and easy to press, though it can stretch on the bias.
Which needle should I use for stretchy fabric?
Show answer
The SCHMETZ needle guide lists jersey (ball point) needles for knits and some stretch fabrics, and separate stretch needles. A universal needle is better kept for woven cloth.
Should I learn hand sewing or machine sewing first?
Show answer
Either works, but a few hand stitches are useful for repairs and finishing. Many people learn both side by side, starting with a button and a straight machine seam.
How often should I change the needle?
Show answer
Change it when it bends, develops a burr or starts to skip stitches. A fresh needle is the cheapest fix for many sewing problems.