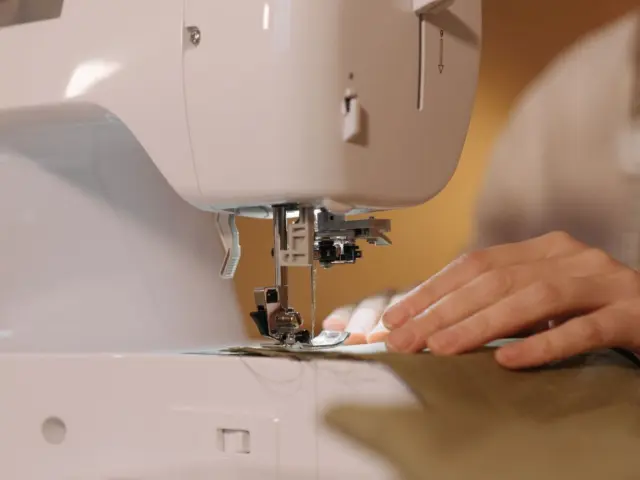

Wondering how to sew a baby romper that actually survives nappy changes? Cut a front and back, sew the sides, finish the neck and arms, then reinforce the crotch and set snaps.
This romper belongs with the wider set of projects in our guide on how to sew kids clothes.
| Item | Value |
|---|---|
| Fabric needed | ½ yd – 1yd cotton fabric (woven or knit) |
| Side seam allowance | 3/8in |
| Neck casing fold | 1/4in |
| Project time in the tutorial | 90 minutes, 18 steps |
| Snap orientation | One snap side faces down, the other faces up |
These figures come from one tutorial on Cut Out + Keep. Patterns differ and details can change, so check the source and your own pattern before you rely on them.
What a snap-leg romper is made of
A snap-leg romper is a simple front and back body with an opening along the crotch. The opening lets you change a nappy without undressing the baby. Most of the work is in that opening, not in the body.
The tutorial above describes a flexible fit that can be made from woven or knit fabric, is easy to get on and off, and uses little fabric. That makes it a good first baby project, because a small amount of fabric keeps mistakes cheap.
Your pieces will usually be:
- A front and a back body piece, cut on the fold.
- A snap area at the crotch, either part of the pattern or added as a separate panel.
- Elastic or binding for the neck and arm edges.
- Interfacing or an extra fabric layer to reinforce the snap area.
Choosing fabric and notions
Pick a soft, washable cotton. Jersey and interlock give a stretchy fit, while lightweight woven cotton is easier to cut and sew if you are new to knits. Pre-wash washable fabric according to its care instructions, because shrinkage after sewing can affect the fit.
Avoid loosely knitted fabrics and anything with loose threads, since these can catch tiny fingers and toes. Tight weaves and neat, trimmed seams are kinder to a baby.
Gather these before you start:
- Cotton fabric in the amount your pattern lists.
- Elastic for leg or armhole edges, if your design uses it.
- Stabilizer or interfacing for the crotch.
- Snap tape, or individual snaps with the setting tool or pliers they need.
- Disappearing marker, measuring tape and safety pin for threading elastic.
Sewing the body step by step
Start with a paper pattern, or use a commercial one in your baby’s size. Cut the front and back with the fabric folded and the selvages together on one side.
The tutorial then says: with right sides facing, stitch the side seams together with a 3/8in seam allowance. Use a stretch stitch if your fabric is a knit, and press the seams flat.
- Cut the front and back pieces and mark any notches.
- Sew the side seams, right sides together, and press them.
- Fold the top raw edge to the wrong side and press, then fold again to make a casing wide enough for the elastic, press and stitch near the folded edge, leaving the casing ends open for threading.
- Thread elastic through the casing or attach straps, as your design requires.
- Finish the leg and arm edges with a narrow hem, binding or elastic.
Try the garment against a well-fitting baby outfit as you go. Babies grow quickly, so leave room rather than aiming for a snug fit.

Reinforcing and setting the snaps
The crotch takes the most strain, so reinforce it. The tutorial folds the snap edge to make a layered little pocket for interfacing or an extra layer of fabric, and notes that this is key to keeping the fabric from wearing holes around the snaps since it gets pulled on a lot with frequent opening.
When you set the snaps along the crotch ends, make sure one snap side faces down and the other faces up. That way the front and back pieces close against each other correctly.
Follow this order for a tidy result:
- Press the crotch edges and add the interfacing or extra fabric layer.
- Mark the snap positions evenly with a disappearing marker.
- Test one snap on a scrap of the same fabric and interfacing first.
- Set the rest, then pull each one firmly to check it holds.
Snap safety for babies
Snaps are the part to treat with care, because a snap that comes loose is a choking hazard. Use snaps made for the weight of your fabric and set them firmly. Pull-test each one after setting and again after the first washes.
Replace any snap with exposed sharp prongs or rough edges, and check that the replacement is correctly set before use. Re-test the snaps from time to time, as frequent opening can loosen them.
If you plan to sell or give away what you make, rules for children’s products vary by country, so read your local product safety guidance rather than relying on this guide.
A romper without a snap panel
Some babies outgrow the nappy-change need, and some parents simply prefer a plain seam. One designer notes that you can remove the snap panel and enclose the crotch seam of baby rompers, which can be done with a simple crotch seam or an enclosed french seam.
To do this, omit the snap panel pieces when cutting out. Then sew the side seams. For a simple crotch seam, align the front and back right sides together; for a French seam, begin with wrong sides together and follow the linked tutorial.
Once you are comfortable with the romper shape, the same skills carry over to other projects, such as learning how to sew a kids skirt or figuring out how to sew a toddler dress.
Fitting and sizing tips
Measure the baby, or a romper that already fits well, rather than trusting age labels. Check chest width, torso length from shoulder to crotch, and how much room the nappy needs. Add growth room in the length.
If you are unsure, make a quick test version from cheap cotton. A test romper shows whether the neck opening passes over the head and whether the crotch panel sits flat.
Keep the neck opening generous, or add a shoulder opening, because babies dislike garments pulled tightly over the face. Soft elastic beats stiff elastic at the neck and legs.
Common mistakes when you sew a baby romper
- Skipping the reinforcement, so the fabric tears at the snaps.
- Setting both halves of a snap facing the same way, so the garment will not close.
- Cutting too snug, leaving no room for growth or a nappy.
- Leaving long thread tails inside, which can wrap around small toes.
- Skipping a pre-wash, then finding the finished romper has shrunk.
Frequently asked questions
Is a baby romper a good first sewing project?
Show answer
Yes. It uses little fabric and has few pieces, so it is an economical way to practise, as the tutorial cited above points out.
Can I use knit or woven fabric?
Show answer
Either works for the pattern cited above. Knits stretch and are forgiving; wovens are easier to handle but need a looser cut.
How long does it take?
Show answer
The tutorial lists 90 minutes across 18 steps. Expect longer on a first attempt.
Do I need snaps at all?
Show answer
No. You can enclose the crotch with a simple or french seam instead, as the second source describes.