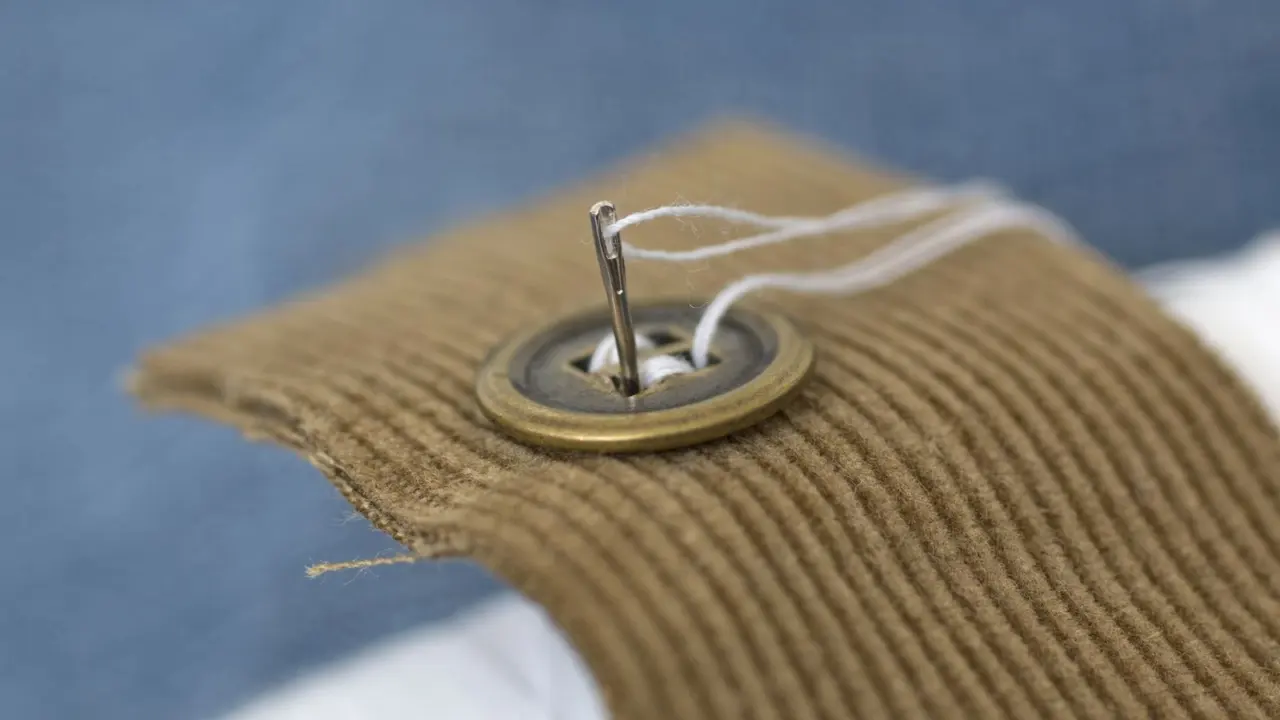
A button just popped off and you’d rather not bin the shirt. Here is how to sew on a button: double your thread, stitch through the holes, add a small thread shank, and knot well.
This guide is part of our series on sewing for beginners.
| Item | Value |
|---|---|
| Button types | Two: flat and shank |
| Starting thread length | About 24 inches |
| Thread strands | Doubled, for strength |
| Spacer for a flat button | A straight pin under the button |
| Finishing knots | Two to three |
These figures come from Sew4Home’s hand-sewing tutorial. Methods and advice can change, so check the source before you rely on them.
What you need before you start
Sewing a button is a small job with a short kit. Gather everything first so you are not hunting for scissors with a needle in your hand.
- A hand-sewing needle with an eye big enough for your thread
- Strong thread that matches the button or the garment
- Small scissors
- A straight pin, which acts as a spacer
- The button itself, or a spare
Spare buttons often hide in the garment. Check for a small bag or a button sewn onto a tag inside the piece, since the shop may have tucked one there.
Needle choice matters a little. Our guide to types of sewing machine needles covers machine needles, but the same idea applies by hand: a finer needle for light cloth, a sturdier one for coats.
Know your button: flat or shank
There are two types of buttons: flat buttons and shank buttons. Flat buttons have holes through the body, so the stitching shows on top.
Shank buttons have a small eyelet piece that extends from the back, with a hole for attaching the button. Because the loop is built in, the thread stays hidden.
Shank buttons are often more decorative than flat buttons because the whole top surface is free for embellishment. Look at the button before you pick up the needle, as the method differs.
How to sew on a flat button, step by step
This is the method most people need. Work slowly and keep the stitches neat.
- Cut your thread. Cut a length of about 24 inches.
- Double it. Thread the needle, fold the thread on itself and knot both ends, so you sew with double thread. Two strands give strength so the button does not fall off.
- Start from the back. Pull the needle up through the fabric, from back to front, where the button will sit.
- Stitch through the holes. Bring the needle up through one hole, then down through the hole across from it, passing all the way through the fabric each time.
- Add the spacer. To keep the button raised so it fits through the buttonhole, place a straight pin beneath the button as a spacer and stitch over it.
- Repeat. Do this several times so the button is secure.
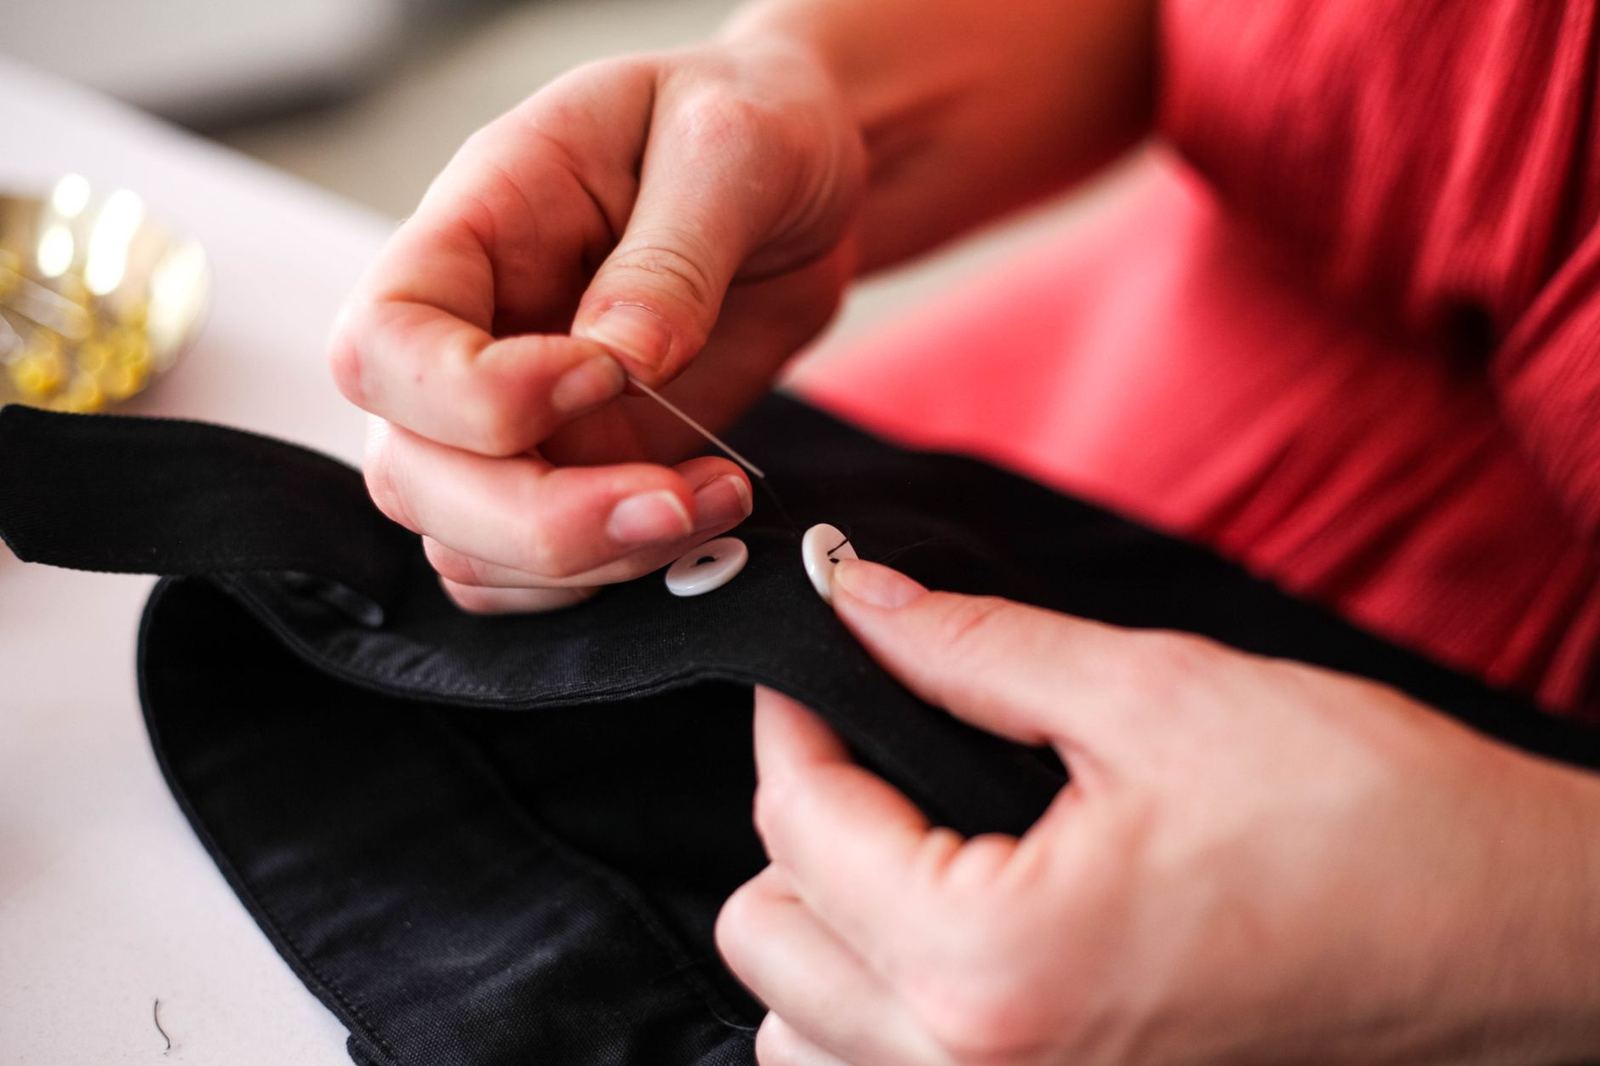
For a four-hole button, stitch each pair of holes in turn, then finish with the same steps. Keep the stitch pattern the same each time and the button will sit flat and look tidy.
Make a thread shank and finish off
Remove the pin and pull the button up away from the fabric. The loose stitches beneath it leave slack.
Wind the thread around those stitches under the button. This reinforces your work and creates a mini thread shank, so the button slips in and out of the buttonhole more easily.
Tug the button gently to test it. If it moves more than the shank allows, add a few more stitches before you cut the thread.
Finish at the back of the fabric. Knot two to three times, then trim the thread, leaving a short tail at the back.
Sewing on a shank button
A shank button needs less fuss, because the button raises itself from the fabric. There is a natural space between it and the buttonhole.
- Double and knot your thread as before.
- Bring the needle up from the back of the fabric at the button position.
- Pass the needle through the shank loop, then back down through the fabric close beside it.
- Repeat several times, then knot at the back and trim the tail.
Line the shank up in the same direction as the buttonhole, so the button sits correctly when it is fastened.
Placing the button and choosing thread
Before you stitch, work out exactly where the button belongs. Fasten the garment, line up the buttonhole, and mark the spot with a pin or a small dot of chalk.
If an old button fell off, look for the tiny holes or leftover thread on the fabric. Those marks show the original position, which is the safest place to sew again.
For thread, pick a colour close to the button so the stitches blend in. Contrasting thread can be a fun design choice, and it also makes your stitches easier to see while you learn, as Sew4Home does in its own step photos.
- Check that the new button lines up with the buttonhole before you commit.
- Keep the button’s holes in the same direction as the others in the row.
- Sew the button on a firm part of the fabric, not over a loose or frayed patch.
If the fabric around the old button has worn thin, a small patch of fabric on the back can add support. Without it, the new stitches may tear free after a few wears.
Tips for neat, lasting results
A few small habits make the difference between a button that lasts and one that returns to your mending pile.
- Keep stitches parallel. Parallel stitches look tidy and share the strain evenly.
- Do not pull too tight. A taut thread leaves no room for the fabric layers under the button.
- Hide your knots. Tucking tails under the button keeps the finish clean and stops them catching on anything.
- Sew spare buttons on while you are at it. If one button has loosened, the others may be close behind, so give them a quick check.
Work in good light, and take your time with the first stitch. A relaxed hand makes smoother stitches, and the whole job should take only a few minutes once you have done it a couple of times.
Practise on a scrap of fabric with a spare button if you feel unsure. That way you learn the rhythm of up, across, down and repeat before you touch a favourite shirt.
Common mistakes and quick fixes
- Button too tight: You skipped the spacer. Unpick and redo with a pin under the stitches.
- Button wobbles: The stitches may be too loose or too few, or the thread shank too long. Resew with enough secure stitches and a shank suited to the fabric thickness.
- Thread keeps slipping out: Knot more firmly at the back.
- Fabric puckers: Pulling too hard on each stitch does this. Keep a steady, gentle tension.
Once buttons feel easy, a hem is a natural next hand-sewing job. Try our guide on how to hem pants by hand.
When a button needs more than a repair
Sometimes the button is fine but the fabric is the problem. If the cloth around it is torn or frayed, a new button alone will not hold for long.
In that case, reinforce the area first. A small piece of fabric stitched behind the spot spreads the strain, and then you can sew the button through both layers.
Coats and heavy fabrics take more strain than shirts, so give them a firmer thread shank and a few extra passes of thread. Thin, light fabrics are different: a tall shank can leave the button loose and floppy, so keep the shank short on those.
Learning this one skill saves clothes from the bin and saves you a trip to a tailor. Once it feels natural, you will find yourself fixing buttons without a second thought.
Frequently asked questions
How long should the thread be?
Show answer
Cut about 24 inches, then fold it so you sew with double thread.
Why use double thread?
Show answer
You want the strength of two strands of thread so the button doesn’t fall off.
Why put a pin under the button?
Show answer
It keeps the button raised from the fabric, so there is space to fit it through the buttonhole.
How many times should I knot the thread?
Show answer
Knot two to three times, then trim the tails so they are hidden under the button.