Pants too long and no machine nearby? Here is how to hem pants by hand: fold, press, then sew a blind hem stitch that catches only a few fibers to minimize visible stitching outside.
New to needle and thread? Start with the basics in sewing for beginners, then come back to this hem.
| Item | Value |
|---|---|
| Hem allowance used in one dress-pant tutorial | 2.5 inches below the new hemline |
| Raw edge pressed under | 5/8 inch |
| Fibers caught per stitch on the leg | Two or three |
| Other name for this finish | Invisible hem (blind hem) |
Figures come from one tutorial by Pin Cut Sew Studio and can change with fabric and pattern, so check the source before you rely on them.
What a blind hem is and when to use it
A blind hem is the invisible hem you see on ready-to-wear dress pants. The thread travels between the folded hem edge and the pant leg, so from the outside you see almost nothing.
It suits trousers, chinos, wool and most woven fabrics. It is slower than a machine straight stitch, but it looks cleaner, and you need only a needle, thread and a few pins.
It also leaves the original fabric uncut if you only fold and sew, which means you can let the pants down again later if your needs change.
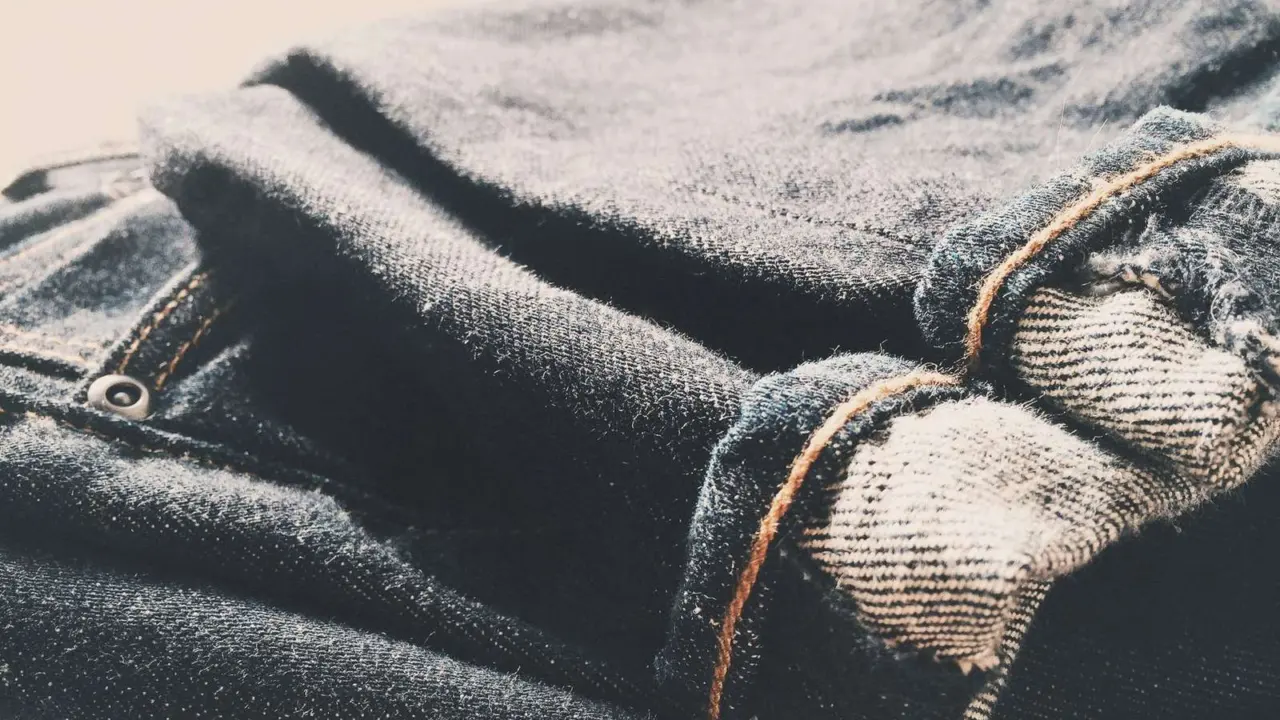
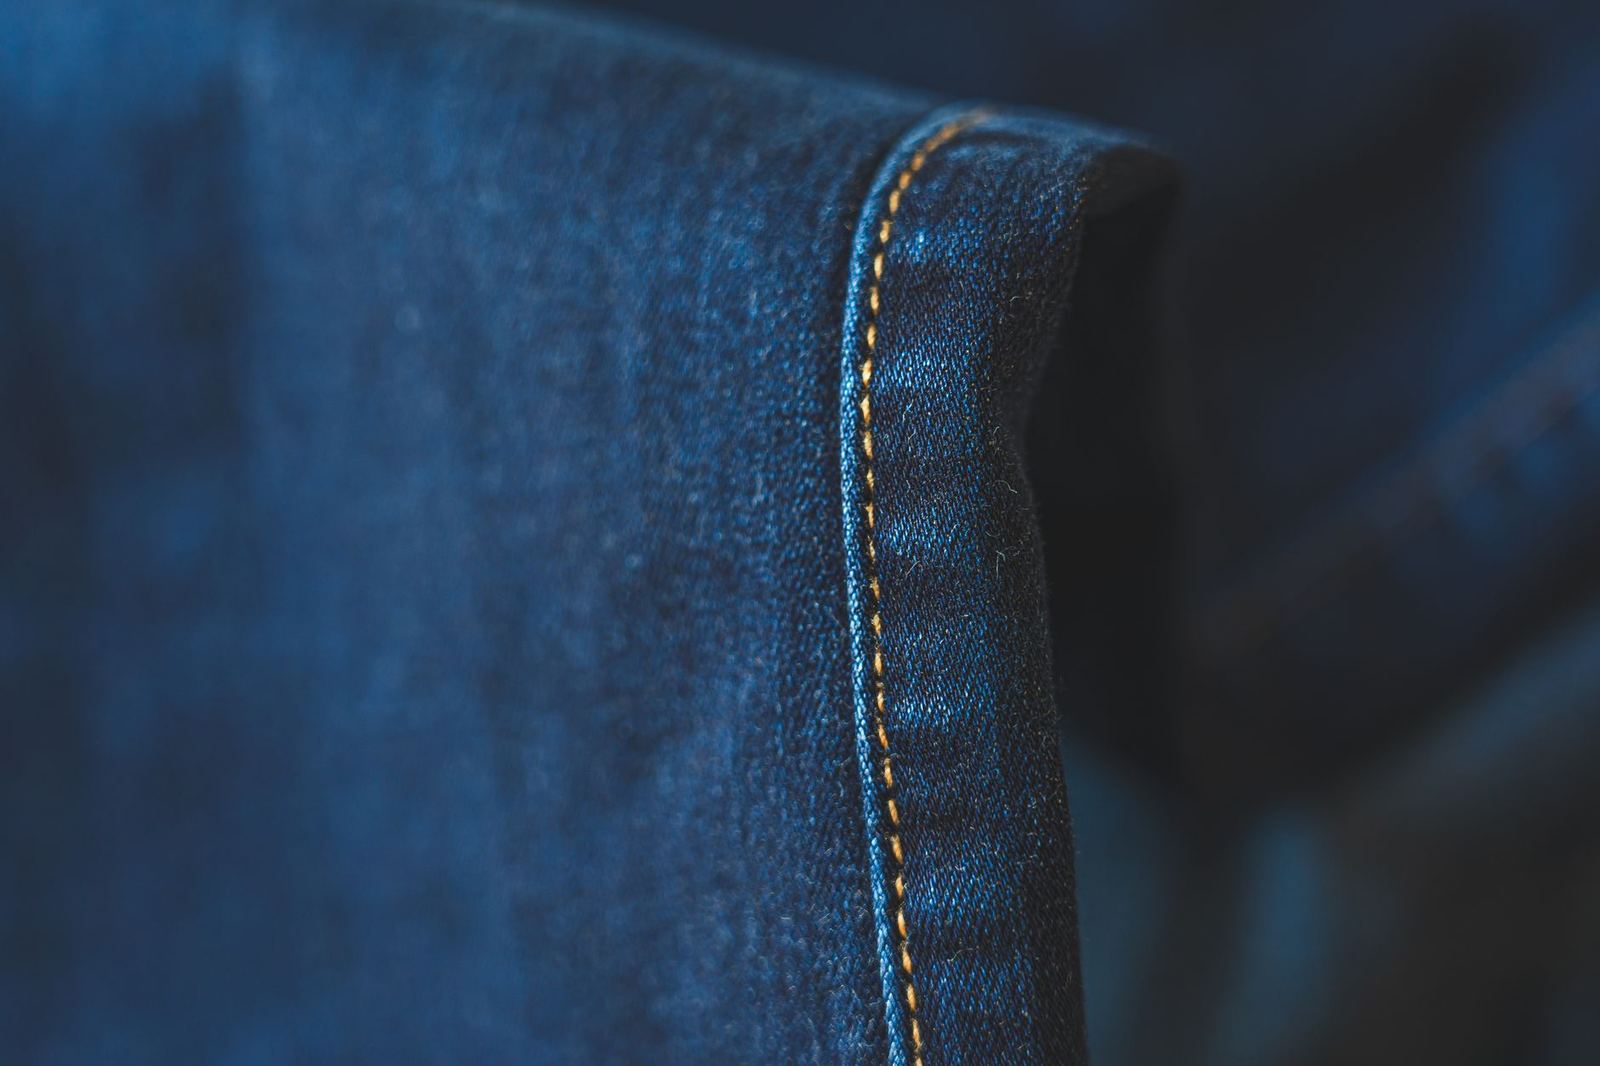
Jeans are different. Their thick hems and topstitching are part of the look, so consider keeping the original hem or using a machine.
What you need before you start
Gather everything first so you are not hunting for a seam ripper with half a leg pinned.
- Sharp hand-sewing needle, a fine one for lightweight fabric
- All-purpose thread that matches the pants, not the lining
- Pins or clips
- Iron and pressing surface
- Seam ripper and fabric scissors
- Tape measure or ruler and chalk or a fabric marker
- The shoes you will wear with the pants
Thread choice matters more than you might think. If your color is between two shades, pick the slightly darker one, since stitches tend to look lighter once they sit in the fold.
Step by step: how to mark and prepare the hem
Put the pants on with the right shoes. Fold the leg up to where you want the new edge, and place a pin there. As one tutorial puts it, “Where the pin is will be the new hemline of my pants.”
If you are taking the hem up a lot, mark both legs separately, since legs are rarely identical. Take the pants off and compare the measurements before cutting anything.
- Unpick the old hem with a seam ripper and press out the old crease.
- Measure down from your new hemline and mark the allowance. The tutorial used 2.5 inches for straight dress pants, then cut off the excess.
- Turn the pants inside out and press the raw edge under 5/8 inch.
- Fold the hem up along your new hemline and press again so the crease is sharp.
- Pin the hem in place with the pins placed across the fold so they are easy to remove as you stitch.
Good pressing does half the work. A crisp fold keeps the hem even and makes each stitch easier to place. If you want to understand how those allowances are chosen, seam allowance explained covers the same thinking for seams.
How to sew the invisible hem stitch
Work from the inside of the pants, with the pressed hem folded back so you can see the turned-under edge. Thread your needle with a single strand and knot the end.
The trick is the tiny catch. In the tutorial’s words, you are “trying to catch just a few fibers with your needle”, and the author adds that catching “just the two or three fibers” of the fold makes the stitch disappear from the right side.
- Hide the knot by pulling the needle up through the inside of the folded hem edge.
- Pick up two or three fibers of the pant leg, directly opposite where the thread came out. Do not push the needle all the way through.
- Slide the needle into the fold of the hem edge and travel along it for a short distance, then come out again.
- Repeat the tiny catch on the leg, then the slide inside the fold.
- Keep the thread loose enough to lie flat. Pulling too hard creates dimples on the outside.
- Remove pins as you reach them, and finish with a few small stitches inside the fold.
Work in a comfortable rhythm and keep the hem flat on your lap. Slow down around curves, side seams and any bulky spots where layers meet to help keep stitches even.
Stitch lengths are a matter of taste. Longer stitches work faster, but shorter ones hold better where the hem gets tugged by shoes.
Finishing, checking and fixing problems
Turn the leg right side out and look at the hem in good light. You should see a clean edge and no visible thread, and the leg should hang straight when you stand.
Try the pants on and stand in front of a mirror. Check that the hems sit at the same height and break the same way over your shoes. Fixing a small difference now takes minutes.
Press the finished hem lightly with a pressing cloth. Skip heavy steam on fabrics that mark easily.
Common problems
- Visible dots on the outside: your needle caught too much of the leg. Remove the stitches and take smaller catches.
- Puckering: the thread is too tight. Unpick and re-sew with slack.
- Hem sagging or uneven: the pins moved or the fold was not pressed well. Re-press and pin more closely.
- Thread breaks when you tug: use a stronger thread, and add a few extra stitches near the seams where the hem takes the most strain.
Hand sewing is also the place to practice other small skills. A loose button is a good next project, and how to sew on a button uses the same needle control.
Hand hem or machine hem?
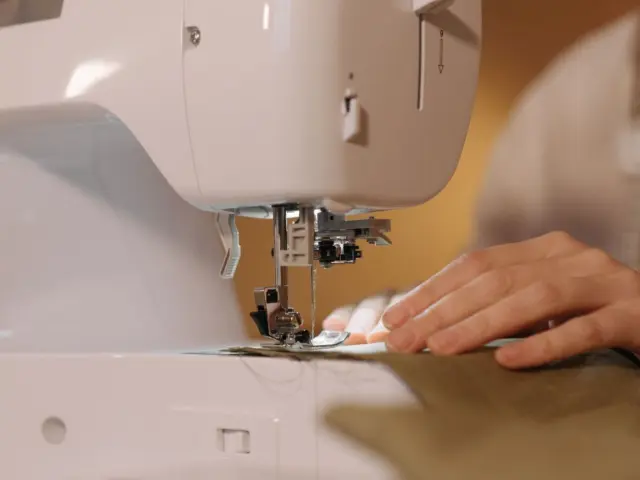
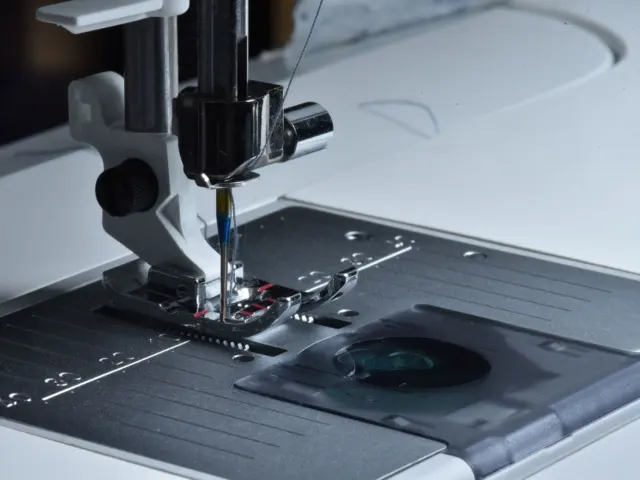
A hand hem is quiet, needs no setup and gives you full control. A machine blind hem is faster, and the same tutorial notes that its zigzag points should barely catch the folded edge.
The same author says she feels she “can hand sew a better blind hem” because it is easier to catch only a couple of fibers. For a first hem, do the hand version on the less visible leg’s back, then judge for yourself.
Frequently asked questions
Can I hem pants by hand without a sewing machine?
Show answer
Yes. The tutorial notes that you can sew the whole hem by hand with a needle and thread.
What stitch is best for hemming pants by hand?
Show answer
A blind hem stitch, also called an invisible hem. It catches only a few fibers on the leg so the thread stays hidden.
How much fabric should I leave for the hem?
Show answer
One dress-pant tutorial left 2.5 inches below the new hemline and pressed the raw edge under 5/8 inch. Your fabric and pants style may call for less.
What thread should I use?
Show answer
Use all-purpose thread that matches the outer fabric. When unsure, choose the slightly darker shade.