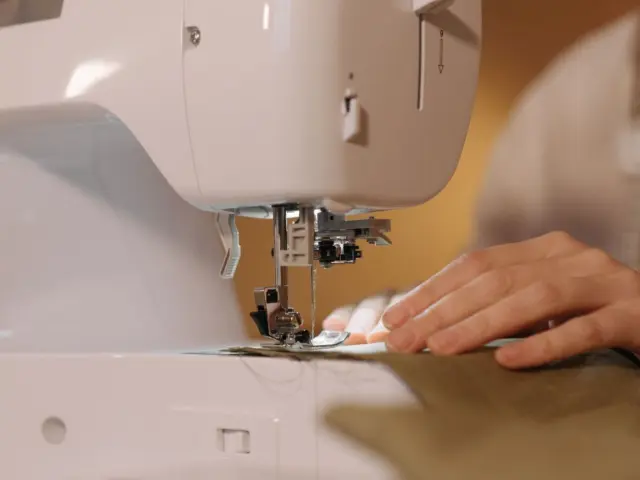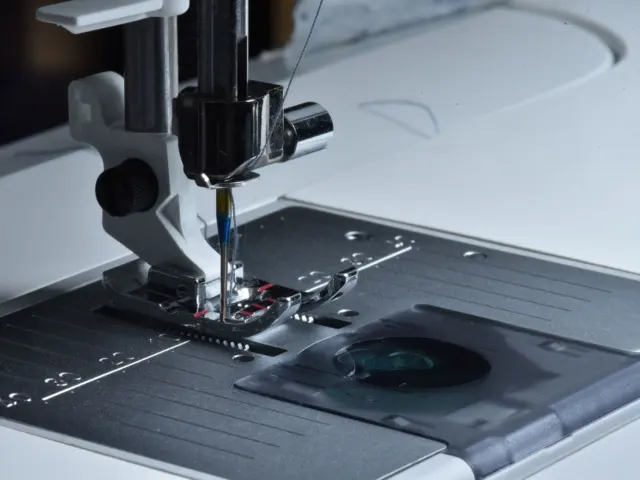

Zippers feel scary, but you can do this. To learn how to sew a zipper, baste the seam shut, press it open, then stitch the zipper in with a zipper foot, close to the teeth.
If you are new to garments, our guide to sewing for beginners covers the basics that sit around this skill.
| Item | Value |
|---|---|
| Basting stitch length (centered zipper) | 5 mm |
| Needle position for a centered zipper | Position compatible with your zipper foot; far left for the foot specified in the linked tutorial. |
| Invisible zip stop position | 15 mm (⅝ in) down from the top edge |
| Iron setting for an invisible zip | Warm and dry, not too hot |
| Securing the bottom of a centered zipper | Sew back and forth several times |
These figures come from WeAllSew’s centered zipper tutorial and Tilly and the Buttons’ invisible zip guide. They can change, so check the source and your own pattern before you rely on them.
Which zipper are you putting in?
Most beginner patterns use one of two types. A centered zipper sits beneath the meeting seam edges, which cover the teeth, with visible topstitching on either side.
An invisible zip is different. Its teeth are hidden on the underside of the garment, so it blends into the seam for a polished finish.
Check your pattern envelope for the type and length. Reading the instructions properly helps a lot, and our page on how to read a sewing pattern shows where to find those details.
What you need before you start
- A zipper in the length your pattern specifies.
- A zipper foot that fits your machine. Invisible zips work best with a dedicated invisible zip foot.
- Pins or a basting method you trust, plus a seam ripper.
- Chalk or a fabric marker, and an iron.
Make sure your machine is ready too. If you need a refresher, here is how to thread a sewing machine: our walkthrough on how to thread a sewing machine takes a few minutes.
Try everything first on a scrap of the same fabric. A practice seam shows you where your foot sits before you touch the real garment.
How to sew a centered zipper, step by step
Work only once the garment is complete up to the zipper stage, with any facings applied. The sequence below follows the WeAllSew tutorial.
- Baste the seam shut. Your pattern usually marks where the basting should end. From the top down, baste the seam closed with a stitch length of 5 mm.
- Switch stitch length. Past the mark, backstitch and continue with a regular stitch length for the rest of the seam.
- Press the seam open. A flat, open seam gives the zipper a clean surface to sit on.
- Position the zipper. Align the top of the zipper with the top of the garment (not the facing). Feel with your fingers that the teeth are centered under the basted seam.
- Pin or baste it in. Some sewists pin, and others hand-baste for extra control.
- Stitch each side. Fit the zipper foot and choose a needle position compatible with that foot, checking that the needle clears it. With the zipper on the left side of the foot, sew from top to bottom, backstitching at each end, then do the other side the same way.
- Tack the bottom. Sew back and forth several times across the bottom of the zipper for strength.
- Remove the basting. Use a seam ripper and pick out one stitch at a time. Go slowly so you do not rip a hole in the fabric.
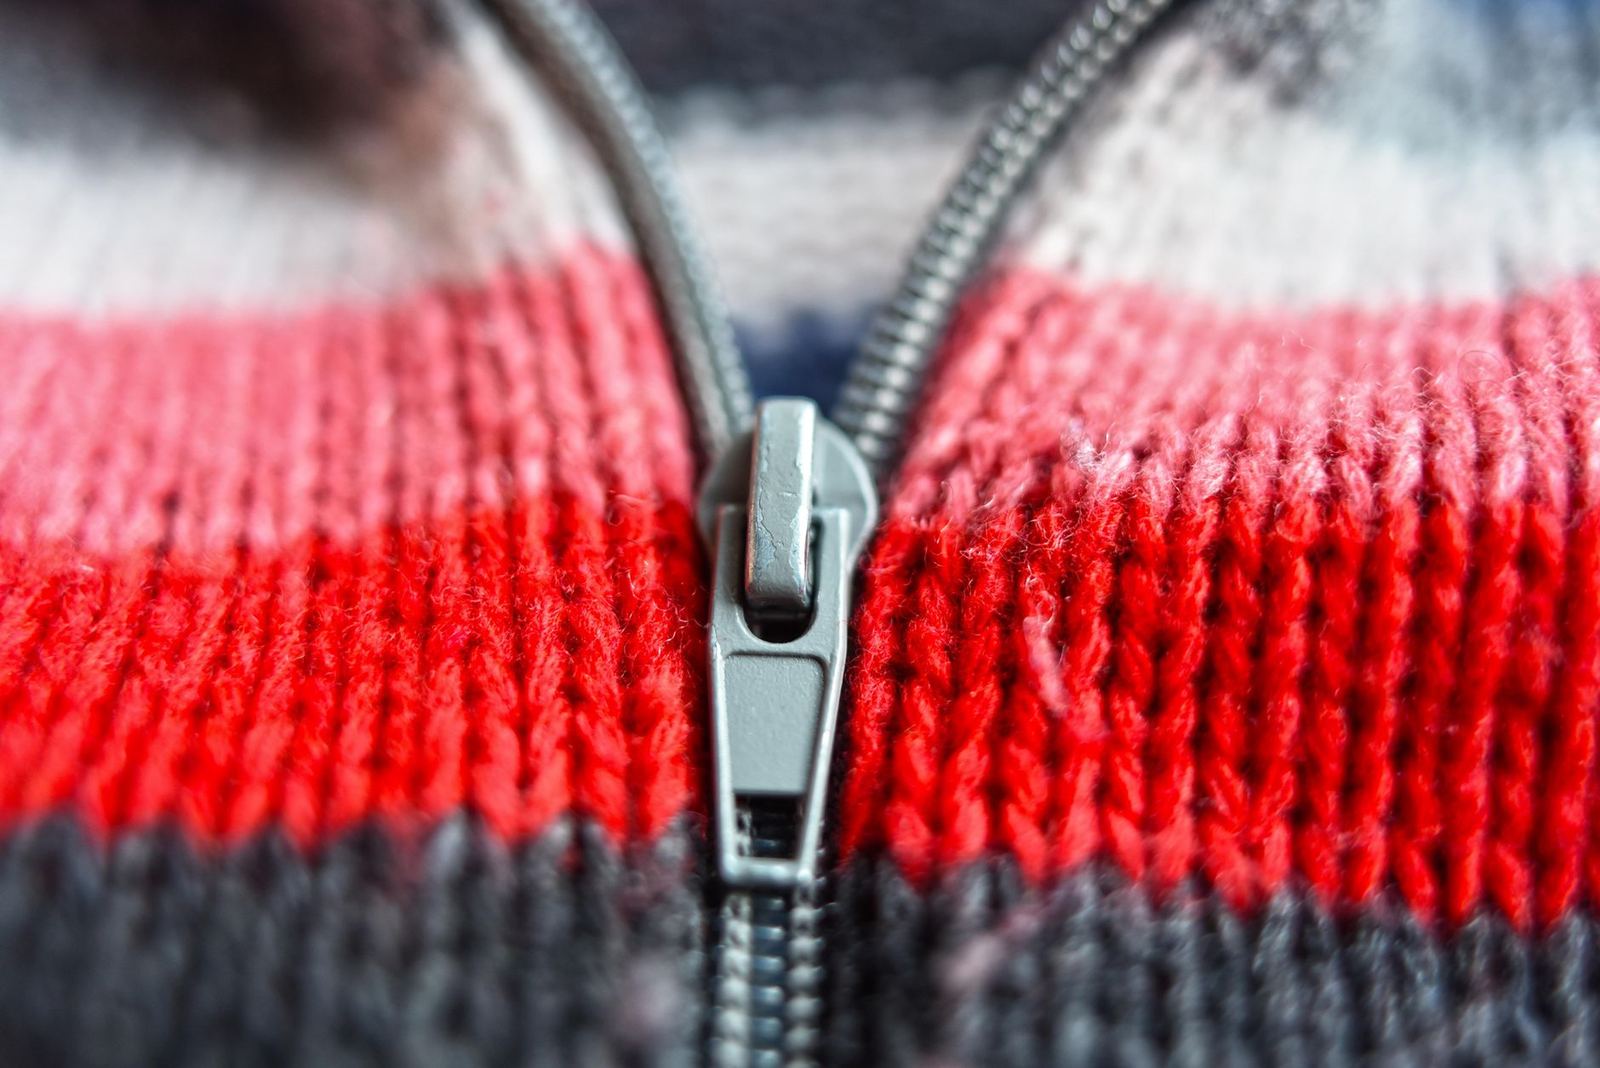
Sewing an invisible zip
An invisible zip is stitched before the rest of the seam is closed, and the order feels backwards at first. The steps below follow Tilly and the Buttons’ guide.
- Press the coil flat. Open the zip and, with a warm, dry iron (not too hot), press the back to smooth the curled teeth flat. This lets you stitch closer to the teeth later.
- Pin the first side. Place the zip right sides together with the fabric. First press the seam allowances under along your pattern’s seam lines, then unfold them and align the teeth with the creases. Put the top of the zip stop 15 mm (⅝ in) down from the top edge of the waistband.
- Attach the invisible zip foot. It has two little grooves underneath. Slot the teeth of the pinned zip tape into the left groove.
- Stitch. Position the needle over the zip tape. Sew from the top down as far as you can before reaching the zip pull, as close to the teeth as you can, without sewing over them.
Repeat on the other side using the foot’s right-hand groove, then close the seam below the zip. Check that the pull slides freely before you trim anything.
Habits that keep zipper day calm
Most zipper trouble starts before the zipper arrives. A few small habits take the pressure off.
- Finish the seam edges first. Neaten the raw edges where the zipper will sit before you press the seam open, so they do not fray while you work.
- Mark the stop. Chalk the point where the opening ends, so you know where to stop basting and where the zipper stop should land.
- Go slowly near the pull. When the pull is in your way, stop with the needle down, lift the foot and slide the pull out of the path.
- Press as you go. A quick press after each step keeps the layers flat and makes the next step easier.
- Do a dry run. Pin the zipper in and open and close it before you sew, to confirm the fit and the right side facing out.
Take your time with the first zipper. It is a skill built from straight lines, and straight lines get easier with each practice seam.
Common mistakes and quick fixes
- Wavy or puckered zipper: The fabric may have stretched while you sewed. Pin or baste more closely and let the machine feed the layers.
- Teeth not centered: you did not line them up under the basted seam. Unpick the stitches and re-pin.
- Stitching on the teeth: the zipper will jam. Move your needle or foot so you sew beside the teeth, not on them.
- A ripped hole when unpicking: work one stitch at a time, and use the point of the seam ripper only on the basting.
A snagged zipper is rarely ruined. Most of the time you can unpick a few inches and redo that section.
Frequently asked questions
Can I use a regular presser foot to sew a zipper?
Show answer
The tutorials above all call for a zipper foot, which sits beside the teeth so you can stitch close to them. Use one if your machine has it.
Why baste the seam before the zipper goes in?
Show answer
The long stitches hold the seam closed while you position the zipper, then come out so the zipper can open. They also make the centering easy to check from the front.
Do I need a special foot for an invisible zip?
Show answer
An invisible zip foot has grooves that guide the teeth, which makes close stitching easier. A regular zipper foot can work, but the result is usually harder to get right.
Should I press the zipper?
Show answer
Yes for an invisible zip. Use a warm, dry iron that is not too hot to flatten the curled teeth, so you can stitch closer to them.