Wobbly seams are frustrating, and you’re not alone. Here’s how to sew a straight line: watch the guide, not the needle, keep the fabric edge on a marked line, and sew slowly.
This guide is part of our series on sewing for beginners.
| Item | Value |
|---|---|
| Quarter-inch foot: needle to outer edge | 6 mm (¼”) |
| Wider guide foot: needle to outer edge | 8 mm |
| Needle moved 2 mm left (with the 8 mm foot) | 1 cm (⅜”) from the foot edge |
| Needle moved 2 mm right (with the 8 mm foot) | 6 mm (¼”) from the foot edge |
Figures come from Threads Monthly and can change by machine and foot, so check the source and your own foot before you rely on them.
Why seams drift off course
Looking at the needle instead of the guide can contribute to crooked seams. The needle moves too fast to follow, so your eyes chase it and your hands steer the fabric left and right.
Uneven fabric edges, rushing and pulling the cloth can also contribute. Addressing these habits can help.
Use the guides your machine already has
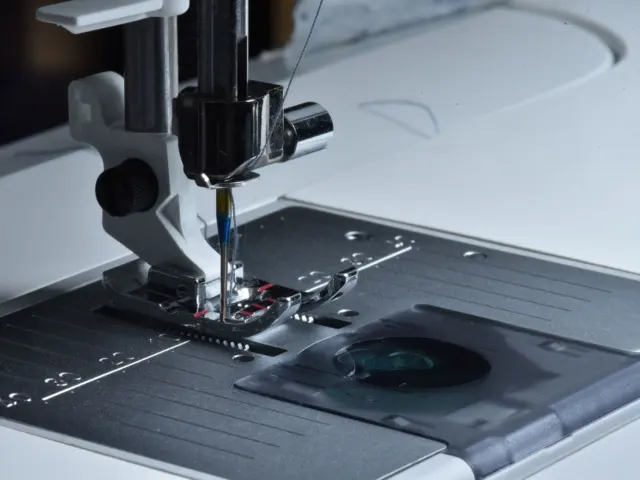
Look at the metal plate under the needle. As one tutorial notes, “a sewing machine throat plate usually has some kind of a seam guide”, which means a set of engraved lines you can line your fabric edge against.
Pick the line that matches your seam allowance, then keep the cut edge of the fabric riding along it as you sew. Your eyes belong on that line, a little ahead of the needle.
- Check the fabric edge against the line before you lower the needle.
- Keep looking at the line while you sew, not at the needle.
- Let your hands guide the fabric lightly; don’t push or pull it.
Good results also depend on the machine being set up well. If stitches skip or pucker, recheck how to thread a sewing machine and the types of sewing machine needles available for your fabric.
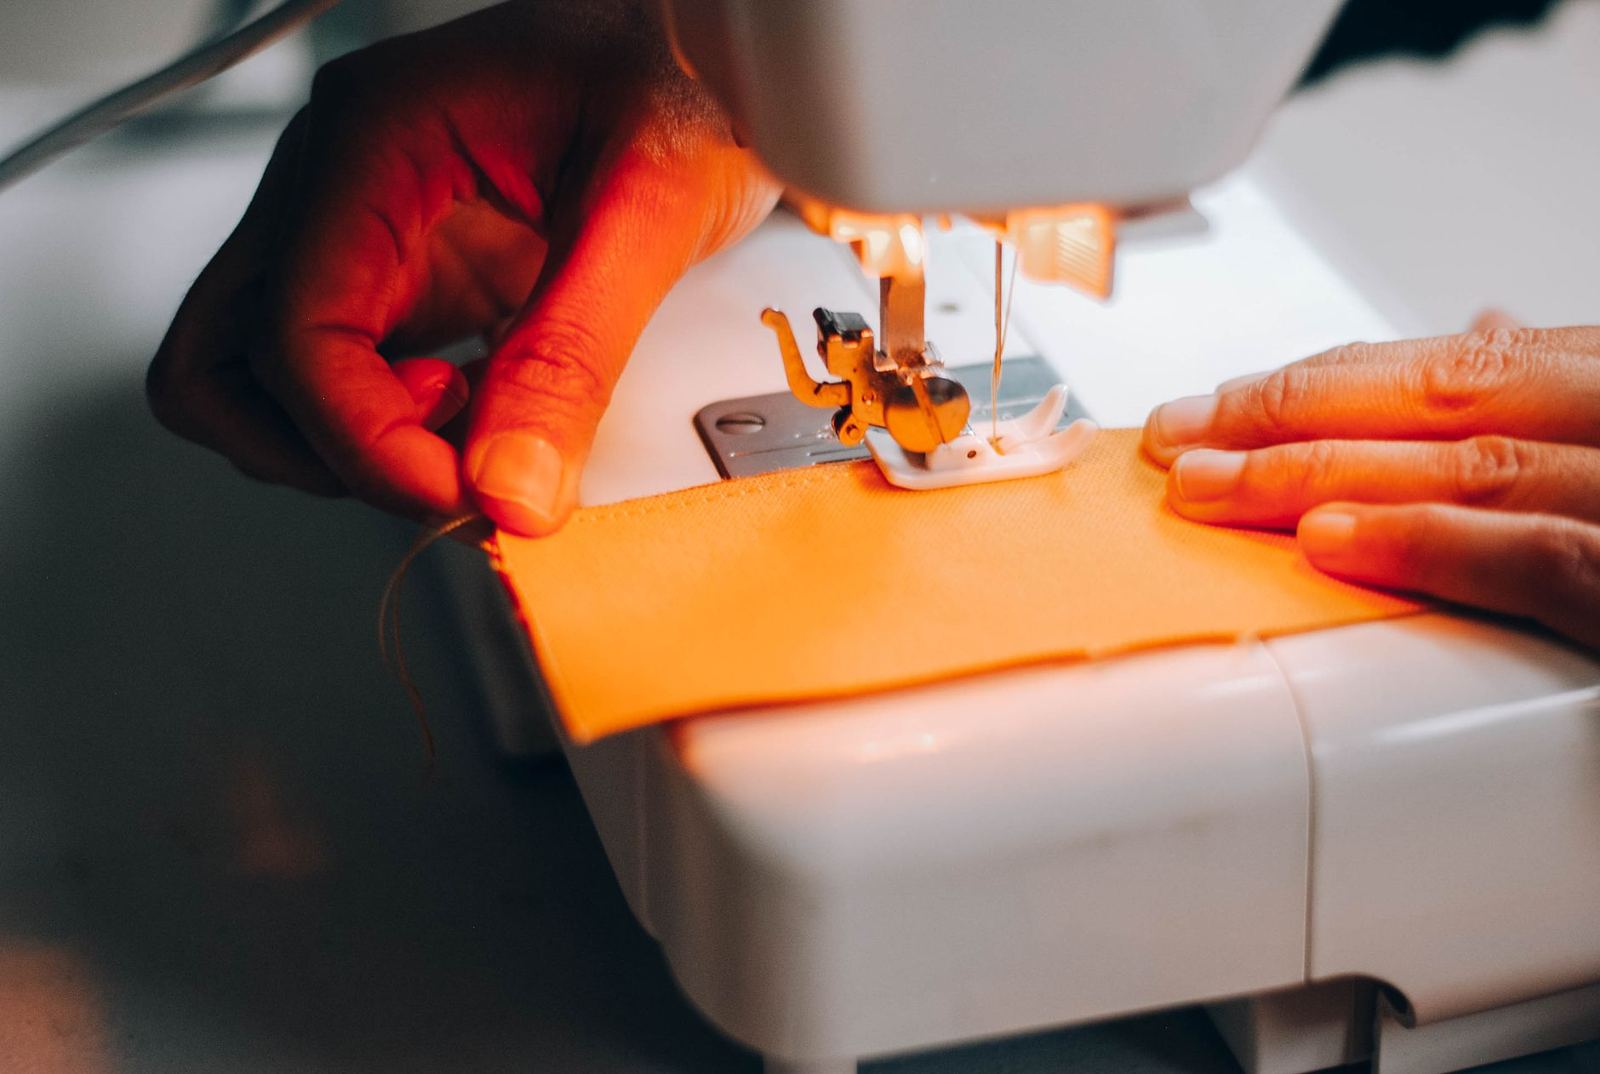
Presser feet and needle position
A guide foot gives you a physical edge to follow. Threads Monthly says a quarter-inch foot has a 6 mm distance between the central needle hole and its outer edges.
A wider foot there has 8 mm between the central needle position and the outer edge. Move the needle position and the seam allowance changes with it.
- Moving the needle 2 mm to the left gives an exact 1 cm distance, about ⅜”, between the needle and the right edge of that foot.
- Moving it 2 mm to the right gives a 6 mm, or ¼”, seam allowance.
- Line the fabric edge up with the foot edge, then adjust the needle.
Add a guide when the plate has no lines
Some machines have no useful markings. A seam guide can fix that, and the Ageberry tutorial says “a seam guide can make your sewing easy and effortless.” Magnetic guides, attachments and homemade options all exist.
A cheap homemade version works too. Stack a few sticky notes or a strip of tape along your chosen line to form a wall that stops the fabric from creeping past it.
For topstitching or hems, draw the stitching line on the fabric with chalk or a washable pen and a ruler. Then you simply follow the line.
How to sew a straight line, step by step
A straight, clean-cut edge makes everything easier. A ragged or stretched edge can mislead you when you use that edge against a guide.
Speed matters just as much. Threads Monthly advises that “watching the seam allowance lines as you’re sewing and going very slowly should do the trick.”
- Cut the edge cleanly and press the fabric flat.
- Pin or clip the layers to help limit shifting, removing pins and clips before they reach the needle.
- Align the edge with your guide and lower the presser foot.
- Sew slowly, eyes on the guide, hands resting lightly.
- Stop with the needle down if you need to adjust the fabric.
Hands, posture and fabric handling
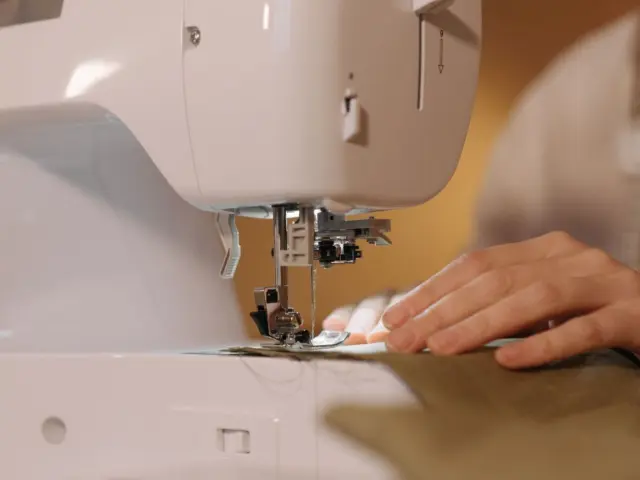
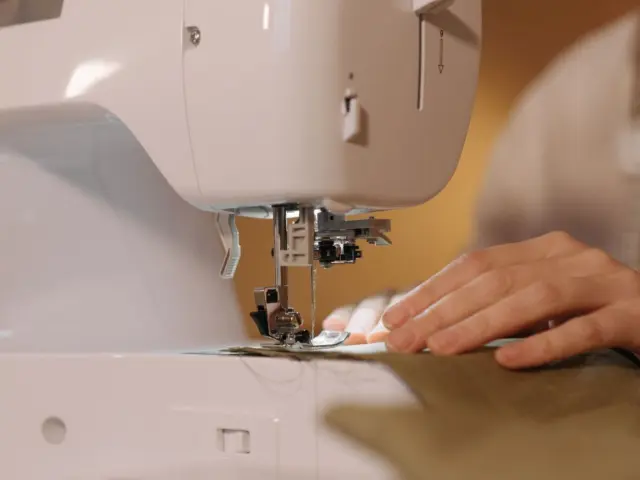
Your hands steer, but they should never force. Rest them lightly on either side of the foot and let the feed dogs, the small teeth under the foot, pull the fabric through at their own pace.
Pulling the cloth can bend the needle or cause skipped stitches, and pushing can shift the layers. Either can make your seam drift.
- Sit square to the needle, not twisted to one side, so your sightline to the guide stays natural.
- Support heavy fabric on the table so its weight doesn’t drag the seam sideways.
- Keep the fabric edge flat against the guide rather than bunched or curled.
- Take your foot off the pedal before you correct your hands.
Straight hems and topstitching
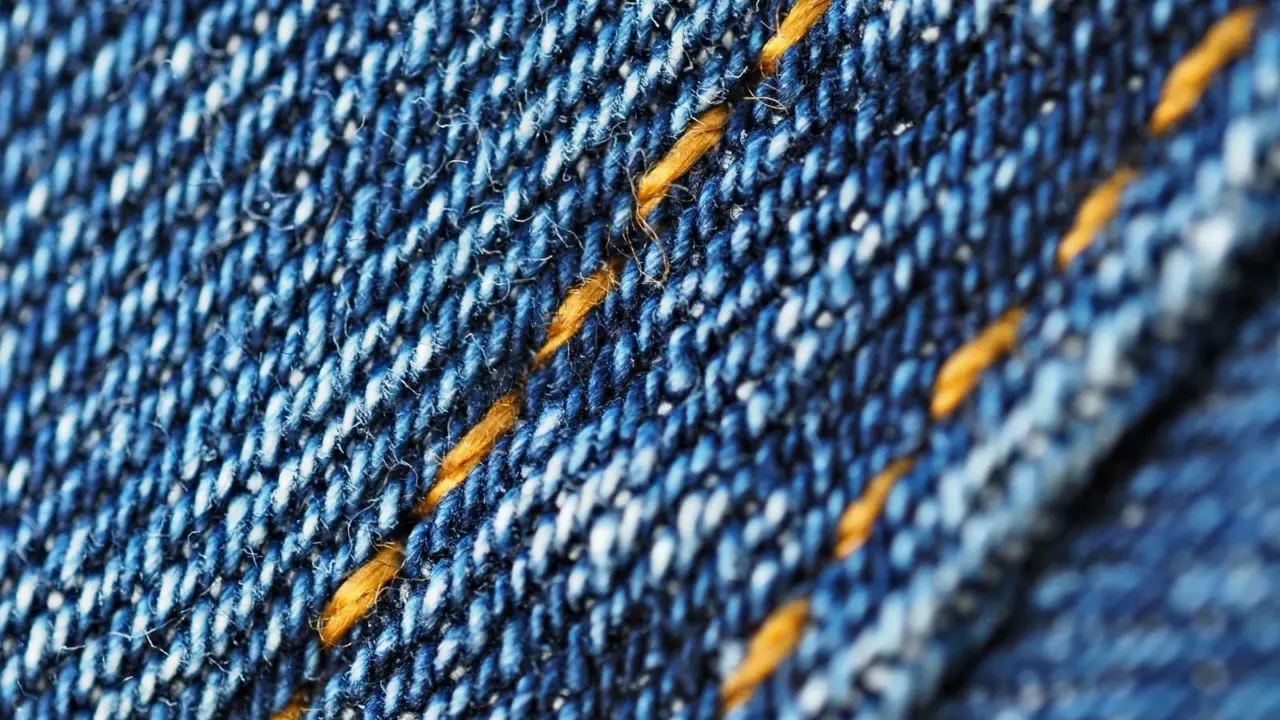
Hems and topstitching show on the outside of the garment, so wobbles are far more visible there. The same rules hold, but you follow a folded edge or a drawn line instead of a raw edge.
Press the fold first so it stays put. Then line the folded edge up with a guide on the foot or plate, or follow a chalk line, and keep your eyes a little ahead of the needle.
A stitch-in-the-ditch foot has a blade that follows an existing seam, helping maintain a consistent distance from it. Threads Monthly describes placing that blade in the ditch formed by the seam, then moving the needle left or right to topstitch beside it.
Fixing a crooked seam
If a seam has wandered, unpick it and sew it again. A short stretch of wobble is easy to rip out, and the fabric usually forgives it if you work gently.
- Find where the line first began to drift.
- Cut the stitches with a seam ripper and pull the loose thread out.
- Re-press the fabric flat; needle holes may remain, depending on the material.
- Sew again more slowly, with your eyes on the guide.
If every seam drifts the same way, the cause is likely your alignment or posture, not bad luck. Try a different starting point for your eyes, or add a physical guide.
Practise on scrap fabric
Straight stitching is a motor skill, so short practice sessions help more than hoping for the best on a real project. Sew rows on scrap fabric, then check them against the guide line.
Try a row at slow speed, then a slightly faster one, and notice where it begins to drift. You’ll learn your comfortable pace without risking good fabric.
Make it a game: sew a page of parallel rows, each one lined up against a different guide. With practice, the movement may become more familiar and your grip more relaxed.
Common mistakes to avoid
Most beginners repeat the same few errors, and each has a quick fix. Knowing them in advance saves a lot of unpicking.
- Staring at the needle: shift your gaze to the guide line instead.
- Sewing too fast: ease off the pedal until you feel in control.
- Ragged edges: trim them before you start, because a wavy edge makes a wavy seam.
- Pulling the fabric: let the feed dogs do the moving.
- Skipping scrap tests: try any new foot or needle position on offcuts first.
Be patient with yourself. A steady line is built from small habits, and each one gets easier with repetition.
Frequently asked questions
Should I watch the needle or the guide?
Show answer
Watch the guide. Watching the needle instead of the guide can make it harder to maintain a consistent seam allowance.
What if my machine has no markings on the plate?
Show answer
Position a magnetic guide, an attachment, or stacked sticky notes or tape at the required seam-allowance distance from the needle, so the fabric edge follows it. You can also draw the line on the fabric.
Does sewing slowly really help?
Show answer
Yes. Slower speed gives your hands time to steer the fabric and your eyes time to check the guide.
Can I change my seam allowance without a new foot?
Show answer
On many machines, yes: move the needle position left or right, and measure the result on scrap fabric first.