Stuck with a tangled machine and a needle that won’t cooperate? Here is how to thread a sewing machine: load the bobbin, thread the top path, then pull up the bobbin thread.
This guide is part of our sewing for beginners series.
| Item | Key fact |
|---|---|
| Main stages | Two: thread the spool path, then bring up the bobbin thread |
| Before you start | Load your bobbin before you thread your spool |
| Spool | Put the spool of thread on the spool pin |
| Needle position | Upmost position before threading |
| Threading direction | In the direction specified in your manual |
Figures come from one published guide and can change with your model: check the Simply Sewing guide and your own manual before you rely on them.
How to thread a sewing machine: two jobs, one order
Threading looks harder than it is because the thread travels a winding path. In practice, there are two main jobs: the top thread comes from the spool, and the bottom thread comes from the bobbin beneath the needle plate.
The order matters. Wind and place your bobbin first, then thread the top, then connect the two. Keep your manual open beside you, because every machine has small differences in the path.
- Load the bobbin into its case.
- Thread the spool, guides, take-up lever and needle.
- Bring the bobbin thread up through the plate.
- Tuck both tails back under the presser foot.
Threading the top of the machine
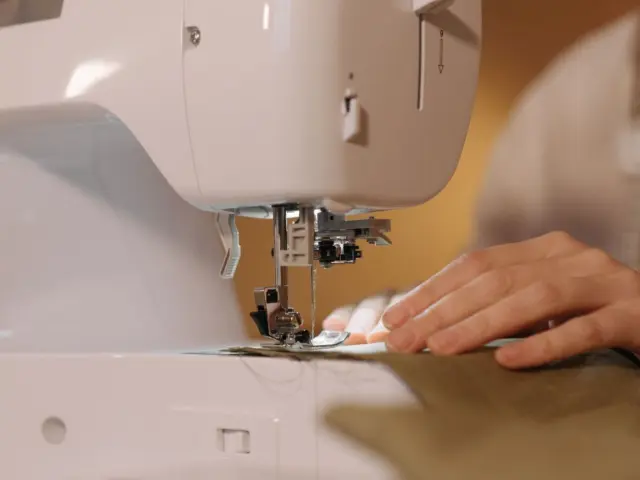
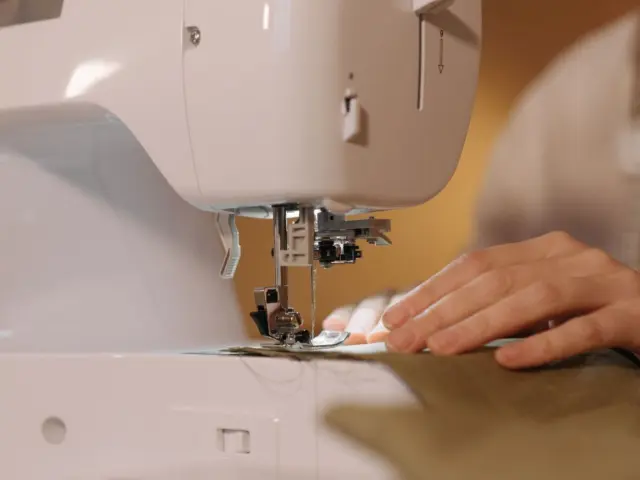
Start by raising the presser foot and putting the spool on the spool pin. Raising the foot opens the tension discs so the thread can seat between them; if the foot is down, the thread may sit on top and cause loops later.
- Put the spool on the spool pin so it unwinds smoothly.
- Draw the thread around the first thread guide, following the path marked on your machine.
- Take it down and through the tension area, then back up again.
- Hook it over the take-up lever and back down into the channel below.
- Bring it down and loop it into the needle guide beside the needle.
Most machines print a numbered path on the casing. Follow the numbers rather than your memory, since the route is not identical on every model.
The take-up lever: an important threading step
The take-up lever is the metal arm that rises and falls as you sew. It usually has a hook element to the design, and the thread must loop around it.
Turn the handwheel towards you until the lever sits at its highest point. Then the thread slides in easily. If you skip this lever, the machine will skip stitches, jam or snarl underneath, and it can look like a bobbin problem when it is not.
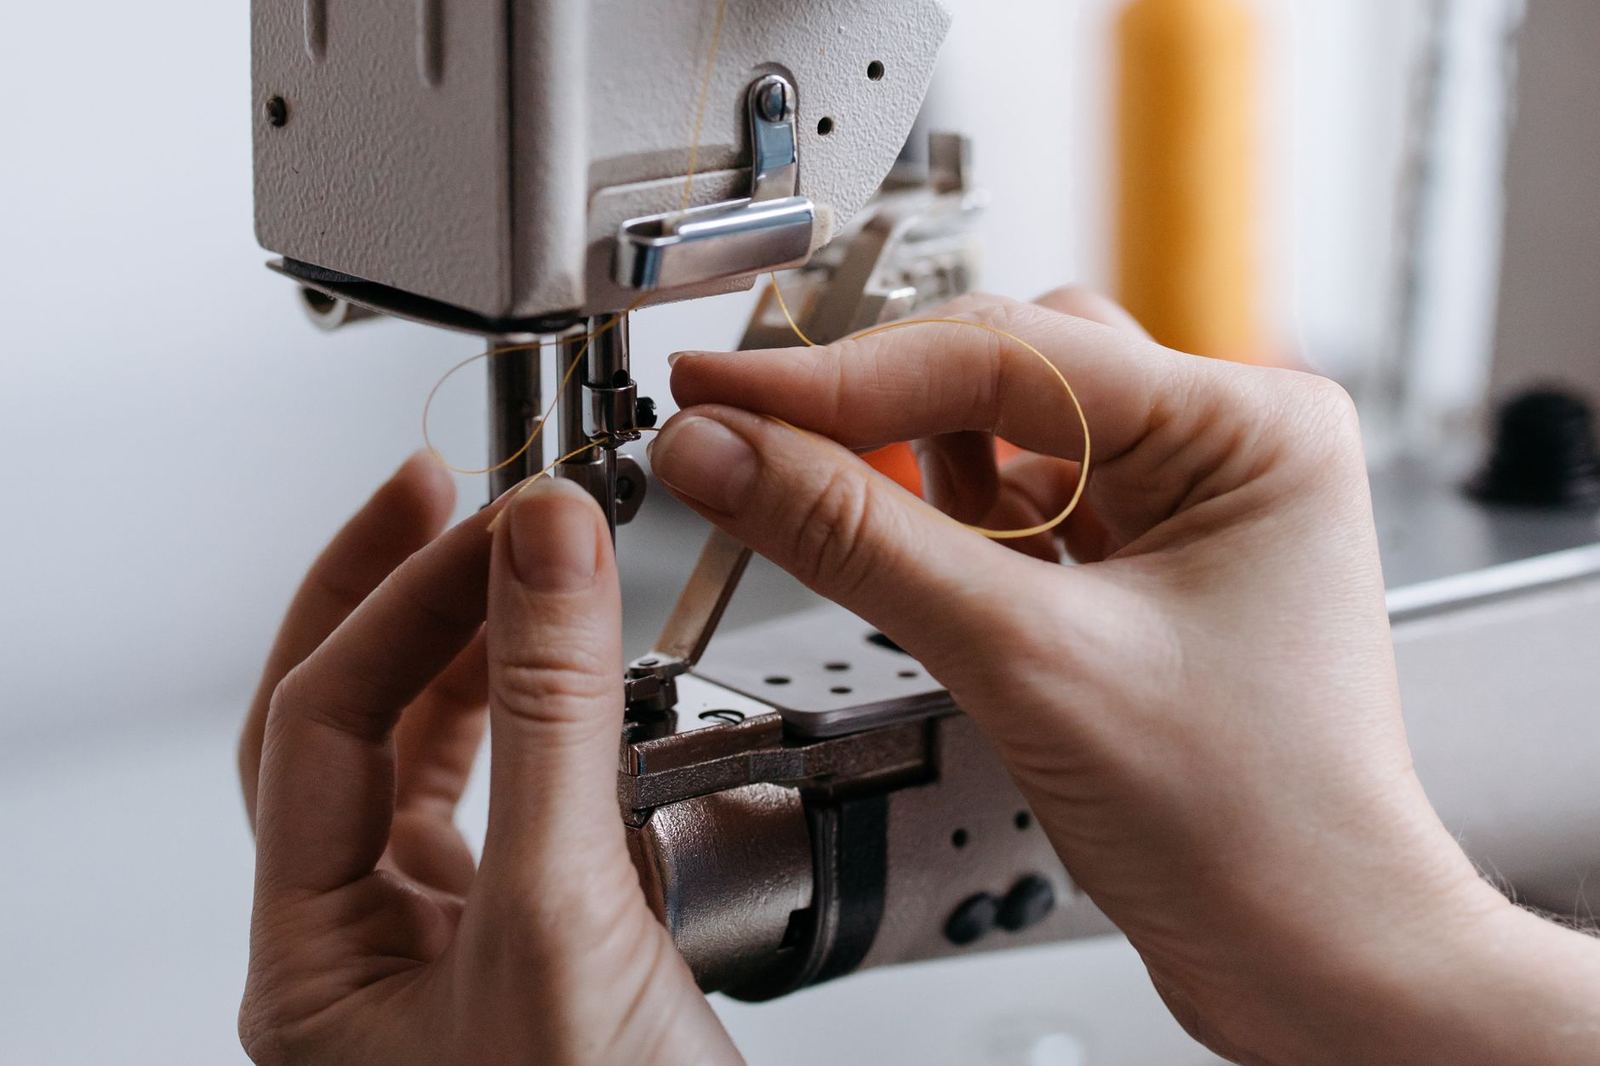
Threading the needle
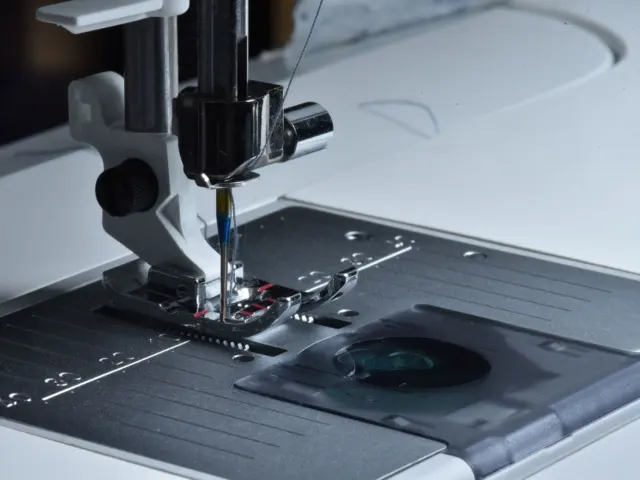
Before you thread the needle, it needs to be in its upmost position. If it is not, turn the handwheel towards you to bring it up by hand.
Thread the needle in the direction specified in your manual. Many machines have a built-in needle threader; if yours does, use it, since it saves squinting at a tiny eye.
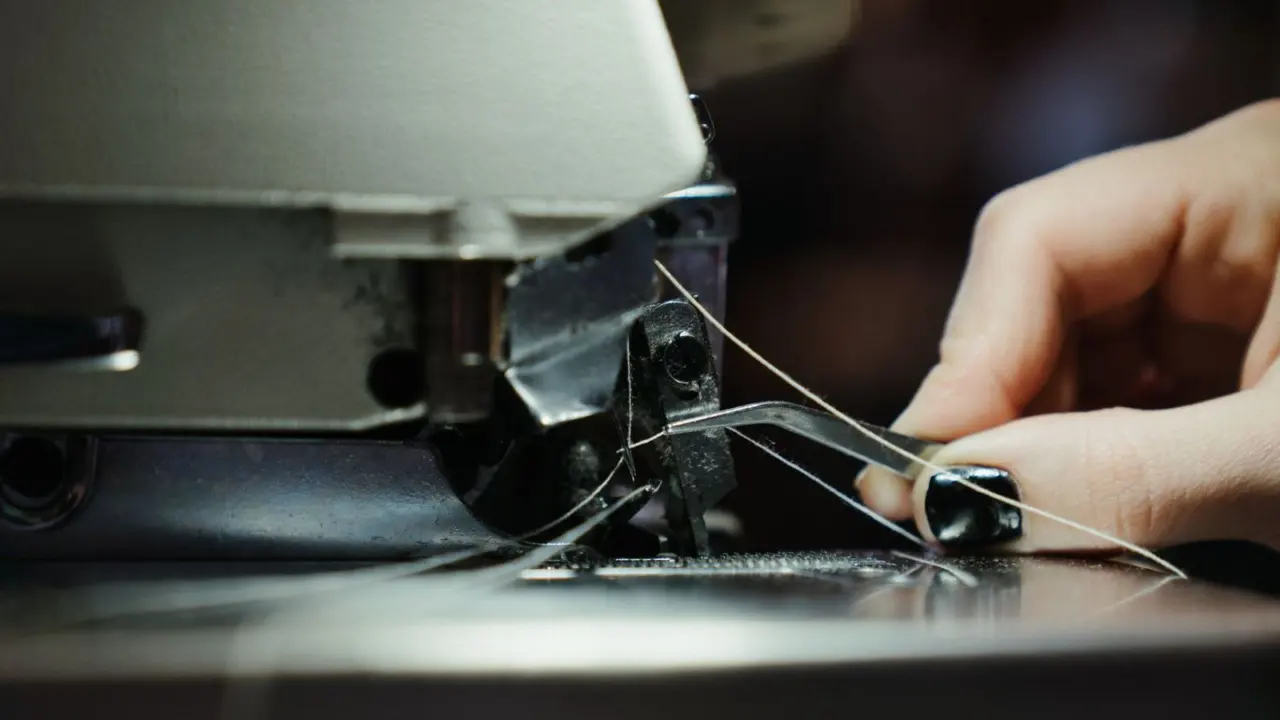
Once the needle is threaded, bring the thread down between the two forks of the presser foot, under the foot, and back towards the rear of the machine with your hand. Leave a tail a few finger-widths long so it does not pull out when you start.
- Use sharp scissors and cut the end cleanly rather than chewing or fraying it.
- Moisten nothing; a fresh cut is easier to push through the eye.
- Hold the thread near the end and place it against a white sheet of paper for contrast.
Bringing up the bobbin thread
Now that the top is threaded and the bobbin is in place below the machine, it is time to connect the two threads. Hold the top thread lightly and lower the needle by turning the handwheel towards you.
Keep holding the upper thread lightly, turn the handwheel towards you until the needle goes down and returns to its highest position, then gently pull the upper thread to draw up a loop of bobbin thread. Gently pull that loop to release the loose end of the bobbin thread.
Lay both tails towards the back under the presser foot. Now you are ready to practise, and a scrap of fabric is the place to start, perhaps with how to sew a straight line as your first exercise. When a project calls for a closure, how to sew a zipper is a sensible next skill.
Set yourself up before you thread
A few minutes of preparation saves a lot of re-threading. Switch the machine off, clear the table and put a good light over the needle area.
- Keep your manual open at the threading diagram.
- Use thread that is not old, dusty or brittle; weak thread snaps and mimics a threading fault.
- Check the needle is not bent or blunt, because a damaged needle also causes skipped stitches.
- Have small, sharp scissors and a scrap of fabric within reach.
Switching off is a simple safety habit: you will be working close to a needle, and an accidental press of the pedal is easy to avoid.
Habits that make threading automatic
Threading becomes quick once you do it in the same order every time. Say the route to yourself as you go: spool, guide, tension, lever, needle guide, needle.
Always finish with a short test seam on scrap fabric. Even stitches on both sides are a useful initial check; uneven stitches can result from threading errors or other causes.
Change colour often and you will thread often, so treat it as part of sewing rather than a chore. After a handful of tries, your hands remember the path.
Common problems and quick fixes
Most threading trouble comes down to a few repeat causes. Re-threading from scratch can resolve threading errors.
- Loops on the underside: the top thread probably missed the tension discs. Raise the presser foot and thread again.
- Skipped stitches or jams: check the take-up lever and make sure the thread sits in its hook.
- Thread keeps slipping out of the needle: the needle was likely not raised, or the tail was too short.
- Bobbin thread will not come up: turn the handwheel a full rotation slowly and tug the top thread gently.
When to stop and start over
If the thread keeps breaking or bunching, resist the urge to keep sewing and hope it settles. Lift the presser foot, cut the thread near the spool, and pull the remaining thread out through the needle so nothing stays caught in the path.
Then re-thread slowly, one guide at a time. Check that the thread sits fully in each guide and that it has not slipped off the spool pin or caught on a rough notch in the spool.
It also helps to open the bobbin area and clear lint with a small brush. Fluff packed near the bobbin case can disturb the stitch, and it is easy to mistake for a threading error.
If you have done all of this and the stitches still look wrong, consult your manual’s troubleshooting page for your specific model. Patience here pays off, because a correctly threaded machine feels smooth and quiet.
Frequently asked questions
Do I load the bobbin or thread the top first?
Show answer
Load the bobbin first. The Simply Sewing guide says to load your bobbin before you thread your spool.
Why must the presser foot be up when threading?
Show answer
Raising it opens the tension discs so the thread seats between them. With the foot down, the thread can miss the tension and form loops.
Which way do I push the thread through the needle?
Show answer
Thread the needle in the direction specified in your manual, with the needle at its highest position.
Does every machine thread the same way?
Show answer
No. The stages are the same, but the route differs, so follow the diagram on your machine and in your manual.