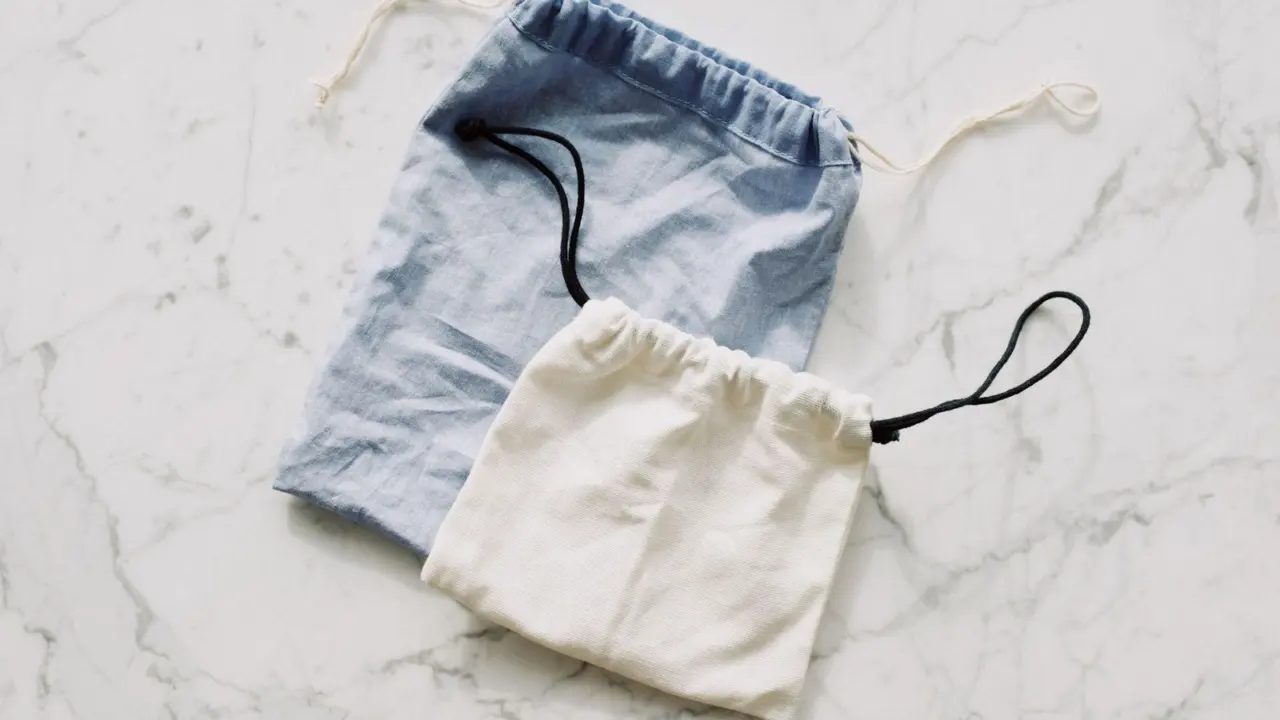
Wondering how to sew a drawstring bag that looks tidy inside and out? Sew the outer and lining panels together, turn them through a gap, stitch a casing, then thread a cord.
This project is one of the friendliest on our list of easy diy sewing projects.
| Item | Value |
|---|---|
| Best fabric | Quilting cotton |
| Extra height for the casing | 1 extra inch on the top |
| Seam allowance | 1/4 inch |
| Casing tape length | 1 inch longer than one side of the bag |
| Ribbon end fold | 1/2 inch, pinned 1 inch from the top |
These figures come from Heather Handmade’s lined drawstring bag tutorial. Methods and measurements can change, so check the source before you rely on them.
What you need before you start
A lined bag needs very little. The pieces below are enough for a gift bag, a shoe bag or a project pouch.
- Outer fabric, with the amount depending on the size of your bag.
- Lining fabric, the same amount as the outer.
- Single fold bias tape or wide ribbon for the casing.
- Twine, cord or ribbon for the drawstrings.
- Matching thread, pins, a safety pin and an iron.
Choose quilting cotton if you are new to sewing. It is easy to find, easy to sew and holds a crisp press. Pick a lining print you love too, because the lining shows even when the bag is closed.
Choosing a size, preparing fabric and cutting
Decide how big the bag should be, then cut two outer rectangles and two lining rectangles of the same size. If you are making the bag to fit something, give yourself extra room at the top and the side.
Add 1 extra inch to the top of every piece for the casing. If your fabric has a direction, such as a tree print, keep all pieces facing the same way so nothing ends up upside down.
Because the bag is turned right side out, you can cut the outer and lining to the same size. The lining simply tucks inside.
Think about what the bag will hold. Size the bag to fit the knitting project or shoes it will hold. Lay the item on paper, trace around it and add a generous margin so it slides in and out easily.
Wash and press your fabric before cutting, especially if you plan to wash the finished bag. Cotton can shrink, and a bag that shrinks after sewing can pucker around the casing.
Cut with a rotary cutter and a mat if you have them. Straight, matching edges make the sewing far easier, because the layers line up without any tugging.
How to sew a drawstring bag: outer and lining
Pin each pair right sides together. Sew the sides and bottom with a 1/4 inch seam allowance, leaving the top edge open. Do the same for the lining, and leave a gap in one lining seam for turning later.
Press your seams open or to one side. Trim the bottom corners a little so they turn out sharp rather than bulky.
- Sew the two outer pieces together along the sides and bottom.
- Sew the two lining pieces together the same way, leaving a turning gap.
- Keep the outer bag right side out and the lining wrong side out.
- Slide the outer bag inside the lining so the right sides face each other.
- Match the side seams, pin around the top and sew all the way around.
Turning, pressing and understitching
Pull the bag right side out through the gap in the lining. Push the lining down inside the outer bag and poke out the corners with a blunt tool.
Press the seam where lining meets outer. The tutorial then presses the seam allowance up towards the lining and will understitch it towards the lining. Understitching keeps the lining from rolling out and gives a flat, professional edge.
Close the turning gap by hand with a slip stitch or with a narrow machine stitch near the edge. Nobody will see it once the lining is tucked in.
Making the casing and threading the drawstring
The casing is the channel that holds the cord. One neat method uses bias tape. Cut a piece of single fold bias tape 1 inch longer than one side of the bag and sew it across the bag, with the ends folded under so no raw edges show.
If you prefer ribbon, use the same technique. Fold the short end over 1/2 inch and pin it 1 inch from the top, then stitch along both long edges.
Do this on both sides of the bag so each side has its own channel. Leave the ends open so the cords can pass through.
- Cut two pieces of twine or ribbon just longer than the circumference of the opening.
- Clip a safety pin to one cord and feed it in from one side, all the way around the bag.
- Do the same with the second cord from the opposite side.
- Knot each cord’s two ends together, or knot them in pairs on each side.
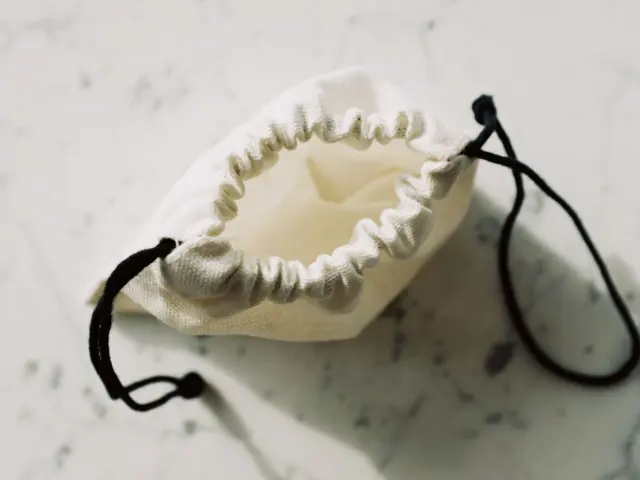
Pulling both knots in opposite directions closes the bag. Pull the sides of the bag’s opening apart to open it.
Making it your own and fixing problems
Once the basic bag works, small changes give it a whole new personality. Each of these keeps the same construction, so nothing about the steps changes.
- Use a bold print outside and a plain, light lining so small items are easy to see.
- Choose a contrasting ribbon for the casing to add a stripe of colour.
- Make a set of several sizes from one fabric for gifts, travel or craft storage.
- Add a hand-stitched initial or a scrap of appliqué to the front before you sew the sides.
- Swap the twine for a soft cotton cord that feels nicer in small hands.
Decorate the front panel while it is still flat. It is much easier to stitch an initial before the bag is sewn into a tube.
Fixing common problems
- Puckered corners: clip the corners before turning and press well.
- Lining peeking out: understitch and press the top seam firmly.
- Cord will not slide: the channel may be too narrow, so use thinner cord or re-sew it slightly wider.
- Tape ends fraying: fold the ends under before stitching.
Once you are comfortable with this bag, try more beginner projects. A fun next step is to learn how to make a scrunchie with your leftover fabric. You can also move on to how to make a fabric basket for a lined project with a firmer shape.
Frequently asked questions
What fabric is best for a drawstring bag?
Show answer
Quilting cotton is easy to find and easy to sew, so it suits beginners. Pick one you enjoy, since the lining shows even when the bag is closed.
How much extra fabric do I need for the casing?
Show answer
Add 1 extra inch to the top of each piece for the casing, as the Heather Handmade tutorial advises.
Can I use ribbon instead of bias tape?
Show answer
Yes. Use the same technique, folding the short end over 1/2 inch and pinning it 1 inch from the top.
How do I thread the drawstring?
Show answer
Attach a safety pin to a piece of twine or ribbon and feed it all the way around the casing. Repeat from the other side with a second cord.