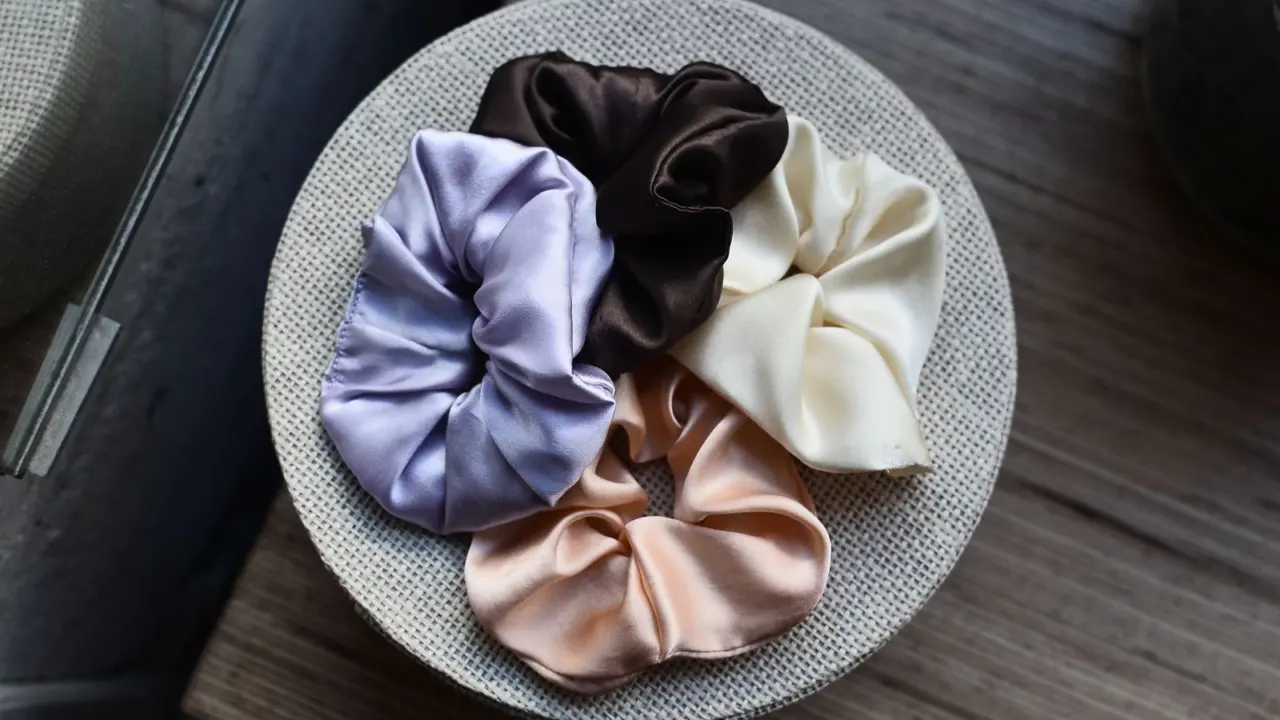
Wondering how to make a scrunchie from leftover fabric? Cut a strip, sew it into a tube, thread elastic through and close the ends. It is a gentle first project.
This is one of the quickest projects in our easy diy sewing projects collection.
| Item | Value |
|---|---|
| Fabric strip | 3.5 inches by 22 inches |
| Elastic length | 8 inches (6 to 7 inches for a small child, 9 inches for thicker hair) |
| Elastic width | 1/4 to 3/8 inch |
| Extra gathers | Add a couple of inches to the strip length |
These figures come from one published tutorial. Tutorials differ, so check the source before you rely on them.
What you need
A scrunchie uses very little material, which is why it suits scraps. Gather everything before you start so you are not hunting for a safety pin with a half-sewn tube in your hand.
- A fabric scrap big enough for a 3.5 by 22 inch strip.
- A short length of narrow elastic.
- Thread, scissors and a ruler or paper pattern.
- A safety pin to guide the elastic through the tube.
- Straight pins, plus a sewing machine or a needle for hand sewing.
Cotton is the easiest to handle. Old t-shirt knit works too: the tutorial above reports using upcycled knit from a t-shirt or worn leggings.
Choosing fabric from your scrap bin
Look for a piece with a pleasant drape. Stiff fabrics make a bulky scrunchie that will not gather softly, while very slippery ones are harder to pin and sew.
Quilting cotton, soft lawn, and cotton jersey are all easy starting points. Satin looks lovely but frays and slides, so save it until you have made a plain one.
If your scrap is not long enough, you can join two pieces with a straight seam first. Press the seam open so it does not form a lump inside the tube.
How to make a scrunchie, step by step
- Cut the strip, 3.5 by 22 inches. Line your pattern up evenly with the fold or the fabric edge before cutting.
- Fold it lengthwise with right sides together, so the edges match, and pin along the open edge.
- Sew along the pinned edge with a small seam allowance, leaving the short ends open. This gives you a long tube.
- Turn the tube right side out. Clip a safety pin to one end and work it through, bunching the fabric along the pin.
- Pin the safety pin to one end of the elastic and thread the elastic through the tube.
- Overlap the elastic ends and stitch them together firmly.
- Tuck one raw fabric end inside the other, fold the raw edge under, and stitch the opening closed by hand.
Keep hold of the other elastic end while threading, so it does not vanish into the tube.

Sewing the seam and turning the tube
The seam is the only machine work, and it is a straight line. Sew slowly, keep your pins out of the needle’s path, and backstitch at the start and end so it holds under tension.
Turning the tube is the fiddly part. Push the safety pin through a little at a time, gather the fabric onto the pin, then pull the pin end out. A tube turner helps if you have one, and the tutorial above lists it as an option.
Once the tube is out, smooth the seam flat with your fingers. A quick press makes the next steps easier, though keep the iron cool on synthetics.
Adding the elastic and closing the ends
Thread the elastic so it sits flat and untwisted. Pull both ends out of the tube and bring them together before stitching.
Sew the elastic ends with a few passes of straight stitches, or a small zigzag, to help secure the join. Then slide the fabric over the join so the elastic is hidden.
The last step is closing the gap in the fabric. Tuck one open end into the other, fold the edge under, and use small hand stitches. A ladder stitch gives a nearly invisible finish, but a plain slip stitch is fine for a first attempt.
Choosing sizes for your hair
The elastic length sets how tight the scrunchie grips. The tutorial above prefers 8 inches, suggests 9 inches for thicker hair and 6 to 7 inches for a small child.
For a fuller, more ruffled look, lengthen the strip by a couple of inches. For a slimmer one, make the strip narrower or shorter. Make a test piece first if the fabric is new to you.
Elastic width matters too. The tutorial says narrow elastic in the 1/4 to 3/8 inch range works well, and wider elastic will make a bulkier scrunchie.
Common problems and fixes
- Elastic twists inside: keep the end pinned flat before pulling, and smooth the tube as you go.
- Seam splits when turned: stitch a little slower and backstitch at both ends.
- Too loose: restitch the elastic join with a shorter piece.
- Knit curls or stretches: pin more often and do not pull while sewing.
- Lumpy join: Keep the stitched elastic overlap flat and slide the fabric over it.
Making scrunchies a scrap habit
Because each scrunchie uses so little fabric, you can cut several strips from one leftover piece. Stack your scraps by colour and fibre, and the next batch comes together quickly.
Cut all your strips at once, then sew all the seams in one run. Chain-piecing the tubes saves thread and keeps you in a steady rhythm, then you can turn and finish them together.
Plain scrunchies are the best place to start. Once you are comfortable, you can try a contrast lining, a fabric with a one-way print, or a knit from a worn-out shirt, taking care to match grain direction along the strip.
Wash a finished scrunchie by hand if the fabric is delicate, and air dry it so the elastic keeps its snap. Scrunchies made from sturdy cotton usually cope with a gentle wash in a mesh bag.
Scrunchies also make easy gifts. A small bundle in matching scraps looks thoughtful and costs almost nothing.
Where to go next
Once scrunchies feel easy, try how to sew a drawstring bag to practise tubes and casings on a larger scale.
When you want a bigger challenge, see how to make a tote bag using the same straight-seam skills.
Scrunchies also make good practice for matching patterns. Try a few in different scraps, and keep the ones you like best to give away or use yourself.
Frequently asked questions
Can I make a scrunchie without a sewing machine?
Show answer
Yes. The seam is straight and short, so hand sewing with small, even stitches works fine.
What elastic width should I use?
Show answer
The tutorial cited above recommends 1/4 to 3/8 inch wide.
How much fabric do I need?
Show answer
One strip about 3.5 by 22 inches, according to that tutorial. Add a couple of inches for a fuller scrunchie.
How do I stop the elastic from twisting?
Show answer
Keep the elastic flat as you pull it through, and check both ends before you stitch the join. A twist is easy to fix before stitching and hard to fix afterward.
Can I use stretchy fabric?
Show answer
Yes. Old t-shirt knit has been used for scrunchies, though it can shift, so pin it well.