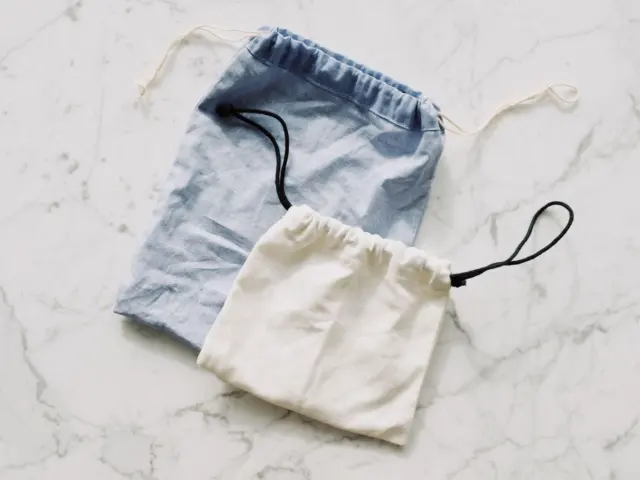
Tired of wrapping paper that ends up in the bin? Here is how to make reusable fabric gift bags: cut a rectangle, sew the sides, make a casing, thread a drawstring.
This project is one of many in our guide to easy diy sewing projects.
| Item | Value |
|---|---|
| Small bag, cut size | 5×12 inch rectangle |
| Side hem, first fold | 1/4 inch |
| Side hem, second fold | 1 inch |
| Drawstring pieces | Two pieces of twill tape |
| Length of each tape piece | Approximately 17 1/2 inches |
These figures come from a tutorial covering multiple bag sizes; the tape length listed is for its medium lined bag. Source: Drawstring Gift Bag. Sizes can change between patterns, so check the source before you rely on them.
What you need to make reusable fabric gift bags
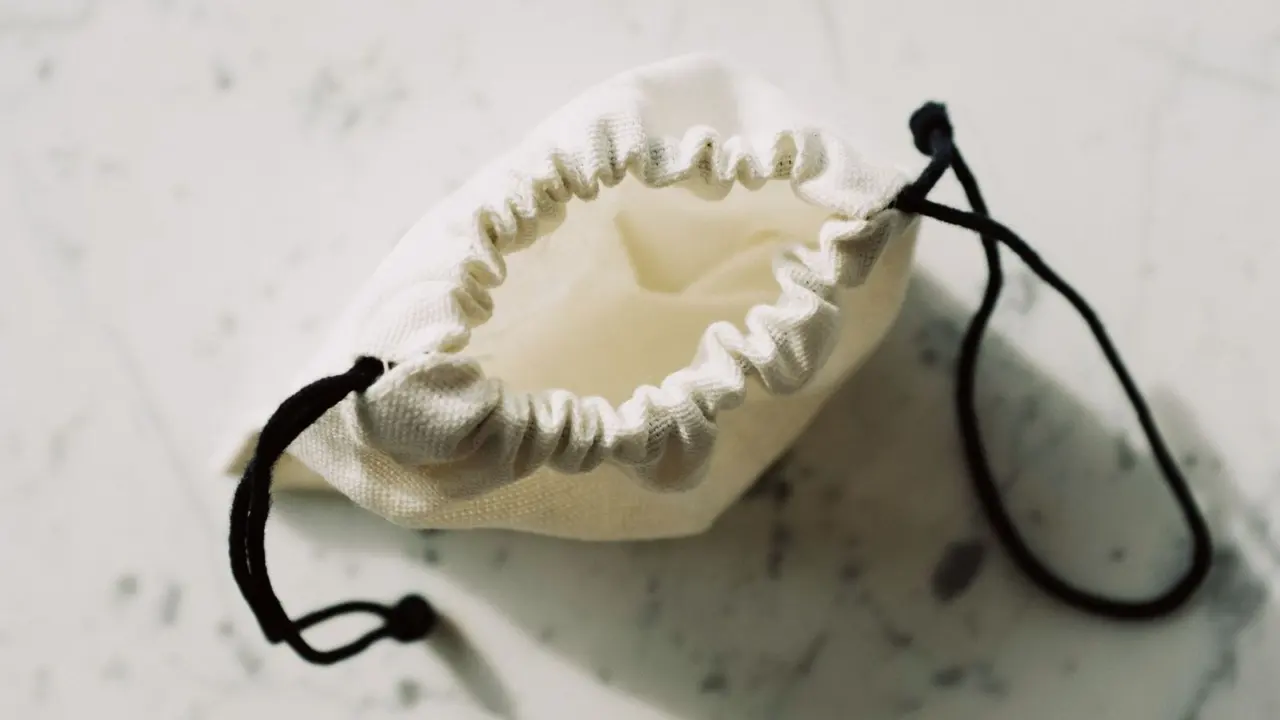
A fabric gift bag is a simple tube with a closed bottom and a drawstring casing at the top. You need very little equipment, and scraps work well.
- Fabric: quilting cotton, linen or a cotton blend that does not fray too fast.
- Drawstring: twill tape, ribbon, cord or a narrow strip of fabric.
- Thread that matches or blends with the fabric.
- Scissors or a rotary cutter, pins or clips, and a safety pin.
- An iron, because pressed folds make every later step easier.
Wash and press the fabric first. Pre-washing helps reduce shrinkage during later washes.
How to size the bag to the gift
Lay the gift on the fabric and leave room around it. Add extra at the top for the casing and for the opening to fold over. A bag that is a little too big closes better than one that is too tight.
The tutorial behind the table above makes a small unlined bag from a 5×12 inch rectangle, folded in half. Treat that as a starting point for small items such as jewellery or soap, then scale up for bigger gifts.
Choosing fabric by occasion
- Holiday gifts: festive prints, or plain colours you can dress up with ribbon.
- Birthdays: bright scraps and leftover quilting cotton.
- Weddings or thank-you gifts: linen or a soft solid with a satin ribbon.
Sewing the bag step by step
The method is the same for any size. The small version in the tutorial hems the short ends first, so the casing is ready before the sides are joined.
- Cut your rectangle. For the small bag, that is a 5×12 inch piece.
- On each short side, fold over 1/4 inch and press.
- Fold again at 1 inch and press. Stitch close to the first fold to make the casing.
- Fold the fabric in half with right sides together, casings lined up.
- Sew up both long sides, stopping at the casing so the tunnel stays open for the cord.
- Backstitch at each start and stop, then clip the corners.
- Turn the bag right side out and press.
Finish raw edges with a zigzag stitch or pinking shears. This is worth doing because the bag will be washed.

Planning a batch for gift season
If you are wrapping many gifts, sew in batches. Cut all your rectangles at once, press every fold in one session, then sew the casings in a row without cutting the thread between bags.
- Pick two or three fabrics so the bags look like a set under the tree.
- Cut a few sizes: small, medium and one large for awkward shapes.
- Prepare all drawstrings together, and knot the ends before threading.
- Label the sizes on a scrap of tape so you can match gifts quickly.
Chain sewing saves time, and the finished stack makes wrapping a quick job on the day itself.
Adding the drawstring
Attach a safety pin to one end of your tape and feed it through the casing. Bring it out where it started, and repeat from the other side with a second piece so the bag closes from both sides.
The tutorial uses two pieces of twill tape, each approximately 17 1/2 inches long, for its medium lined bag. Knot the ends of each tape together, or knot each end separately, so nothing slips back inside.
If you prefer one cord, thread a single length around the whole casing and knot both ends. It is faster, though a two-tape pull cinches more evenly.
Lining, sizing up and finishing touches
A lined bag feels more polished and hides seams. Cut the lining the same size as the outer fabric, sew both bags leaving a turning gap in the lining, then join them at the top with right sides together. Turn through the gap, close it, and leave openings for the drawstring when making the casing.
Once you are comfortable, try a boxed bottom for tall gifts like bottles. If you want something sturdier with handles, see how to make a tote bag in our how to make a tote bag guide. For small flat gifts such as gift cards, how to sew a zipper pouch shows another keepable option.
- Add a tag loop so the recipient knows who it is from.
- Use fabric pens or a stamp for a name or message.
- Sew a small label asking the recipient to reuse the bag.
Fixing common problems
Most trouble with drawstring bags comes from a few small slips. Each has a quick fix, and none needs unpicking the whole bag.
- Casing too tight: the tape will not slide through. Unpick the casing stitching along the tight section and re-stitch farther from the top fold to widen the tunnel; refold the casing if needed.
- Puckered seams: press as you go and use a fresh, sharp needle suited to the fabric weight.
- Frayed edges inside the bag: finish them with a zigzag stitch or trim with pinking shears.
- Tape pulls out of the casing: knot the ends, or sew a small stitch across the tape at one side.
- Bag will not stand open: add a boxed bottom or use a slightly stiffer fabric.
Why fabric instead of paper?
Wrapping paper is often discarded after gifts are opened, and many kinds with foil or glitter cannot be recycled. A sewn bag can be used again by the person who receives it.
The saving only counts if the bag is actually reused. Make it in a fabric you would be happy to see come back, and keep the design simple enough that it suits many occasions rather than one.
Making the bags last
Reuse is what makes fabric wrapping worthwhile. Wash gently, press, and store flat or rolled in a drawer. Choose durable fabrics and reinforced seams so the bag survives many gift exchanges.
Cotton bags usually go through a gentle machine cycle well. Air-dry or tumble on low, then press the casing so the drawstring slides easily next time. Keep a few in a basket by the gift shelf so you are never short of wrapping.
Ask the recipient to pass it on. A bag that circulates among friends and family replaces plenty of single-use paper.
Finally, think about the gift itself. Soft items such as scarves fill a bag easily, while boxed gifts need a wider bag so the corners do not strain the seams. Test the fit by sliding the gift in before you sew the second side.
A bag made with care becomes part of the present. Many recipients keep them for storing small things, which is the best outcome for your time and fabric.
Frequently asked questions
What fabric is best for reusable gift bags?
Show answer
Quilting cotton is the easiest: it presses well, holds a fold and comes in endless prints. Linen and cotton blends also work.
Do I need a lining?
Show answer
No. The small bag in the tutorial is unlined and quick to make. A lining only adds polish and a cleaner inside.
What can I use instead of twill tape?
Show answer
Ribbon, cotton cord, shoelaces or a strip of fabric sewn into a narrow tube all work as drawstrings.
Can I make these from scraps?
Show answer
Yes. Piece scraps together into a rectangle first, press the seams flat, then cut and sew as normal.