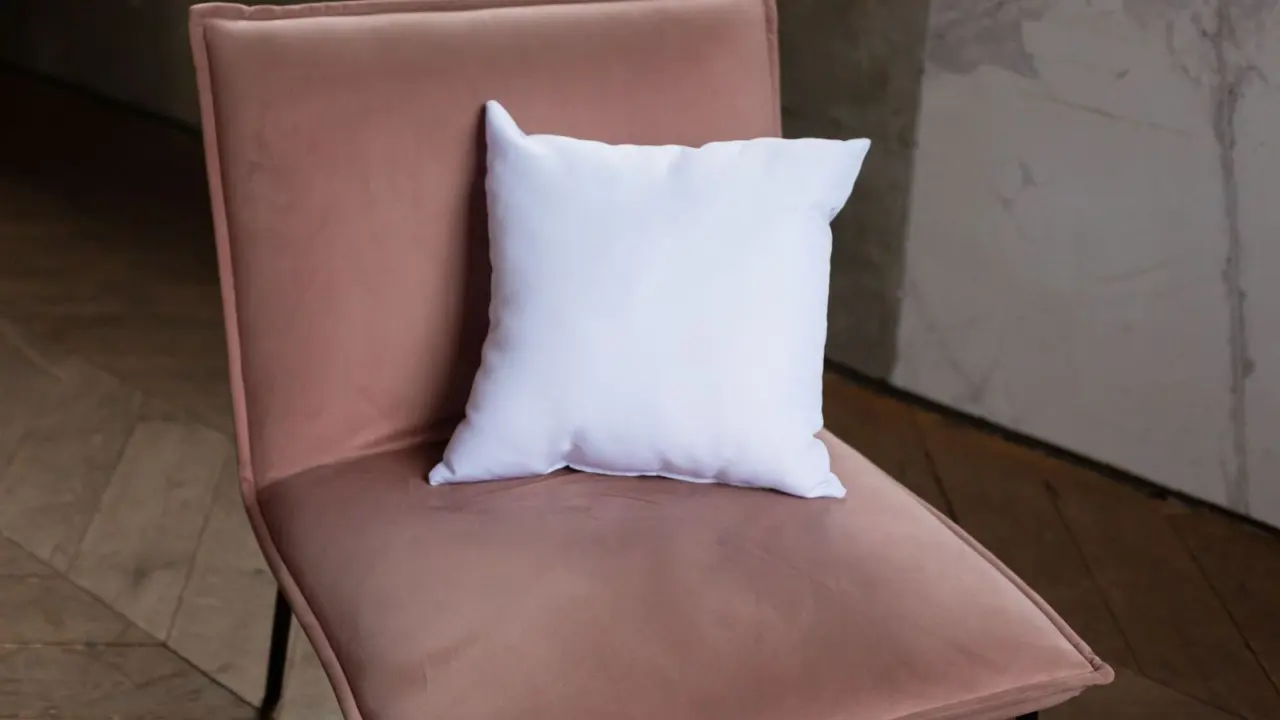
Wondering how to make a pillow cover without a zipper? An envelope cover is the simplest route: one front, two overlapping back panels, and straight seams you can finish in an afternoon.
This project is one of the friendliest starting points in our easy diy sewing projects collection.
| Item | Value |
|---|---|
| Pieces | One front panel, two back panels that overlap |
| Seam allowance used in the example | 1/4 inch |
| Back panel width formula | Form size divided by 2, plus half the overlap, plus 1 inch |
| Overlap for a 16-inch form | 5 inch |
| Cut size for a 16-inch form (regular fit) | Front 16.5 x 16.5; each back 16.5 x 11.5 |
| Cut size for a 14-inch form (regular fit) | Front 14.5 x 14.5; each back 14.5 x 10 |
These figures come from one maker’s tutorial at Aubree Originals. Sizes and methods vary between tutorials, so check the source before you rely on them.
What you need before you start
An envelope cover needs very little. The shopping list is short, and most of it is probably already in your sewing space.
- A pillow form (the insert you are covering)
- Fabric, with enough to cut one front and two back panels
- A sewing machine and matching thread
- A ruler, rotary cutter and cutting mat, or fabric scissors
- Pins or clips, and an iron
Mid-weight cotton, canvas or linen blends are forgiving for a first cover. Very slippery or stretchy fabrics are harder to keep square, so save those for later.
How to make a pillow cover: measuring and cutting
Measure your pillow form rather than trusting the label, especially if it has been squashed on a sofa for a while. The tutorial above notes that older forms can flatten over time.
For a snug cover, cut the front the same size as the form. For a looser fit, cut the front slightly larger. The example tutorial uses 16.5 inches for a 16-inch form in its regular fit.
For the back panels, the tutorial gives this recipe: halve your pillow form size, add half of your desired overlap width, and add 1 inch for seam allowances and to finish the edge. For a 16 inch form with a 5 inch overlap, you need two panels, each measuring 16.5 x 11.5 inches.
A 14-inch form follows the same logic, with a back panel of 14.5 x 10 and a 4-inch overlap.
Sewing the cover step by step
- Hem the inner edges. On each back panel, fold one long edge over twice, press, and stitch it down. These hemmed edges are the ones that will overlap and form the opening.
- Lay the front right side up. Place it flat on your table.
- Add the back panels. Set the first back panel right side down, raw edges lined up with the front. Add the second so the hemmed edges overlap in the middle.
- Pin the overlap well. Extra pins where the panels cross stop them from shifting while you sew.
- Stitch all the way around. Use the 1/4-inch seam allowance from the example, and backstitch at the start and end.
- Clip the corners. Snip a tiny triangle at each corner, without cutting the stitches, so they turn out sharp.
- Turn and press. Push the corners out gently, press the edges flat, and slip in the form.
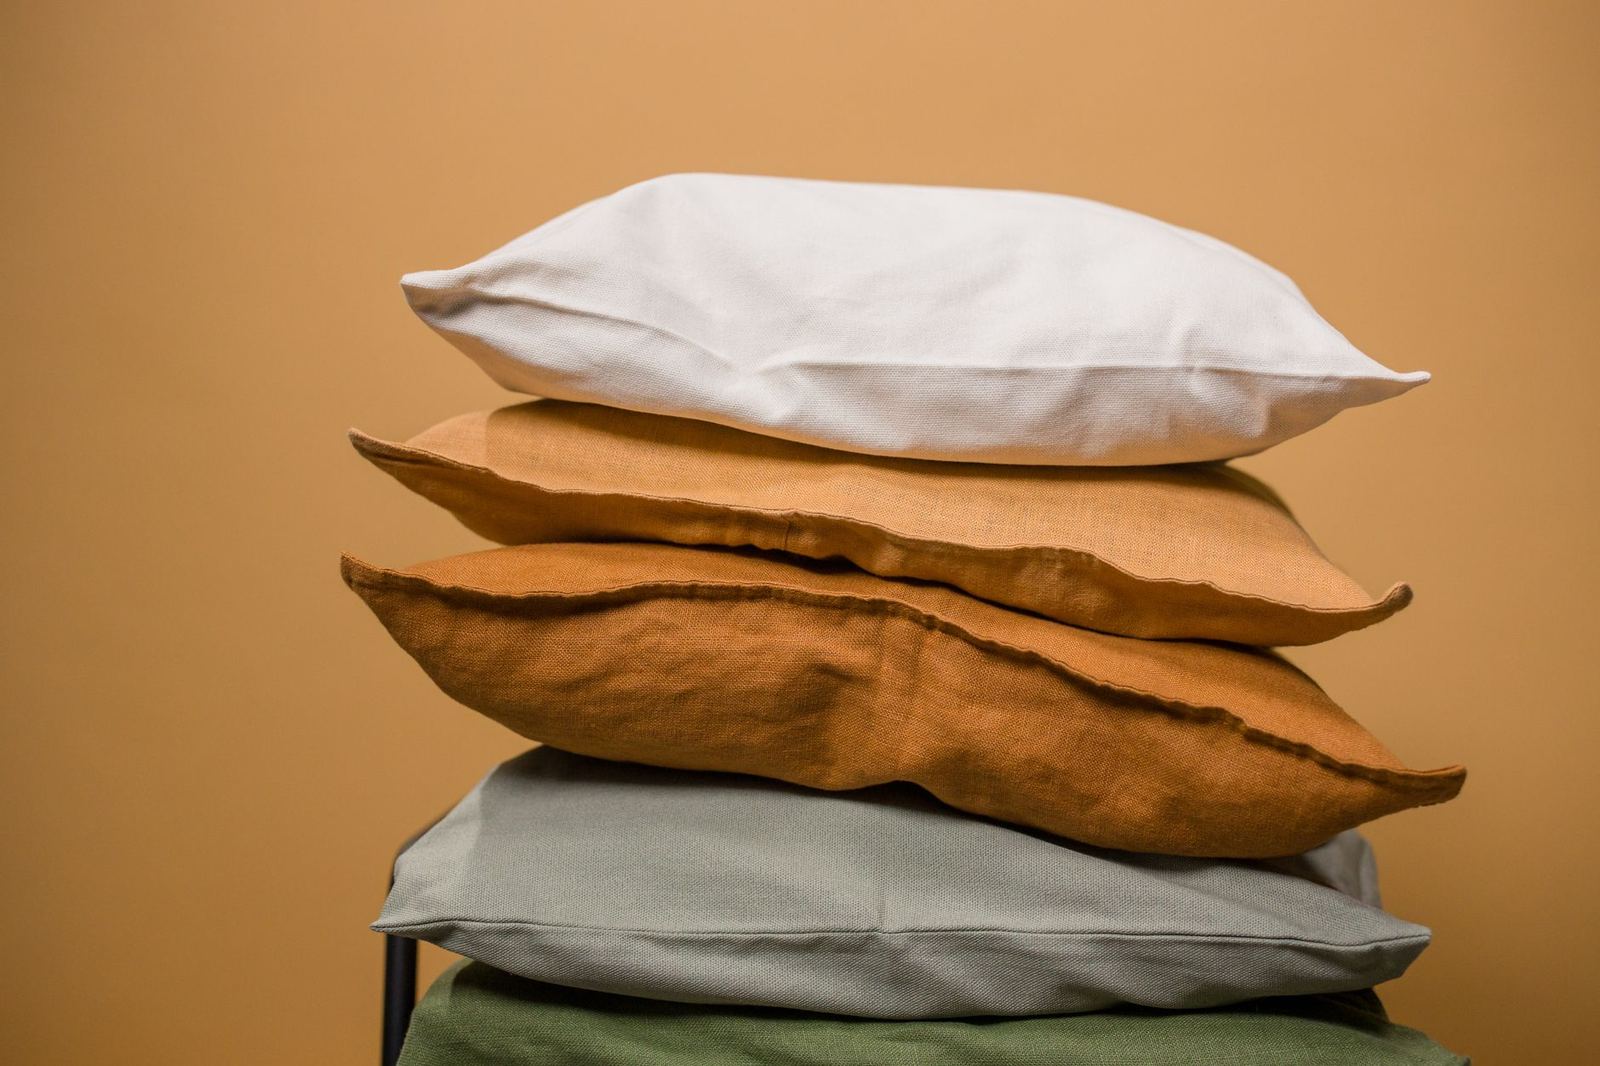
Preparing fabric and tools for a clean result
A little preparation makes the sewing itself feel easy. Wash and dry your fabric first if you plan to launder the cover later, because cotton can shrink and a cover that fit perfectly may turn snug in the wash.
Press the fabric flat before cutting. Creases left in the cloth can throw your measurements off and may prevent the finished cover from sitting square.
Cut along the grain where you can. If your fabric has a print or a stripe, line it up with the edges of the panel so the pattern does not look crooked on the finished pillow. For directional prints, check that both back panels face the same way before you pin.
Choose a thread that matches the main colour of the fabric. Match the needle to the weight of the cloth too: a finer needle for light cotton, a sturdier one for canvas or denim.
Choosing your overlap and fit
The overlap varies from maker to maker. Tutorials suggest anything from a few inches to a much wider flap, and a short overlap can leave a gap where the form peeks through.
Think about how the pillow will be used. A cushion on a bed that gets leaned on and tossed around benefits from a deeper flap, while a decorative accent that sits on a chair can get away with less fabric.
A wider overlap hides the form better and holds it more firmly. A narrower one saves fabric and gives a cleaner look when the cover is new.
Snugness matters just as much. A cover cut to the exact size of the form looks tight and plump, while one cut a little larger looks softer and relaxed. The example tutorial suggests making your own notes after a trial or two, so you remember which combination you liked.
Ideas for making it your own
Once the basic envelope cover is done, small changes give it a very different look. These ideas keep the same construction, so the measurements above still apply.
- Mix fabrics: use a bold print on the front and a plain cloth on the back to save your favourite fabric.
- Add trim: piping or a flat ribbon stitched into the front seam gives a tailored edge.
- Try seasonal covers: because the form comes out easily, you can keep one form and swap covers through the year.
- Use scraps: pieced strips on the front turn leftovers into a one-of-a-kind cushion.
- Make a matching set: cut every front and back from the same bolt so the covers look like a pair.
Because the closure is just an overlap, washing is simple. Slide the form out, launder the cover according to its fabric, press, and slide the form back in.
Common problems and easy fixes
- Gap in the back: the overlap was too short. Next time, add more overlap, or sew a small snap or button to hold the flaps.
- Cover looks baggy: the front was cut larger than the form needs. Cut to the exact form size for a snug fit.
- Wobbly edges: press the hems before stitching, and cut with a ruler and rotary cutter if you can.
- Rounded corners that will not turn: clip the corners and poke them out with a blunt tool.
Once you are comfortable with straight seams, try a second project. A natural next step is learning how to make a fabric basket, which uses the same cutting and turning skills.
If you like small, practical gifts, this guide on how to make a quilted potholder is another quick win.
Frequently asked questions
Do I need a zipper for a pillow cover?
Show answer
No. The envelope style relies on overlapping back panels instead of a zipper, which makes it a beginner-friendly option.
How much overlap should the back panels have?
Show answer
The example tutorial uses a 5-inch overlap for a 16-inch form and a 4-inch overlap for a 14-inch form. Other makers use more or less, so adjust to taste.
Should the cover be the same size as the pillow form?
Show answer
For a snug, plump look, yes. For a looser look, cut slightly larger, as in the 16.5-inch front for a 16-inch form.
Can I make it without hemming the back panels?
Show answer
Hemming gives a neat, durable opening, and tutorials generally hem the overlapping edges before attaching them to the front. Raw edges would fray with use.