Burned fingers are no fun, and a store-bought pad may not match your kitchen. Here is how to make a quilted potholder: layer heat-resistant batting and cotton batting between two squares of cotton, stitch, turn and press.
This project is one of many in our collection of easy diy sewing projects, and it suits beginners well.
| Item | Value |
|---|---|
| Backing fabric | 8-inch square |
| Front fabric or quilt block | 8-inch square |
| Heat-resistant batting (Insul Bright) | 8-inch square |
| Insul Bright placement | Shiny side up |
| Polyester batting | Do not use |
These figures come from one tutorial, Create Whimsy’s potholder guide. Sizes and product advice can change, so check the source before you rely on them.
What you need before you start
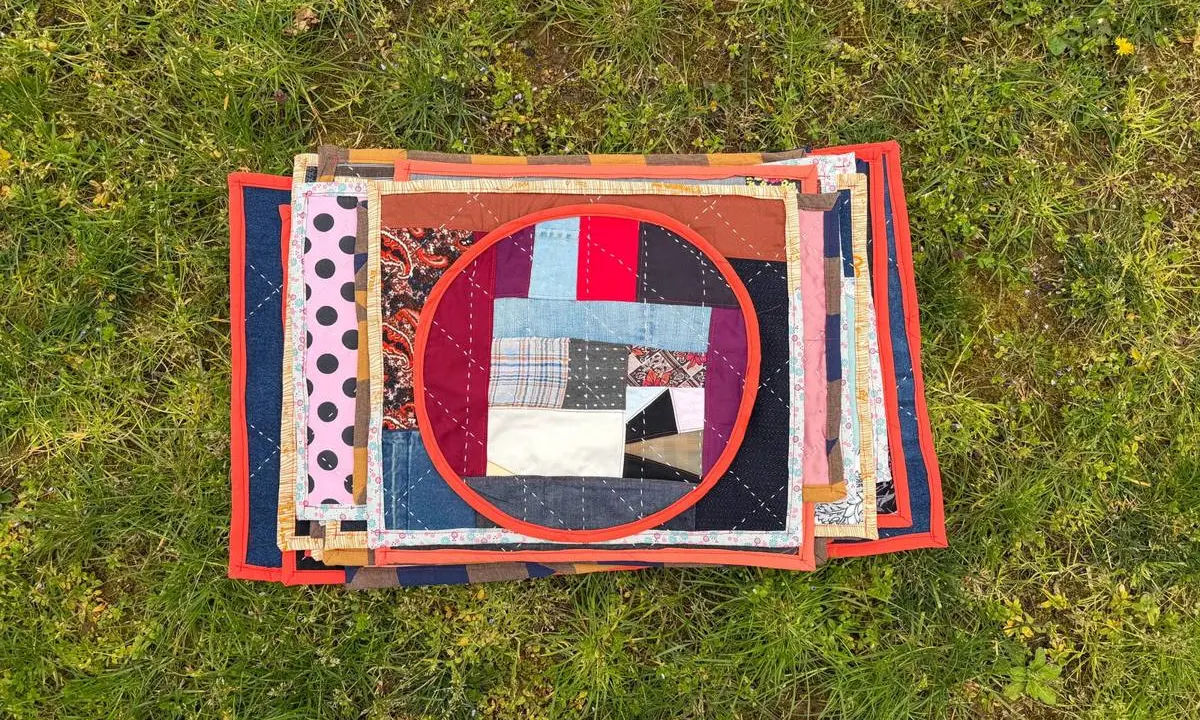
A basic potholder needs very little. You can make one from scraps, and a leftover quilt block makes a lovely front.
- One square of fabric for the backing
- One square of fabric, or a leftover quilt block, for the front
- One square of heat-resistant batting, such as Insul Bright, plus cotton batting
- Thread, a sewing machine, an iron and a pressing surface
- Optional: a corner turner to poke out the corners
The tutorial cuts all the squares at 8 inches. That size gives you a pad big enough to grip a pan handle without swallowing your hand.
Why the batting matters
The batting is the part that protects you. The tutorial describes Insul Bright as special heat-resistant batting that helps protect your hands from the heat.
It also gives a blunt warning: do not use polyester batting, because it can melt and burn your hands. Ordinary craft batting is not a safe shortcut for this project.
Choose cotton fabric for the outside as well. Cotton is easy to sew, easy to press and widely sold in prints that suit a kitchen.
How to make a quilted potholder, step by step
Follow these steps in order. The whole thing is a simple sandwich that you sew shut and turn.
- Cut the Insul Bright, cotton batting and backing fabric the same size as your front square.
- Lay the Insul Bright down with the shiny side up.
- Add the cotton batting, then place the front on top, right side up.
- Add the backing last, right side down, so its right side faces the right side of the front.
- Pin or clip around the edges so nothing slides.
- Stitch around the edge, leaving an opening on one side for turning.
- Trim the corners so they turn more easily.
- Turn the potholder right side out through the opening.
- Poke the corners out gently, then press, tucking the fabric at the opening inside.
The tutorial suggests starting your stitching a little way from one corner. That keeps the opening on a straight edge, where it is easier to close neatly.
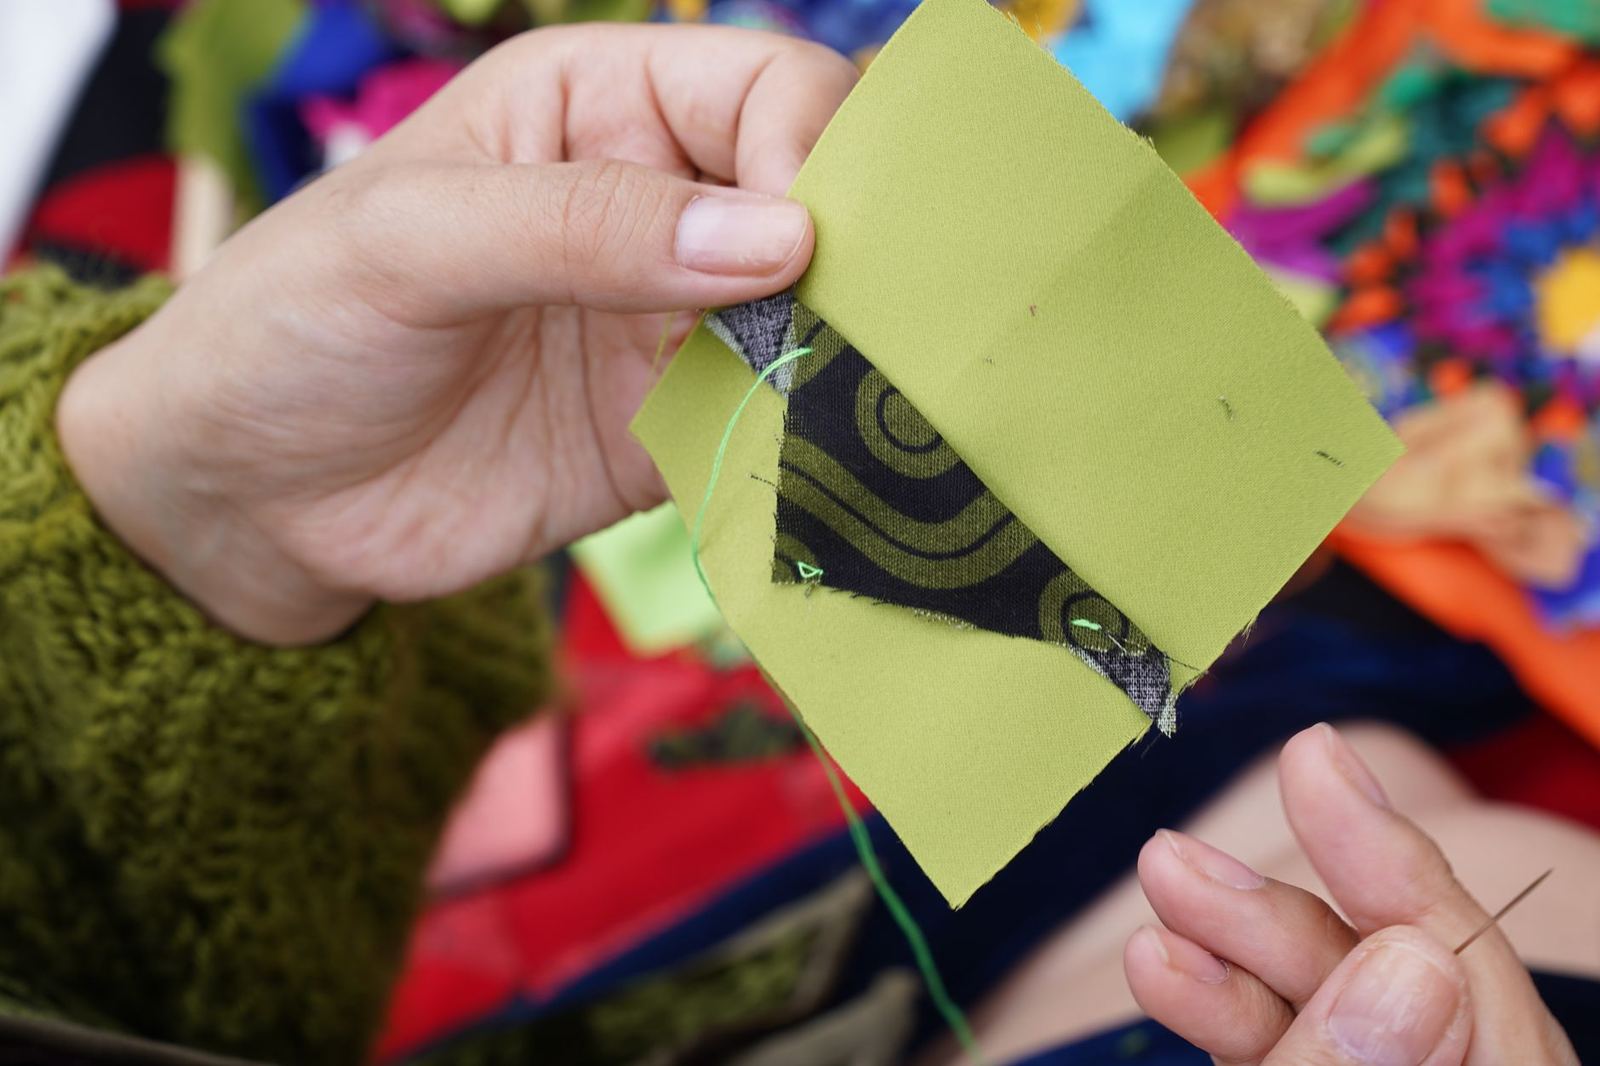
Closing the opening and adding quilting lines
Once the potholder is pressed flat, stitch the opening closed. You can topstitch all the way around the edge, which closes the gap and gives a tidy finish at the same time.
Then add your quilting lines. Straight lines across the pad, a simple grid or a loose diagonal pattern all work. The stitching holds the layers together so the batting does not shift or bunch when you wash it.
Use a longer stitch length if your machine struggles with the thickness. Go slowly near the edges, and let the machine feed the fabric rather than pulling it.
Choosing fabric and planning the design
Pick fabrics that behave well under an iron. Tightly woven cotton prints hold a crisp edge, and they do not fray as much as loose weaves.
Pre-wash your fabric if you plan to wash the finished potholder often. Pre-washing can reduce later fabric shrinkage and puckering.
Think about where the potholder will live. A busy print hides splashes and stains, while a solid colour shows off your quilting lines.
- Use a leftover quilt block for a patchwork look.
- Pair a bold print on the front with a plain backing.
- Choose colours that match your towels or curtains.
- Keep the fabric weight similar on both sides so the pad hangs flat.
Press both squares before you layer them. Creases left in the fabric can show up as ridges once the potholder is stitched and turned.
Tips for a neat, flat finish
A little care at the machine makes the result look shop-made. These habits help most.
- Stitch slowly at the corners and pivot with the needle down.
- Back-stitch at the start and end of the seam so it stays strong.
- Keep the opening wide enough to turn the pad without a struggle.
- Press from the front and the back, tucking the opening edges in neatly.
If the pad feels too thin, review its insulating layers before using it; the manufacturer recommends cotton batting alongside Insul-Bright for potholders. Extra bulk makes the corners hard to turn and the seams hard to stitch.
Holding something warm does not establish that a finished pad provides adequate protection from a hot pan. If it feels thin or the fabric looks scorched, retire it and make a fresh one.
Ways to customise it
Once you have made one plain potholder, you can add features. The same tutorial also covers a version with binding, a pocket and a hanging loop.
- A hanging loop lets you store it on a hook by the stove.
- A pocket on the back lets you slide your hand in for a firmer grip.
- Contrasting binding gives a frame that finishes the edge.
- Matching pairs make a good gift for a new home.
If you enjoy small projects like this, try how to make a pillow cover next, which uses similar skills. A how to sew a zipper pouch project is a good step up when you want to learn a new technique.
Care and common mistakes
Most problems come from rushing the layering. Check the order before you sew, and make sure the Insul Bright is in the right position.
- Skipping the corner trim leaves bulky, rounded corners.
- Forgetting the opening means you have to unpick seams.
- Using the wrong batting is one mistake that affects safety.
Keep the potholder dry when you use it. A damp pad lets heat through faster, so swap it for a dry one if it gets wet.
Making a set and giving it as a gift
Potholders are quick, so they suit batch sewing. Cut all your squares first, then layer and stitch them in a row without cutting the thread between pads.
Snip the threads apart afterwards, then trim, turn and press each one. This chain method saves time and keeps matching pads consistent.
For a gift, fold a pair together and tie them with ribbon. You can add a wooden spoon or a tea towel in matching colours for a complete kitchen set.
Using fabric scraps can reduce the cost of a set, though you may still need to buy suitable batting. It is also a relaxed way to practise straight seams, corners and pressing before you move to bigger projects.
Frequently asked questions
Can I use regular batting instead of Insul Bright?
Show answer
The tutorial says not to use polyester batting, since it can melt and burn your hands. Use batting made for heat protection.
Which way does the shiny side face?
Show answer
In the tutorial, the Insul Bright goes at the bottom of the stack with the shiny side up.
Do I need a sewing machine?
Show answer
The tutorial uses a machine, but the straight seams could be hand stitched if you are patient.
Why do I trim the corners?
Show answer
Trimming the corners helps them turn more easily, so they come out neat and sharp once pressed.