Remember, like, three weeks ago when googling ‘face mask’ was likely to pull up loads of almond oil-sugar-oatmeal pastes that nourished your skin? I do, but only sort of. These days our reality has shifted so fast many of us have whiplash. Now anyone who can sew, it seems, is making masks to keep us safe from the Coronavirus and avoid contracting Covid-19. We have been quarantined at home for three weeks but it’s only recently that it was advised people wear masks for trips outside and to the grocery store. So, I’ve quickly pulled together this post to help you sew your own face mask.
The world feels like a really different place. My state, New Jersey, has the second highest number of cases in the U.S. and my county has the third most in New Jersey. In my small town, sized one mile by one mile, there are already 19 cases and it rises every day. I’m exhausted and scared and overwhelmed.
As many of you know, I was reluctant to make masks because I kept reading how ineffective they are against the virus and didn’t want to bombard an already stressed medical systems with ineffective masks. (They are, TOTALLY ineffective against the virus). They do, however, slow the spread and help us all avoid touching our face and they can preserve the life of the effective masks for healthcare workers. Plus, this is the reality of the situation. We don’t have the medical equipment we need.
Hospitals, grocery stores, the postal service, Amazon, and loads of other essentials services are simply not providing their workers with the appropriate protection. That is the situation. Workplaces have neglected to create a safe working environment across many industries. I’m enraged that the response to this has largely been to ask sewers to undertake unpaid labor and make up the difference. BUT HERE WE ARE!
I’d like to kindly ask that, if you use this tutorial and benefit from it, you also take on political action of some sort. I suggest any of the following (and would love to hear your suggestions):
+ Tweet at Amazon or Whole Foods who surely can afford to provide safer work conditions. Do the same for FedEx, UPS, Walgreens or any other company that requires face-to-face service. Lots of low-wage workers are still putting themselves in danger every day and their corporate families can do more!
+ Encourage the President to ACT on the Defense Production Act and keep 3M’s production of masks here in the U.S.
+ Encourage the people around you to stay home. Staying home is a political act that protects us all right now.
+ Avoid GOING OUT to purchase mask supplies. Staying home is your best bet, see above. If you are buying supplies, buy from your local quilt shops. Many big box craft stores are staying open and claiming to be essential services while small shops had to close. The small guy needs your support now more than ever.
+ Pay a small seller for masks if you can’t make them. People who sew deserve to be paid for their time and for their supplies.
My apologies if this sounds bossy. These are odd times and I guess I get bossy at odd times. 🙂
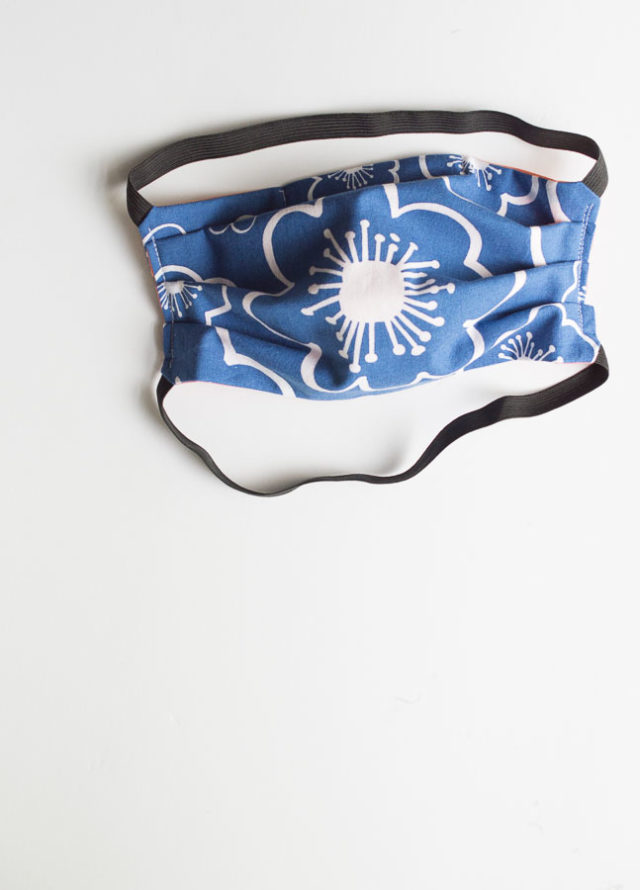
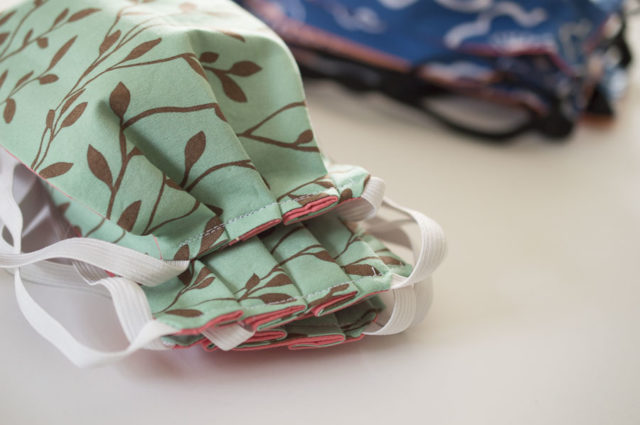
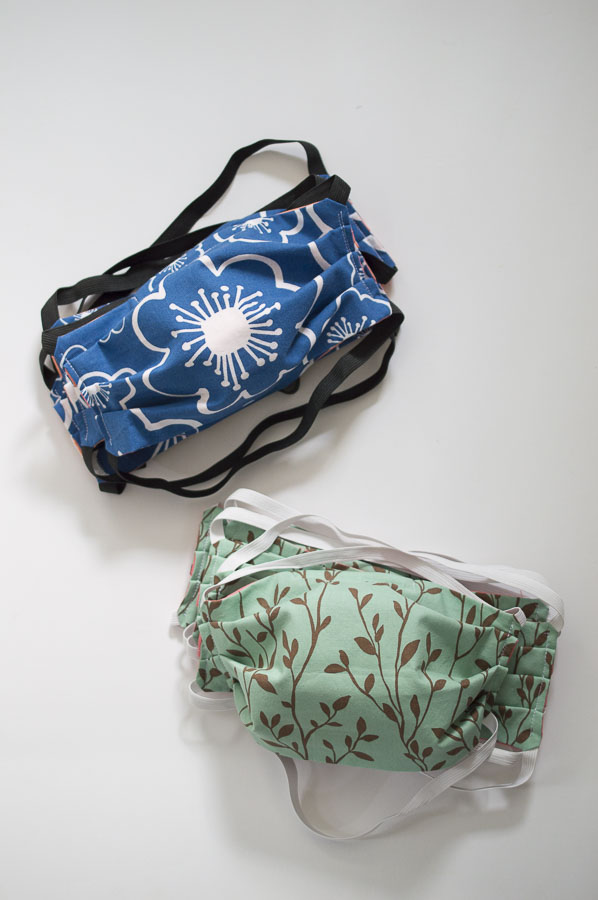
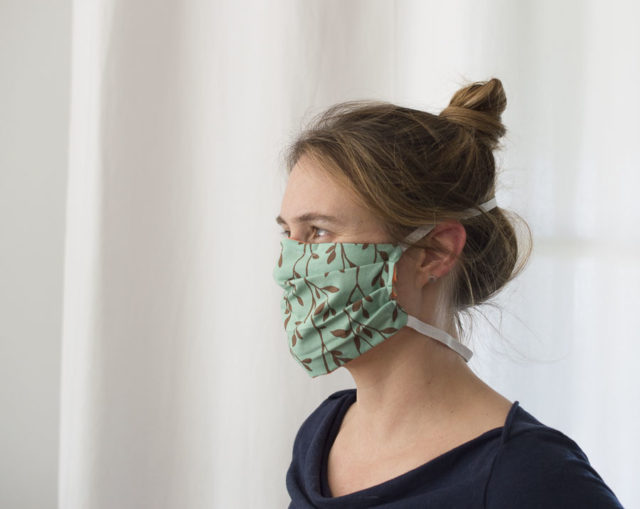
Here is how I made my masks. They include an insert for metal around the nose bridge, a pocket to slip in a filter and two different colors of fabric so you can tell which side belongs next to your mouth.
If you prefer something different or would like a video walking through the process I urge you to undertake a google search. There are plenty of folks producing videos or alternative styles.
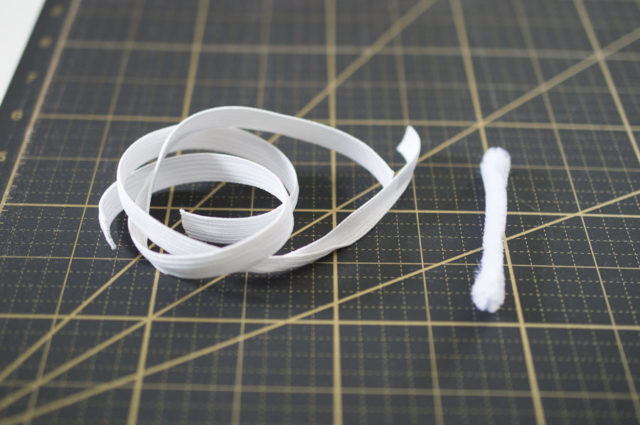
Let’s get started! You will want to gather elastic, cotton fabric scraps of two different types, a pipe cleaner and your sewing supplies.
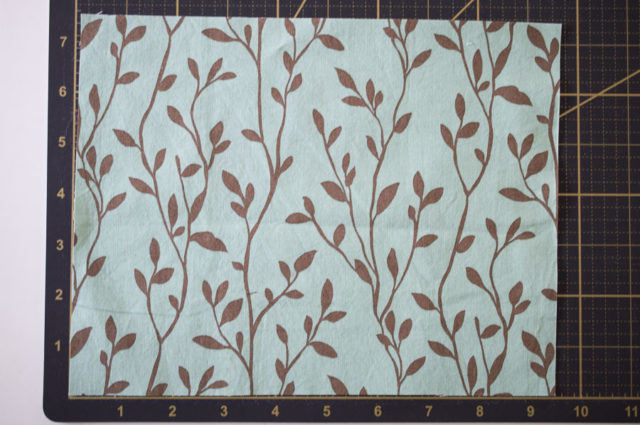
+Cut out one fabric sized 9.5″ by 7.5″
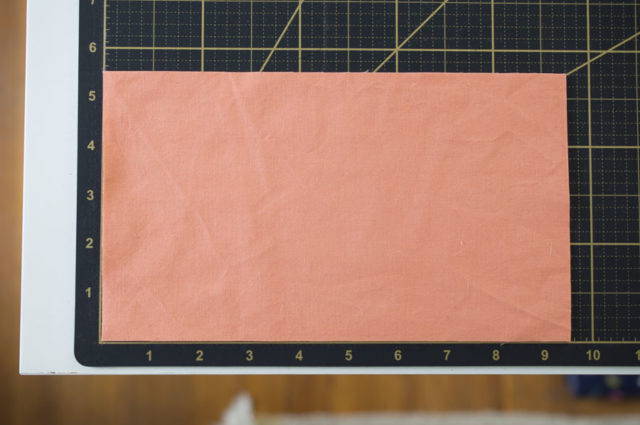
+ Cut out two sized 9.5″ by 5.5″
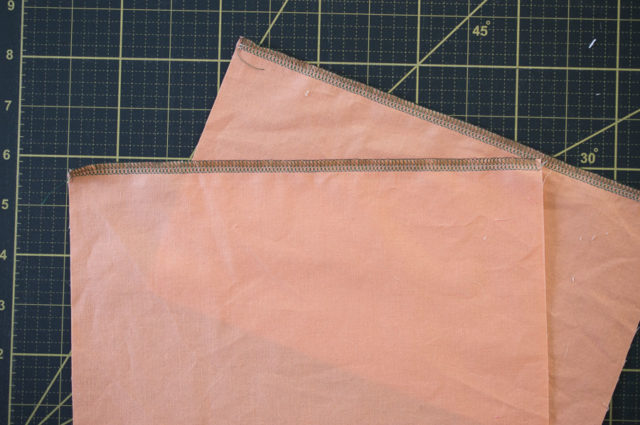
+ You can serge one long end of each of these if you’d like or you can leave them raw. It’s fine, we aren’t designed couture here.
+ Cut two strips of elastic at 12″ each
+ Cut one bit of a pipe cleaner to 4″
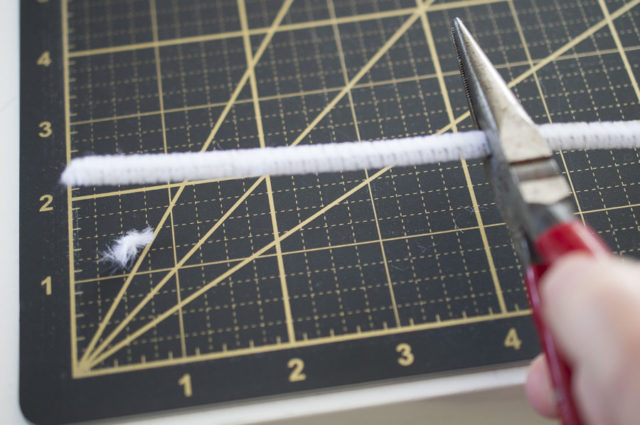
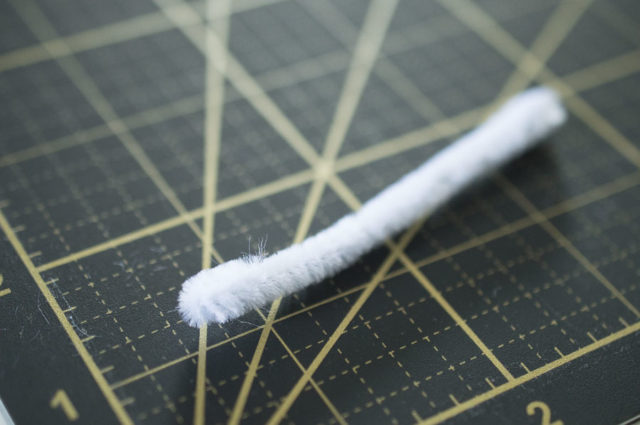
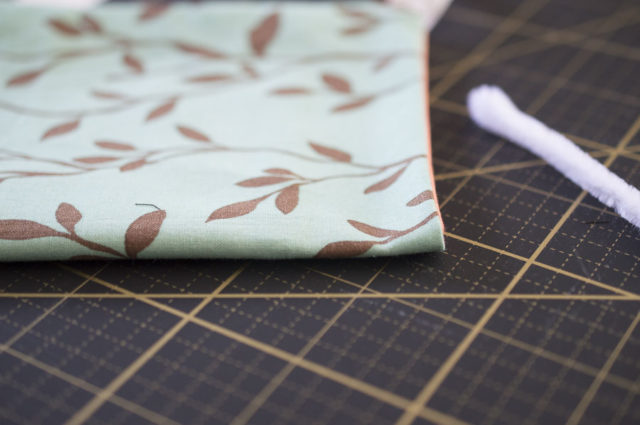
To prepare the pipe cleaner, clip it at 4″ long and then fold over each edge so it doesn’t have sharp edges.
Now you have all your supplies prepared to sew.
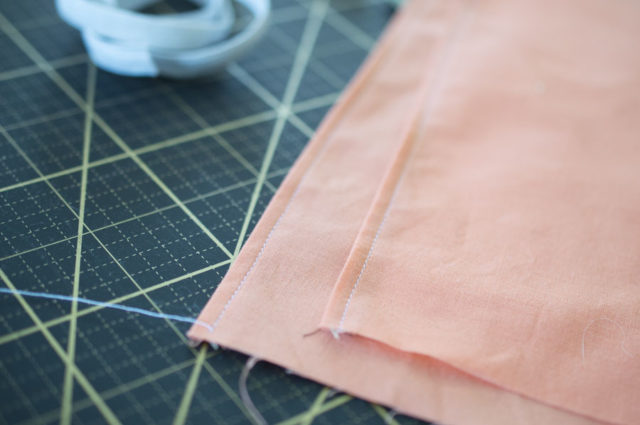
+ Fold one long edge of each of the 9.5″ by 5.5″ pieces over by about 1/4″. Press with an iron so it sits flat.
+Topstitch to hold the fold in place. Set aside.
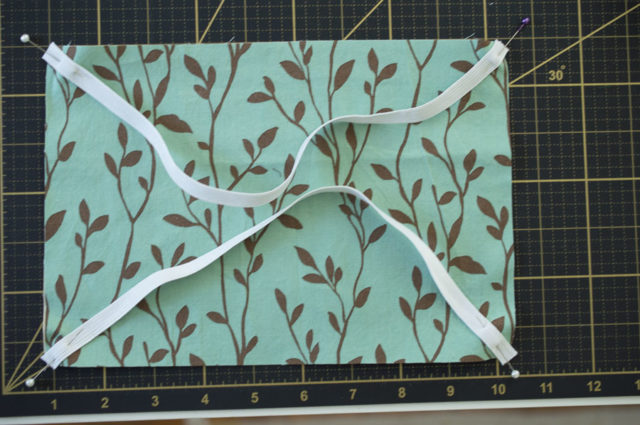
+ Place your 7.5″ by 9.5″ piece right side up. This will be the exterior of your mask.
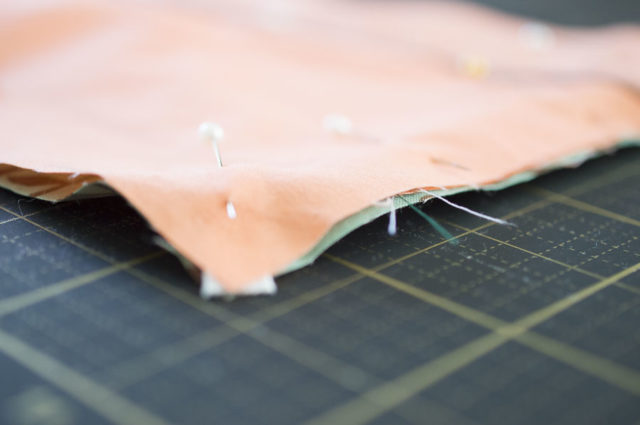
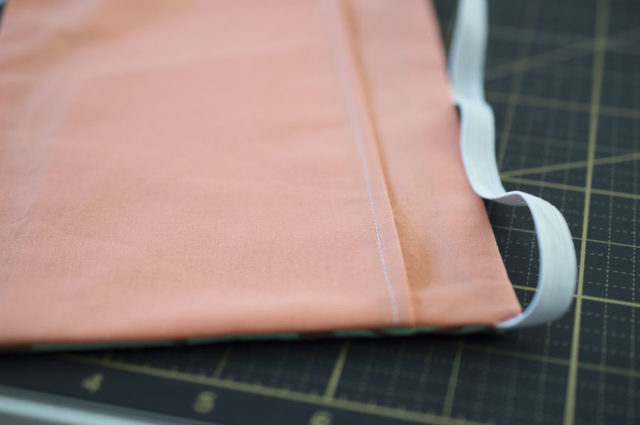
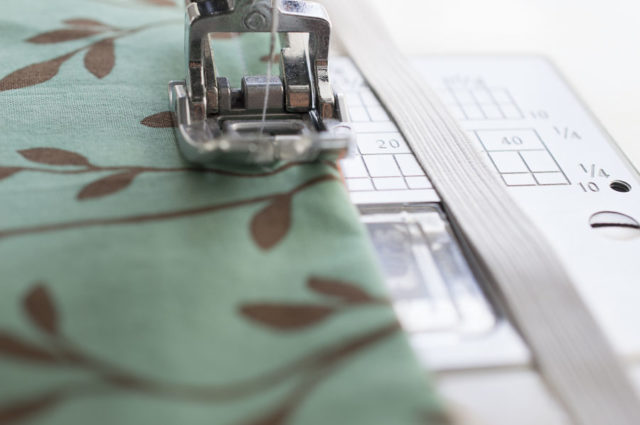
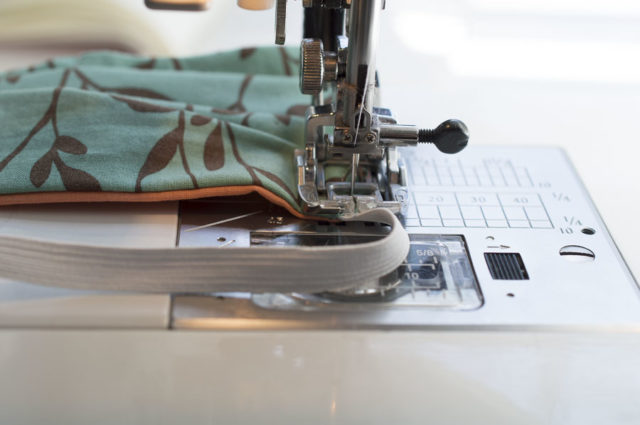
+ Pin one end of each strip of elastic to the edge of the long sides, as pictured. You will find it helpful to pin such that the head of the pin faces outward. Be sure your elastic is not twisted.
Note: you may want to use fabric ties for this. Indeed, some medical facilities require it.
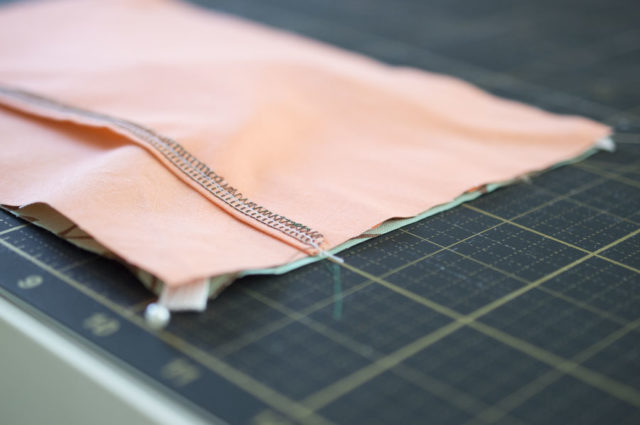
+ Overlap the two interior pieces (size 5.5″ by 9.5″) such that the folded and stitched portions cross in the middle and place them right side DOWN on top of the mask exterior.
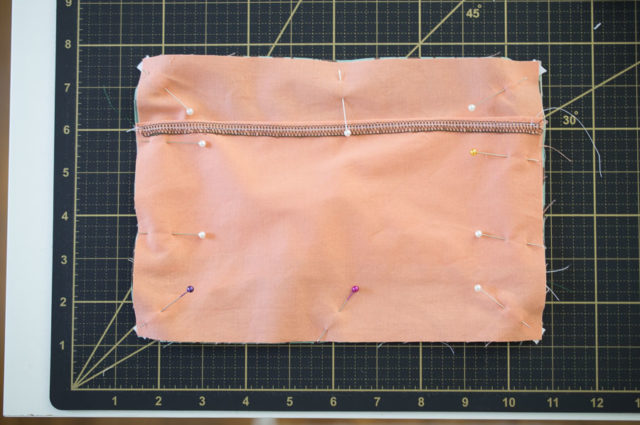
+ Pin in place all the way around the edge. Be sure to pin through the elastic at the edge so it doesn’t slip while you sew.
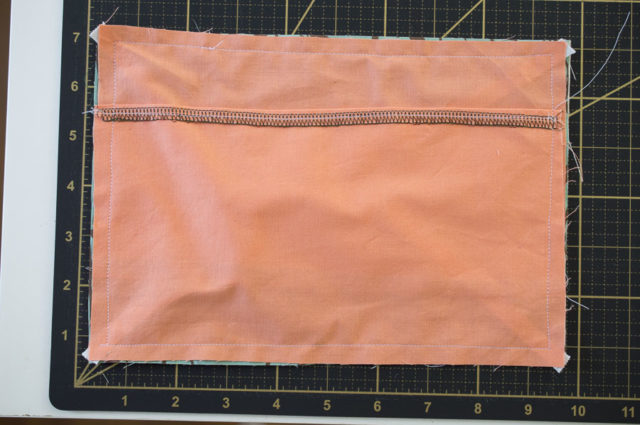
+ Sew around the entire perimeter at about a 3/8″ seam allowance.
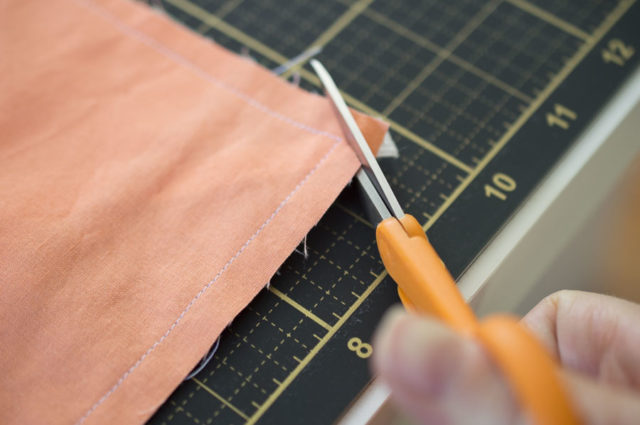
+ Trim the corners to reduce bulk.
+ Turn the entire thing right sides out using the opening of the overlapped fabric. Pull it into shape and press with an iron.
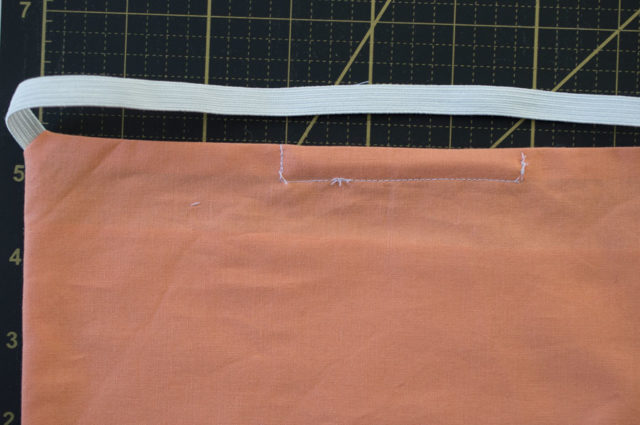
+ Creating a casing for the pipe cleaner. Begin by designating one side as “the top”. Fold the mask in half along the top and mark the midway point.
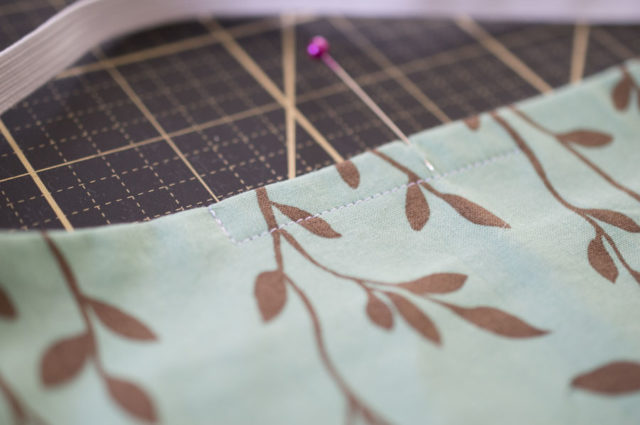
+ Stitch an L-shaped section at the top of the mask about 1/2″ deep and 2-3″ long. You can estimate this, you just want to be sure your pipe cleaner can fit inside and it’s relatively centered. It doesn’t need to be exactly in the middle just try to start sewing about 1.5″ before your midway point.
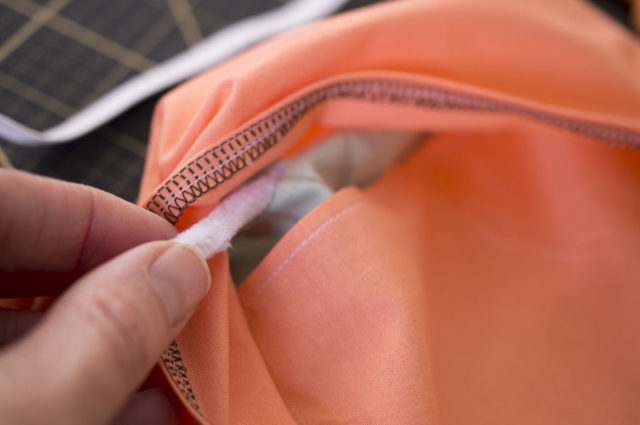
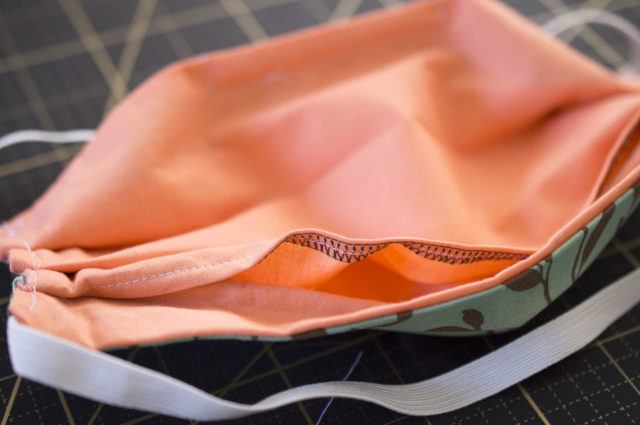
+ Place the pipe cleaner inside this casing by going inside the mask.
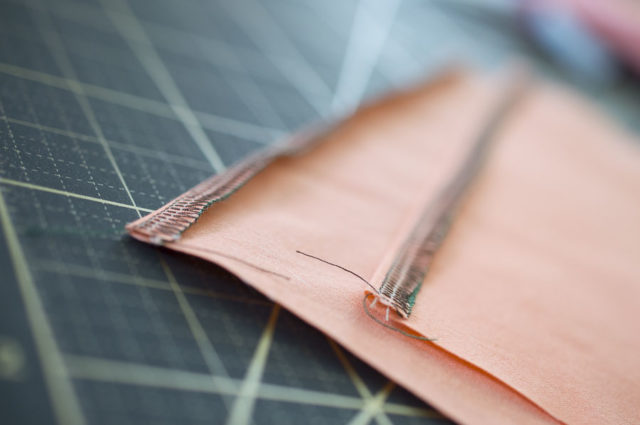
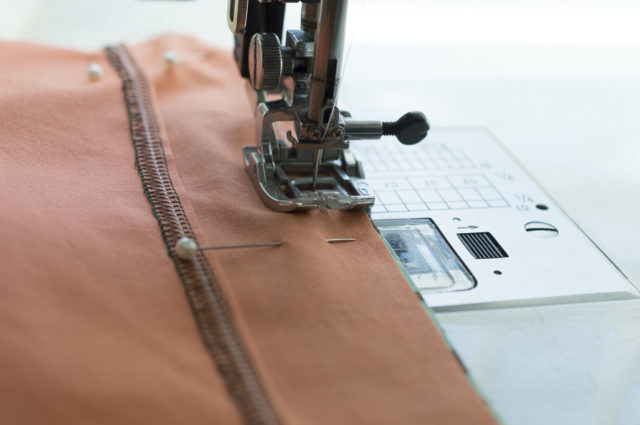
+ Turn to the exterior of the mask and sew such that you stitch the pipe cleaner in place, as pictured. When you wear your mask, you can adjust the metal to fit the bridge of your nose. So fancy! Be sure to clip your threads better than I did. Mine are a mess! Ha.
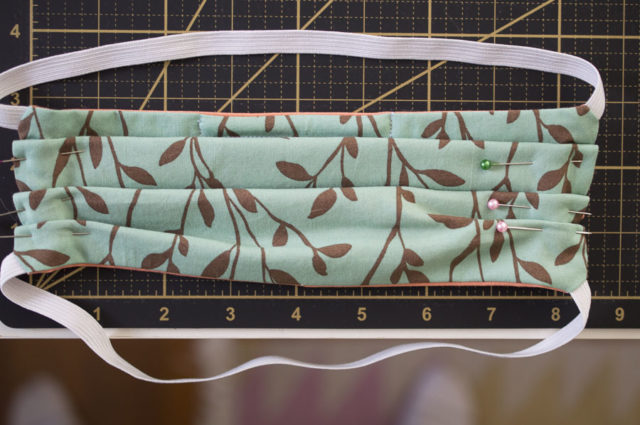
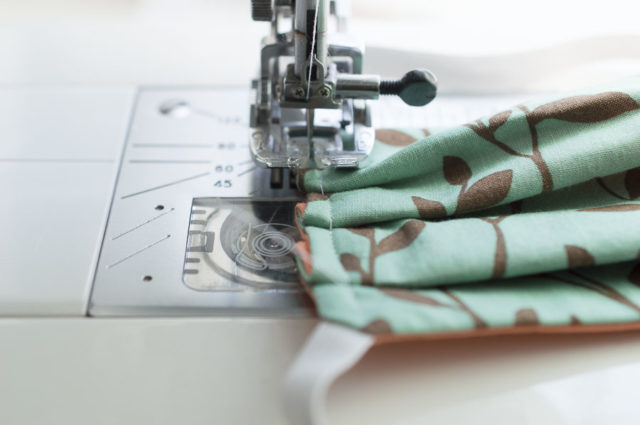
+ Along the sides, create three pleats all facing the same direction until the mask is around 3″ high. They don’t need to be perfect, beautiful pleats. Just pleats that are relatively-ish even. Pin in place on both sides.
+ Stitch along each side TWICE to hold the pleats in place.
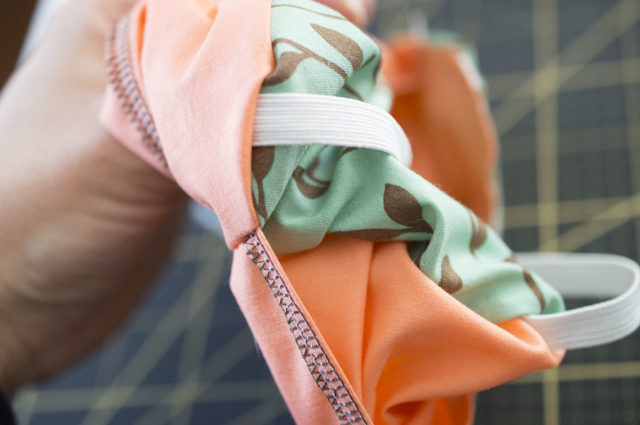
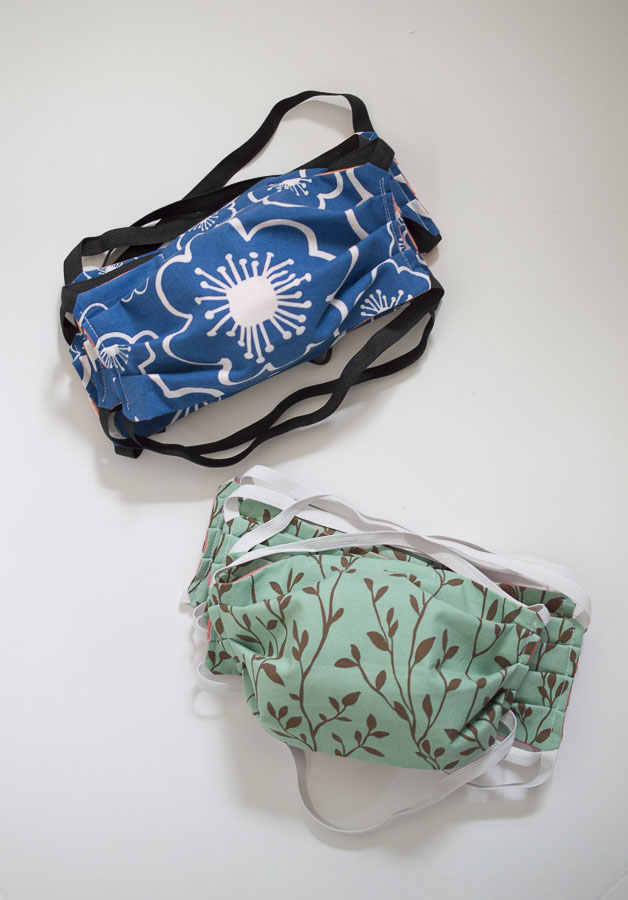
You made a mask! You should be able to flip it over and open the overlap to insert a filter such as a cut up vacuum bag.
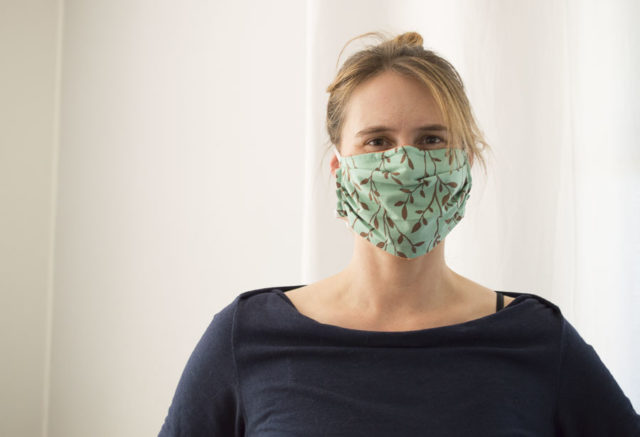
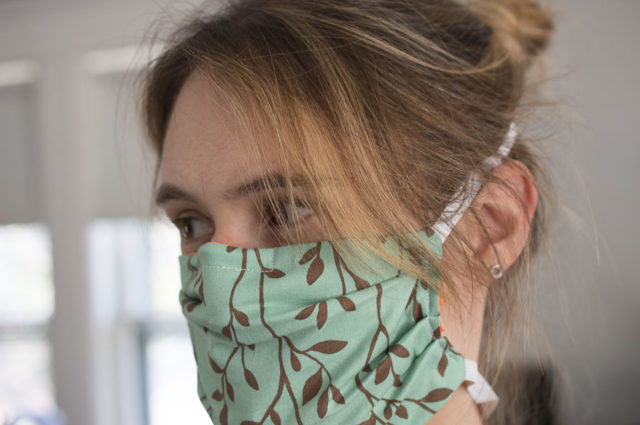
Since I took these photos I’ve noticed people wearing their masks place the bottom elastic band up high on their head. I’m definitely wearing it wrong! So, don’t do what I did and instead criss-cross the elastic bands so the bottom one holds at the top of your head. It stays in place much better.
As tired, overwhelmed and angry as I am, I am also happy I have the skills to be there for people who need it. I wish that every handmade mask translated into a free ticket so someone without health insurance had coverage when they are sick. I wish it meant there were enough tests for everyone who felt sick so we actually knew who has contracted the virus. I wish a lot of things.
Mostly, I wish there was no need for this tutorial. Stay safe everyone and stay healthy. Be kind. We need each other a lot right now.
 ‘
‘

Excellent, clear tutorial, and even better, agitating for positive change! I love your list! I’d also like to suggest, request rent abeyance for small businesses from your state government. Thanks for the info, and I hope you stay safe and well.
Yes! I love that! So important for small businesses. You stay safe and well too!
While Amazon can afford to buy more PPE for their employees, there aren’t any to be bought and in a letter to their employees they stated that the first made PPE should go to healthcare workers.
Oh yeah! Sorry if I was unclear. PPE’s like N95 should TOTALLY GO to healthcare workers. But companies like Amazon can quickly shift to paying for large-scale solutions for their workers like paying for fashion houses to mass-produce masks. And, they can prioritize their workers. My local Whole Foods, owned by Amazon, didn’t even allow workers to wear any kind of mask until recently because it would scare customers.
Hi, Melissa! Your post is excellent. I’ve looked at a couple dozen others, at least, and yours is waaaay better than most. Question for you: What are you using for the filter? I’ve been experimenting with hepa filters; some from vacuum cleaner bags (too flimsy), some from furnace filters (better, but jam my machine).
I’m not currently using a filter for my personal use. This design is set up so that you can insert your own filter after the fact so people who are using a filter (because they need extra protection) can add it after they make a cloth mask!
Just wanted to say that this is a wonderful thing you are doing and yes to what you said. Stay safe.
Thank you so much!
thanks Bossy Lady! you very clearly expressed many of the feelings i’ve been having, which at first had me paralyzed and now has me reluctantly and grumpily sewing masks… keep up the good fight! <3
Ha! Yes, that’s about where I”m at too. reluctantly and grumpily! Stay healthy and safe Cal!
Thank you so much for your pattern and notes, I’ve finally made some masks for my family and friends! One great tip from my farm client was to use those ties from the top of a coffee bag since they lie flat, yet bend, instead of pipe cleaners! Otherwise, worked like a charm!
I love that!
Great idea!