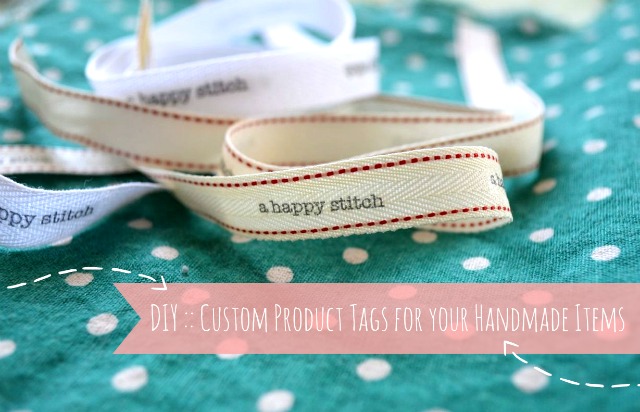
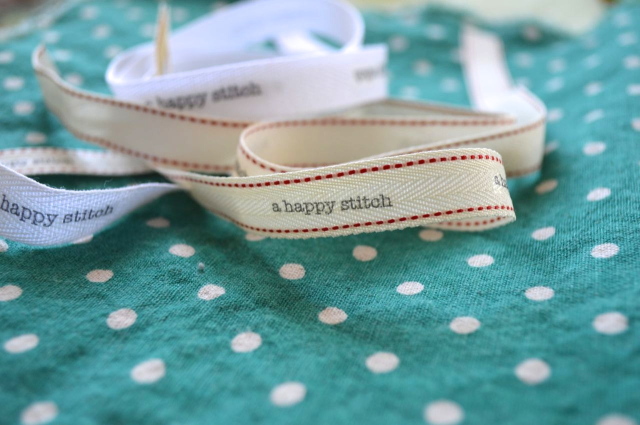
I’m gearing up for a wonderful artisan market coming up this weekend (it’s here if you are local) and I’m so excited. People inevitably ask me, at these markets, where I get my product tags and are always surprised when I tell them I make them. But, it so darn easy! And, super cheap! Truly, you can make your own product labels.
Today, I’m finally sharing how I make them so you can add them to your own handmade items. (Quick public service announcement: Whether you sell things or not, you should label your handmade goods. They are so special! You made them.)
This is my super cheap, easy and spectacular method for making your own product tags.
You will want to gather the following supplies: A sheet of iron-on fabric transfer paper for light colored fabrics (I use an Avery brand iron-on like this one – affiliate link), cotton twill tape (I like the quality at Twill Tape Guy but you have to buy in bulk) , an iron and fabric scissors.
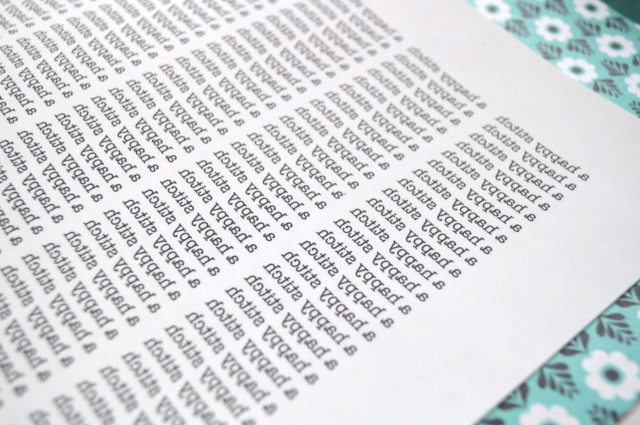
1. Start by typing up a document with your word choice in whatever font you would like. Don’t worry about spacing, you will be cutting out each logo so just make sure they don’t overlap and then put as many on one page as you can. Before you print out your document, flip the words so they appear backwards. This step is a little different depending on your computer but on my Mac I am given the option to flip horizontally when I get to the print function page. Once you are sure the words are flipped, print it out on your transfer paper.
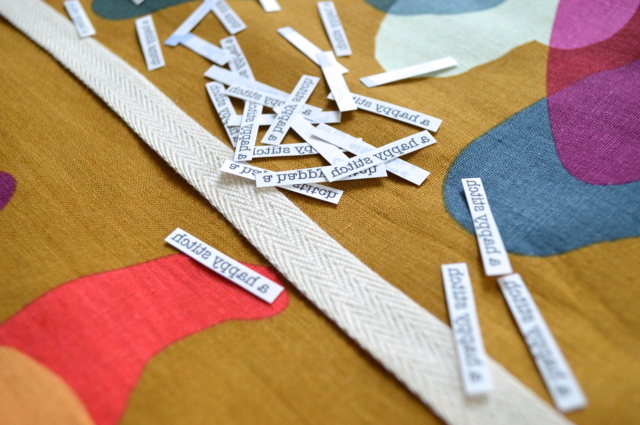
2. Cut out each logo as close to the edge of the text as you can (without driving yourself crazy).
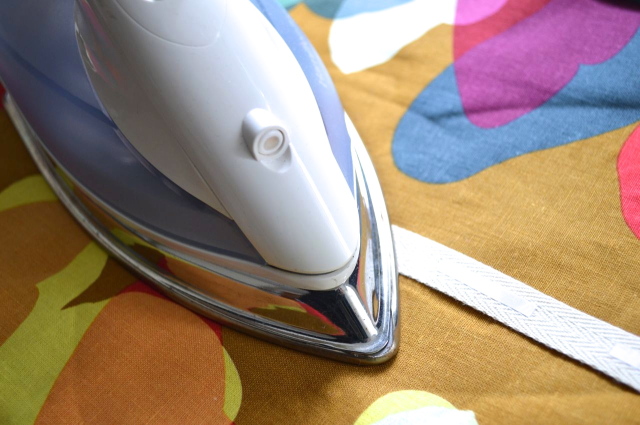
3. Place them word side down onto your twill tape spaced about 2 inches away from each other. Iron directly onto the back of the paper and PRESS HARD for about 20 seconds. The instructions that come with the transfer paper recommend using a harder surface than an ironing board so I lay down layers of burlap over my studio table and then place a pressing cloth over that before I iron.
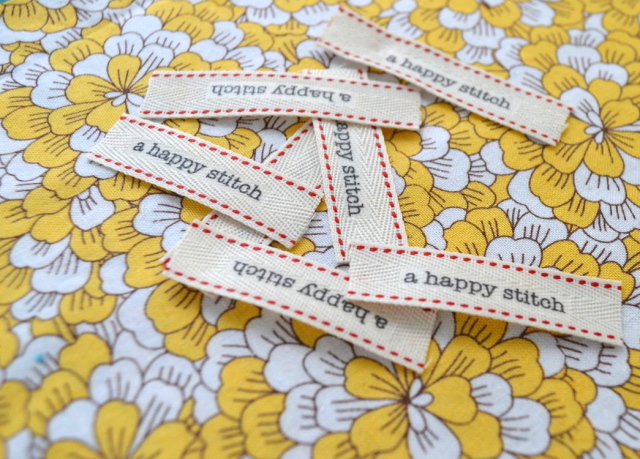
4. Let the logos cool completely. Don’t cheat, if it isn’t cool, it won’t work as well. Peel off the paper to reveal your very own adorable custom product tags! Hey rockstar! The world can see you now!
5. To use your lovely creation, clip each one.
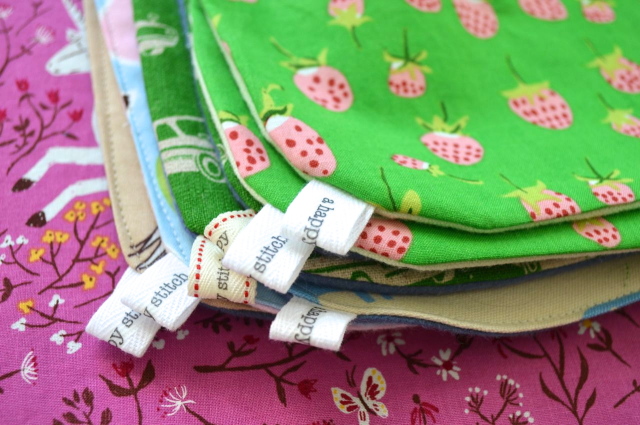
Now you can fold them in half and sew them into your next project. Look how nice that looks!
To make this even cheaper and eco-friendly, I take the twill tape out of fancy shopping bags and reuse it to make my tags. If you shop at Anthropologie you might have already noticed my trick.

Amazing!! They are so cute.
Thanks!
Hi Melissa….great post! I was wondering……….that link to Amazon doesn’t seem to work for me so I’m not sure exactly which Avery label you’re recommending.
Oh darn! Thanks for pointing that out, I will fix it.
Thanks a big bunch, Melissa!! You rock! 🙂
Thanks! *blush*
This is incredibly timely! I am making my two boys identical gifts for Christmas, and I was thinking of outsourcing the tags (to differentiate between the two identical items) to my MIL who has a much fancier sewing machine than I do. I figured I could get her to sew their names onto tags, now I don’t have to! What a simple solution!!!
Thank you, thank you!!
Yay! So glad it was helpful! You could also add sweet little messages. I’ve put “I love you” on a tag before, back when my boys didn’t say yuck to such sentiments. 🙂
How nice! Thanks for sharing your tip. Do you need to use an inkjet printer? I think laser printers will not work…
Carla, I do use an inkjet printer. Although, you could look for transfer paper specifically designed for laser printers, I will bet that would work.
Hi, Melissa! I have a regular Inkjet printer as well… Won’t the ink just melt off when the clothes are washed?
Thank you so much for this tutorial! I do hope you can answer my question!
That is what is so wonderful about the transfer paper! It won’t wash away.
So smart! And beautiful. I’m really loving your stuff for this boutique! Can’t wait to see you.
Me too! I’m so excited.
Thanks for sharing your cool directions. I typically order mine online and they take forever to Rrive. I like the idea that you can print them up yourself and use any font, color and image. I will have to try this soon. See you tomorrow!
Exactly! Instant labels!
How quickly do they fade or wash out?
Ooh, great question. I haven’t specifically tested this but I do have a pair of kid’s PJ pants that were washed many times and the tag started to fade…probably after a half a year of heavy use. Of course, by then he had grown out of them. So, it didn’t really matter but for other things this is something to consider!
Well, and some things like a potholder or quilt wouldn’t get washed nearly so often as a pair of PJ pants.
Exactly!
Do you think I could draw a logo on the paper after I print the “word” part of my name?
Hmm..you will probably want to find a digital font close to your illustration ideas…I don’t think a drawing would last. Sorry!
This is perfect timing. I was looking for a way to create washing instruction tags for some items of clothing I am making. This would be perfect! And I get to add my own little details. Thank you!
Great idea! Washing instructions is a great use of the tag!
Thank you so much for sharing this – I am looking forward to trying it out.
So glad it was helpful Yvette! Good luck!
I make it a step easier, I use a rubber stamp. Years ago, I got my company name printed by “Stampin’ UP!” I’m sure a local printing place could do it too. I use Stazon ink and iron it after to heat set the ink. Quick and easy. I like your twill with the red stitching. Gotta find some of that. :} Thanks for sharing.
Great idea! Does the stamp penetrate the textural elements of the twill tape, I wonder?
Hi Melissa, exactly what kind of tape did you use? I cannot find the kind with the lined edges. And the width, too.
Thanks,
Ellice
elliceblay@yahoo.com
The kind with the red lined edges is actually taken from the bag straps of bags from Anthropologie!! I did see some with thicker red lines in the seasonal section at Michaels the other day, you could try that. It’s about 1/2″ thick. Hope this helps!
Inexpensive ribbon works really well, also, for a fancier version. Also to sew on the inside or backside for care instructions, if needed.
Yes! Care instructions! Brilliant.
Hi, Thank you so much!!! This is a wonderful tutorial! Your info was so helpful and I am going to make my own using this method! I want to try with ribbon also but that twill tape looks great! Thanks again!
I’m so glad you found it useful! Good luck.
This is just what I was looking for! Thank you for sharing the tutorial. I ordered my supplies today. I found you on Pinterest.