If you ask me, very little is more satisfying than a scrap fabric project. Using up bits of fabric from another project to make something spectacular is just its own brand of sewing magic. What if that sorcery involved making scrap fabric espadrilles? Well, that would be next level, wouldn’t it!
I’ve pulled together a simple step-by-step to do just that. So, grab an I GOT IT kit from my shop and your favorite medium weight fabric scraps. It’s time to make some shoes.
A bit intimidated by making espadrilles or just looking for an awesome online workshop? Join me for this workshop with Jenny Lemons and nab this super special screen-printed fabric saved from the shop floor.
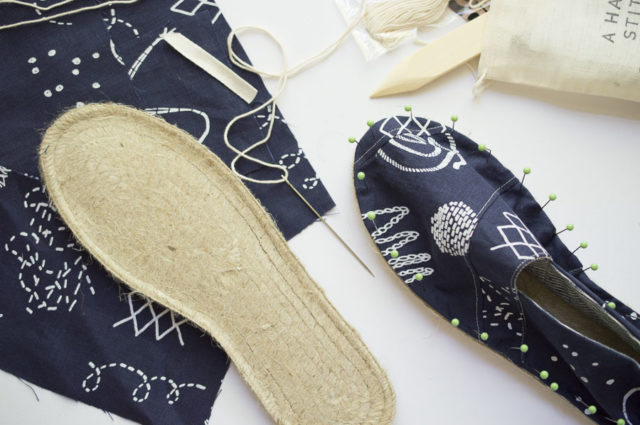
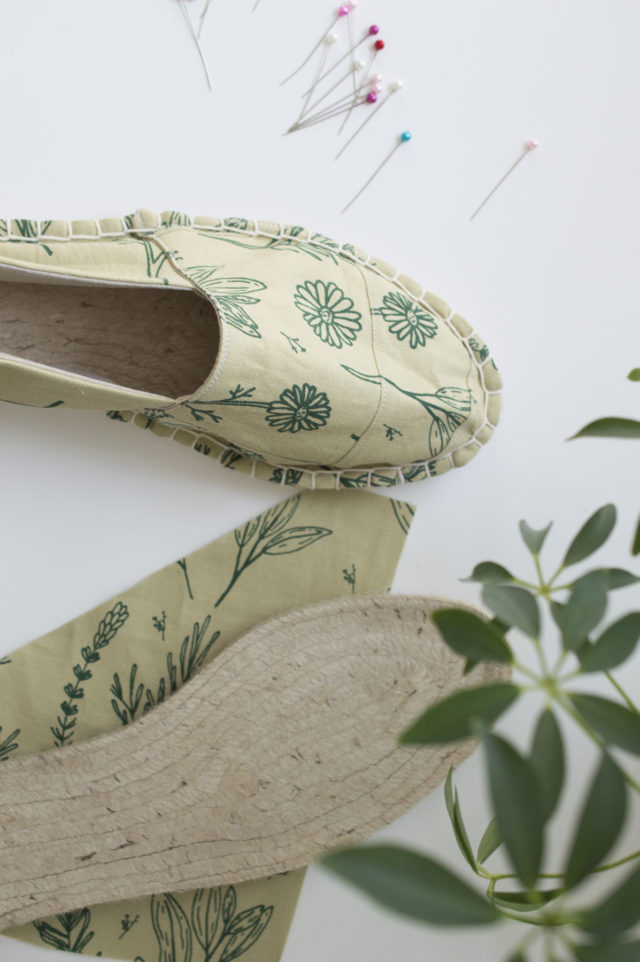
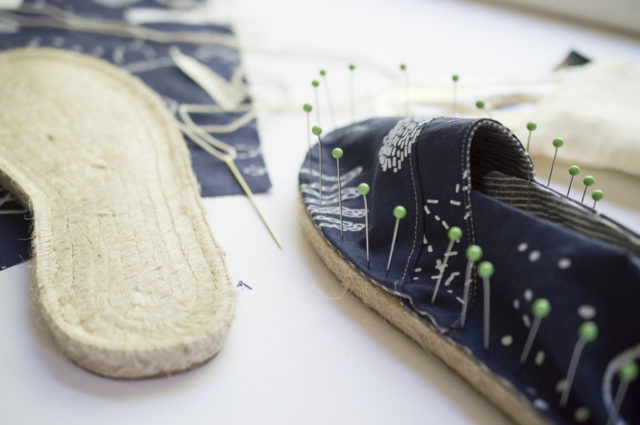
CUT OUT & LABEL
These instructions will start by creating the patchwork for the toe of the right shoe.
To start, cut out the following sized scraps and label or mark each one
#1- 4″ by 4″ square
#2- 4″ by 5″ rectangle
#3- 8.5″ by 2.75″ rectangle
#4- 9″ by 4″ rectangle
#5- 9″ by 3″ rectangle

SEW #1 TO #2
Place #1 and #2 right sides together. Sew using a 1/4″ seam allowance such that #2 is on the LEFT-HAND side.
Press with an iron.
Topstitch on the seam.

SEW #3 & CREATE AN ANGLE
Repeat the same process with #3, sewing with a 1/4″ seam allowance across the top of #1 & #2 as illustrated below. Press and topstitch.
Use a ruler to measure an angle and cut across #3. The smallest portion of the angle should be 1″ with the widest portion at 2.75″. The 1″ side will be over the top of #2, as illustrated. This will form an inward facing angle for the right toe portion of the shoe.

SEW #4 AT AN ANGLE
Repeat the same process with #4, sewing with a 1/4″ seam allowance across the top of the now-angled #3.
Press with an iron and topstitch.

SEW #5 VERTICALLY, ACROSS THE WIDER SIDE
Stitch #5 in the same manner as the others by placing it right sides together with the edge of the fabric on the side with a wider angle. It may not be as long as the entire side but that is fine. As you will see, you don’t need the entire patchwork piece to create the toe.
Again, press with an iron and topstitch.

CUT OUT TOE PATTERN
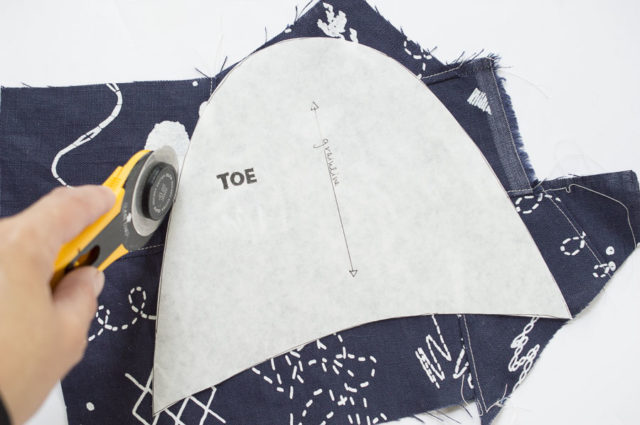
Position the TOE pattern on top of your patchwork. Keep in mind there will be a 3/8″ seam allowance as well as fabric ‘caught’ in the stitching to the shoe sole so to achieve your desired look center your preferred design with a good bit of room around it.
TIP: CREATE A PLACEMENT WINDOW
BEFORE you cut out your toe pattern, you might find it useful to create a placement window. Do this by tracing your toe pattern (in your size) onto a piece of paper. In this image below this is illustrated with a solid line. Next, draw a line 3/8″ inward from that line. This accounts for the seam allowance. In the image, this is illustrated using a dotted line.
Draw a second line 2/8″ in from that line and cut out along the second line. I cut mine in cardboard because I use it so frequently but paper is equally effective. Your placement window allows you to play around with how the final shoe will look before you cut out the fabric.
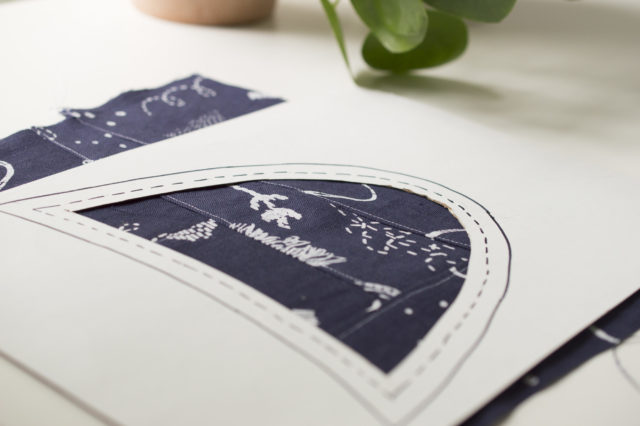
Once you have decided on your ideal placement, set the actual pattern on top of the placement window (if you used one) and remove the placement window keeping the pattern in place. Cut out your toe pattern.
You have now created a patchwork toe piece for absolute one-of-a-kind scrap fabric espadrilles!
REPEAT FOR OTHER TOE
The same process will be repeated for the LEFT toe with a few changes. This time, #2 will be on the right-hand side and the angle of #3 will be on the right-hand side. If this feels confusing, you can think of #3 as angling toward the inside of your feet and #5 as always on the outside edge of the foot.

Once you have created the toe piece for both the left and right foot, you can continue on with the remaining instructions in the booklet in your kit to complete your scrap fabric espadrilles.
I should add that you really don’t need to follow these guidelines at all. Play around with creating a patchwork piece that is large enough for your pattern piece….it can be crazy quilt style or orderly rows, whatever speaks to you. (You probably noticed in my photo above that I did just that!) Just be sure to topstitch to create strengthened seams.
By the way, did you know I have a quick how-to video on YouTube? It’s a great overview for visual learners.
Did you chance upon this page? Welcome! Check out all the details about espadrille kits here.

Leave a Reply