
It’s time for the final in our espadrilles sew-a-long series. Let’s finish making our espadrille shoes! We have done all of the cutting, interfacing, sewing, and pinning. (If you aren’t there yet, check out series 1 and series 2 to catch up and if you need to grab a kit, check here.) You are now prepared to settle in, grab some tea and start hand-sewing the blanket stitch that finishes off your glorious shoes! You will need your pinned shoes, the yarn thread, the espadrille wax, your espadrille needle, optional needle pullers and a hard surface.
If I’m being honest, this is my favorite part of the espadrille-making process. I can put on an audiobook and enjoy the quiet process of hand-stitching (for anyone curious, I just finished Prayers for the Stolen by Jennifer Clement and it was amazing! Very difficult but really good).
So, grab your voodoo pinned shoes and let’s get started!

Preparing the Thread:
Begin by measuring out 90″ of the yarn thread.
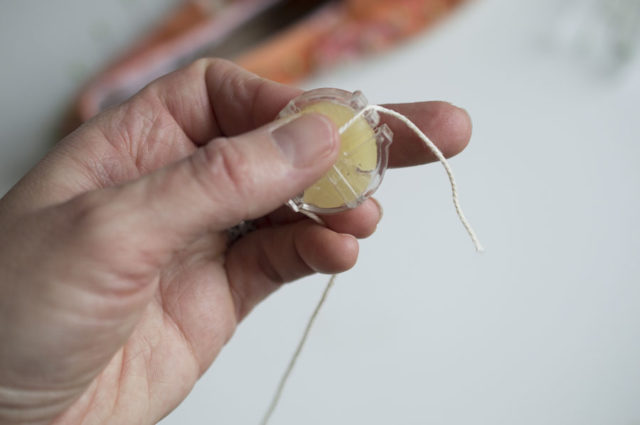
Run the thread through the espadrille wax. Repeat with a second 90″ length of yarn thread so you are prepared for the second shoe later.
Covering the thread in wax will help prevent the thread from tangling too much. It will still tangle a little bit but the wax definitely helps. If you find that the wax isn’t really getting on the thread, remove the plastic cover on the wax and rub the thread directly onto the wax. Despite the accompanying photo, this is actually what I normally end up doing. If the wax breaks up, it’s fine. It’s still usable.
 Once your thread is covered with wax, thread it through one of the espadrille needles and tie a knot at the end. Leave about a 20″ tail. A long tail help to shorten the length of the thread, which is important as your start stitching. It’s an extra long thread to work with and there are lots of pins for the thread to catch on. Shortening it make your job a bit easier at the beginning.
Executing the Blanket Stitch:
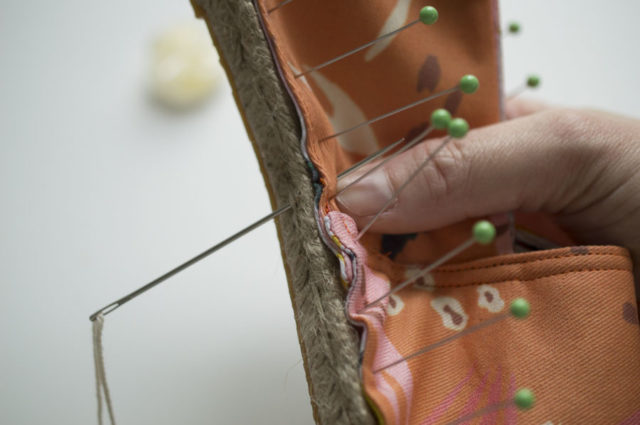
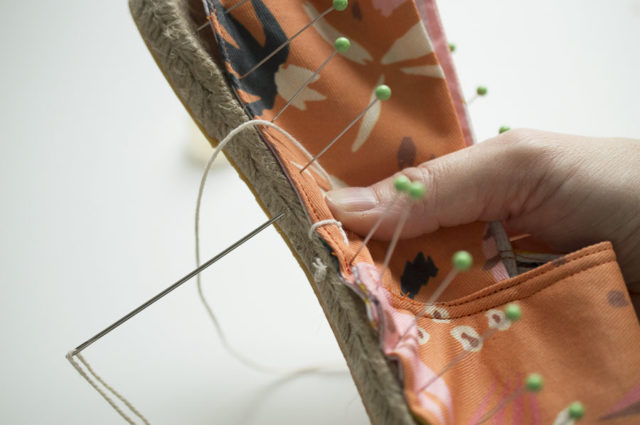
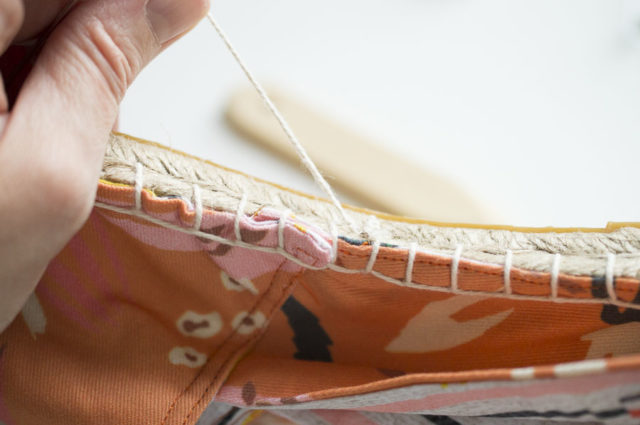
With your threaded needle, enter the JUTE of the inside joint of the shoe near where the toe and heel fabrics overlap. As you can see in the photo, I stick the needle in at the halfway point of the jute and push it up grabbing about 2/8″ to 3/8″ of the fabric.
 Pull the thread all the way through and nestle the needle into the jute of the shoe by pulling tight.
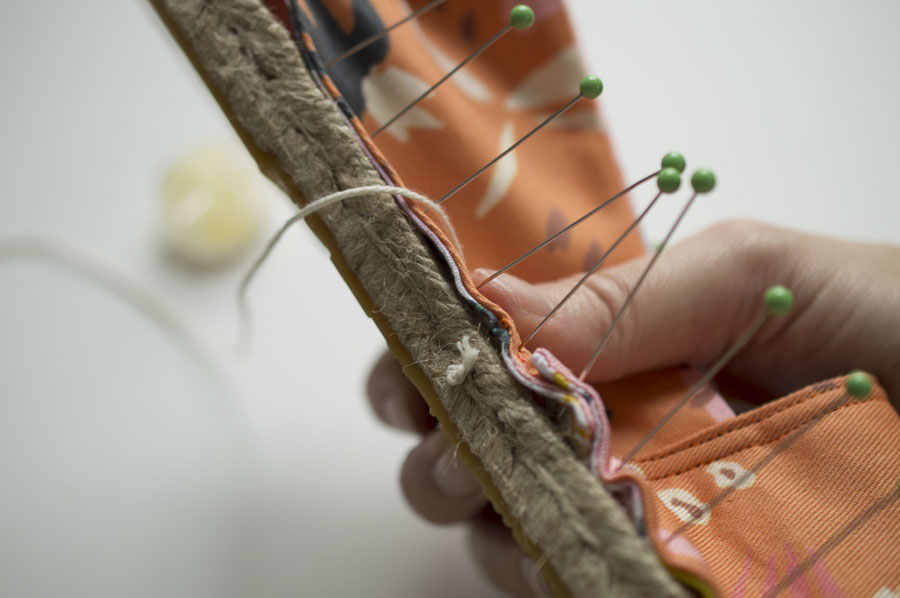
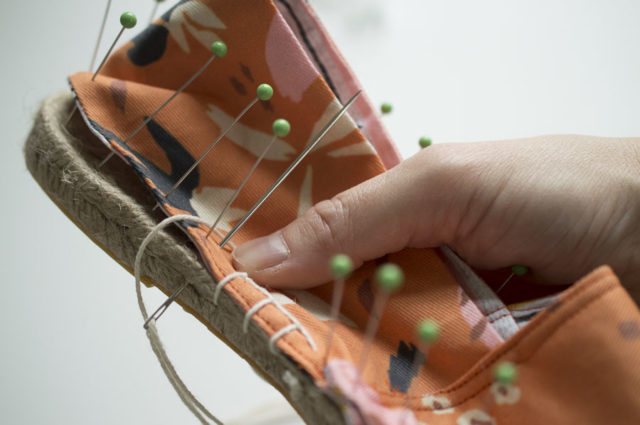
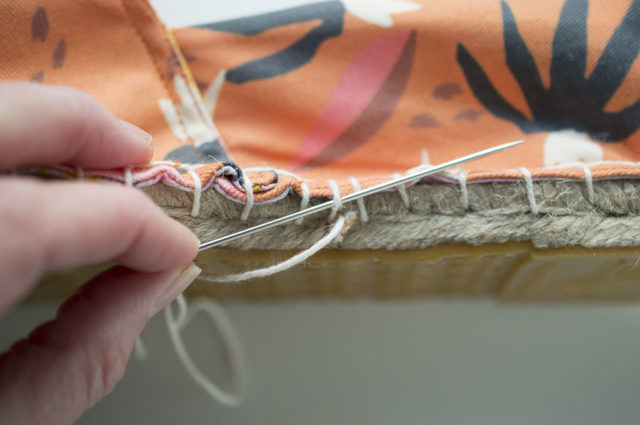
Hold the thread that has come up through the fabric with one hand while bringing the needle back around to enter into the jute, about 3/8″ over from where you first entered the jute. Repeat what you did with the first stitch, entering into the jute and up into the fabric, making sure the thread is placed behind the needle.
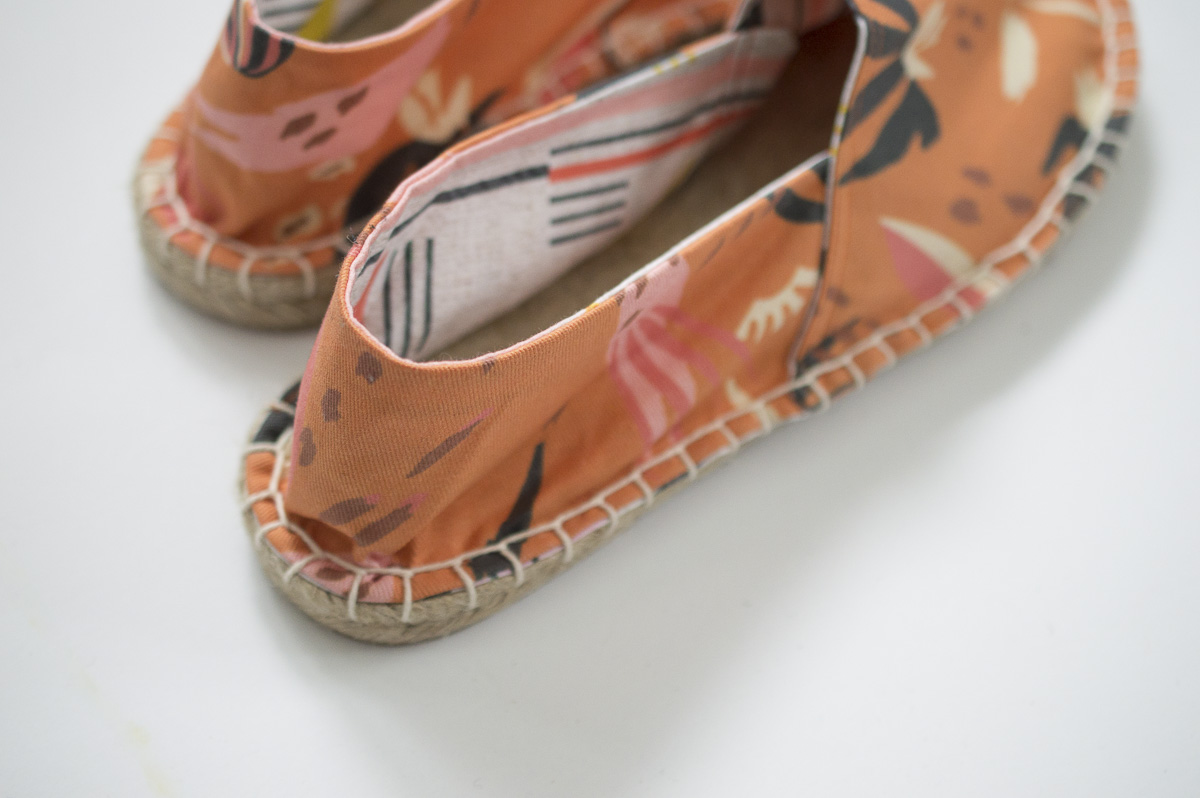
 Pull it all the way through and be sure to pull it tight! At all times the thread should be pulled and held tightly to give it a clean, tight look. As you can see in the photo below, the stitch will create an L shape on the fabric.
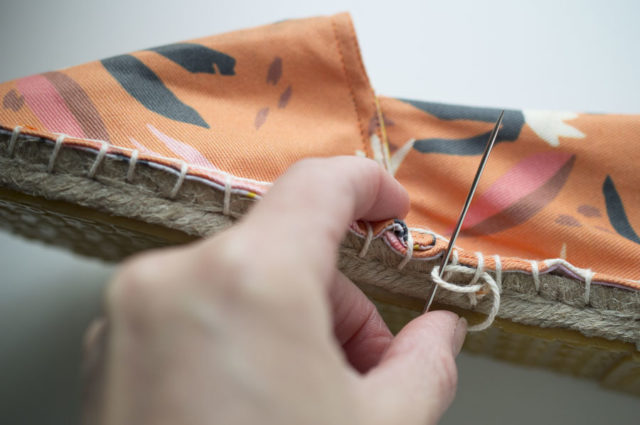
 Repeat the same action again. If it helps, remember that the needle should always be entering into the JUTE and not the fabric. It can be difficult to get that needle through all of that fabric and interfacing and jute! If you need to, push the needle up against a table to help it through. You might also want to wear your needle pullers, some people love using them as they have a handy bit of grip to help. I prefer to not use them but some people love them so it’s up to you.
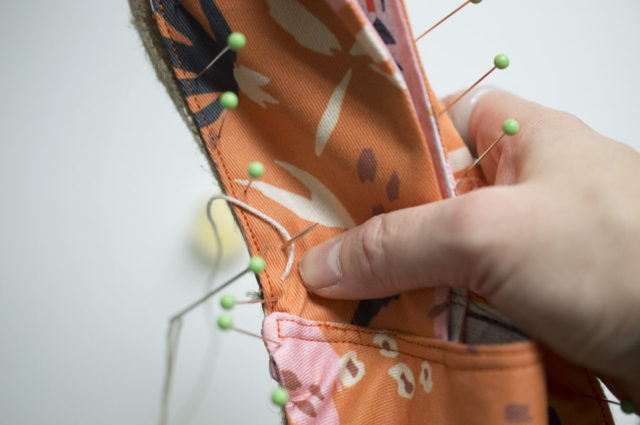
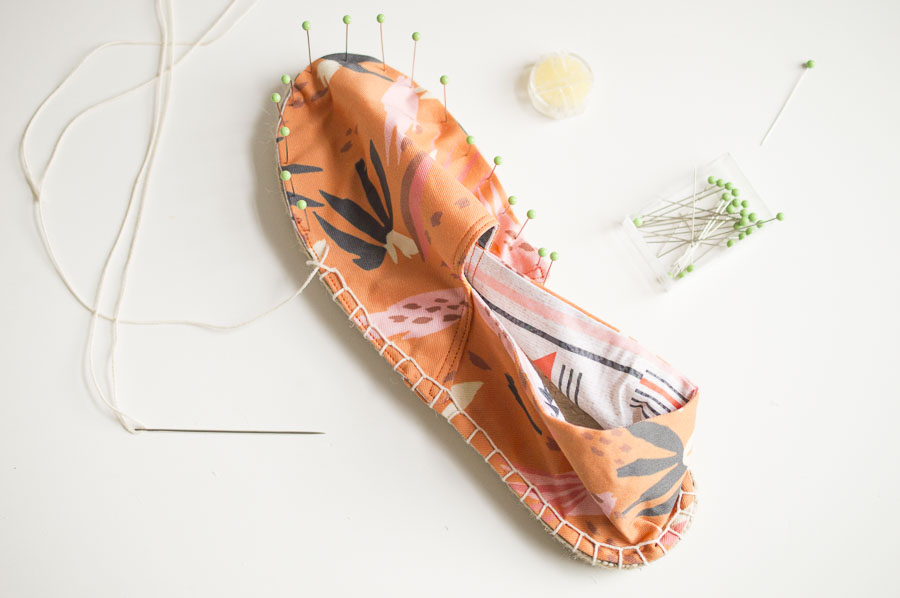
 Continue to work your way around the shoe in this manner. Making sure you keep pulling the yarn tightly and that your stitches are about 3/8″ apart from each other. As you can see the fabric might raise up as you are tugging and manipulating with movement. Don’t worry, just reposition it when you get a chance.
You will probably find that the thread gets caught on a pin or tangles up when you pull it through the jute. Don’t stress, just tug gently and untangle it.
 Continue to enter through the jute and up into the fabric as you work your way around. Once you have made it all the way around to your starting stitch, pull it very tight. Now is the one time you put the needle into the fabric! Enter it just a smidge past where your last stitch came up and push into the halfway point of the jute.
Creating the Final Knot to Finish the Shoes:
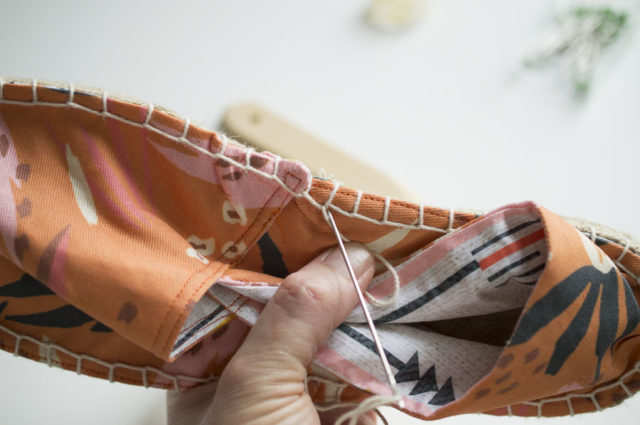
Use the needle to enter the vertical portion of the closest stitch.
 Pull it through just enough to create a secondary loop of the remaining yarn and place the thread through that loop. Pull it tight to create a knot in that spot.
 Now, we can bury the knot to diminish its visibility. Place the needle into the jute and situate it such that it comes up through the inside of the shoe.

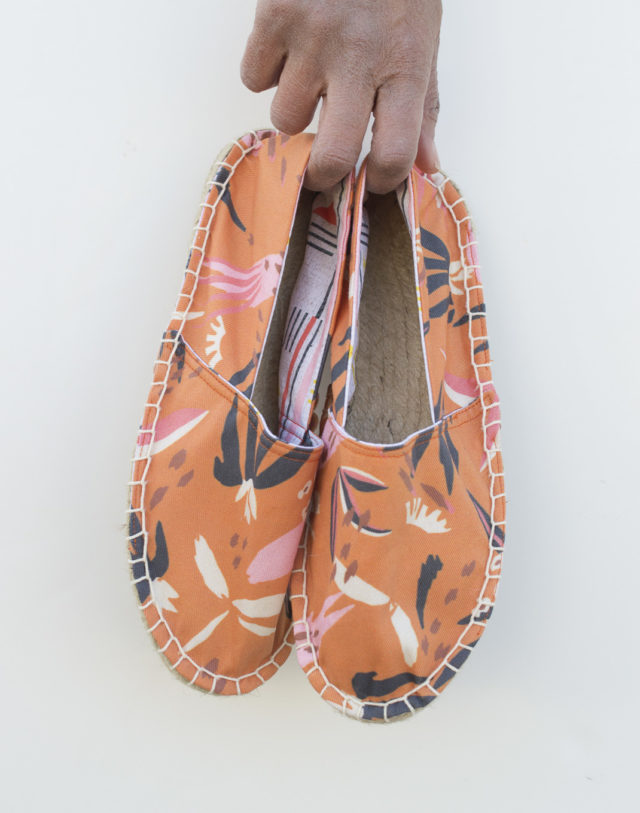
Pull it up through the shoe and cut it as close as you can to where it entered inside the shoe. 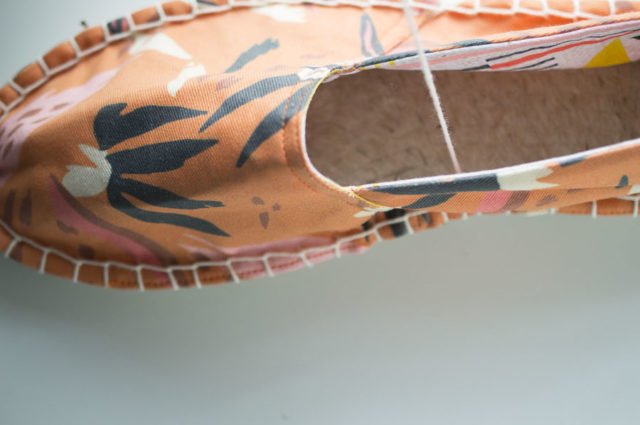 Repeat with the other shoe and your shoes are done!! You have made yourself some SHOES! Parade around and impress everyone, please!

 Special thanks to Spoonflower for letting me try out this Holli Zollinger fabric. And, as always, thanks for Gigi for her amazing support and modeling skills.
Huge love to everyone for their kind words on Instagram about the loss of my grandmother and for all of your amazing grandmother stories. I have so much gratitude for my time with her and now even more gratitude as I collect and absorb the stories of how special grandmothers are to so much of our community. They are so often the patient makers and cheerleaders of our sewing adventures. Three beautiful cheers to that. Make something in Irene’s name this week, won’t you?
Note: This post contains affiliate links. Thanks for your support.

Leave a Reply