Welcome to the second post in our espadrilles sew-a-long!! If you want to join in, be sure to grab an Espadrilles Kit and read the first post!
Today we are going to take our prepared fabric from last week and form it into the piece that will make up the shoe. Then we will pin it to the shoe sole. This portion is basically known as “the sewing machine part”. So, get that machine out and threaded with a matching thread. You will want to use a 100% polyester thread in your machine because the shoes require the ability to withstand a little bit of stretch and strain. Have you got your hummer humming? Great! Let’s sew up some shoes.
Create The Toe and Heel Pieces:
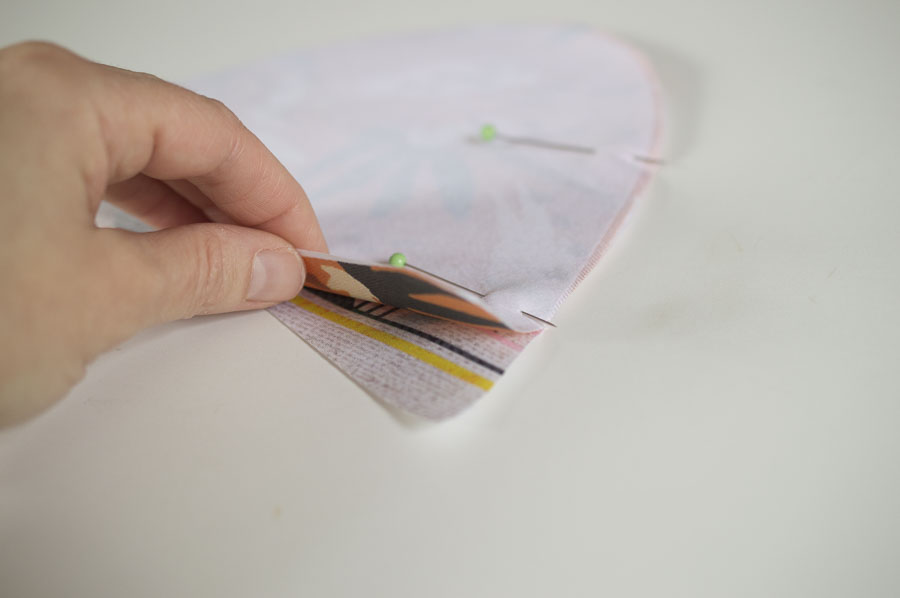
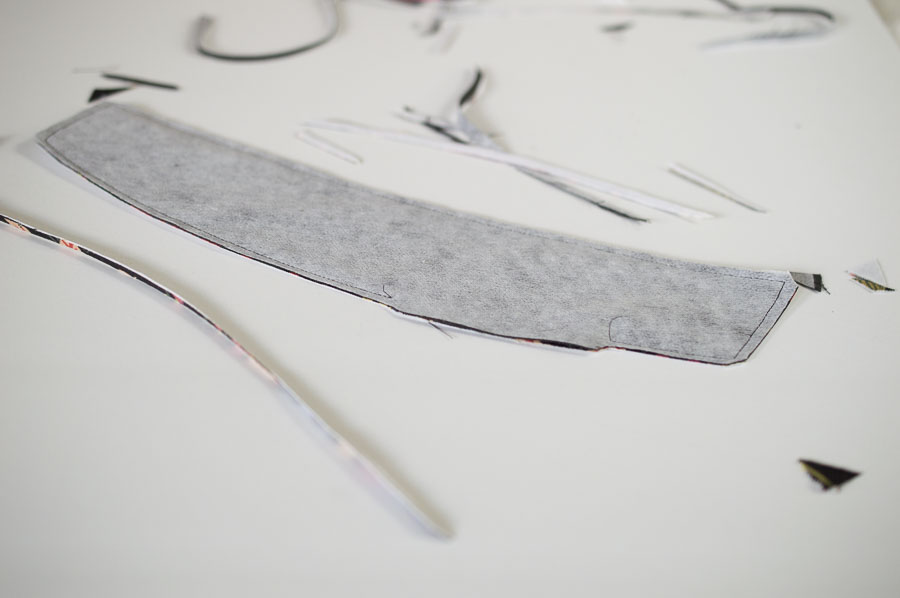
Take one interfaced TOE piece and one interfaced lining TOE piece and place them right sides together. Place two pins along the outside curved edge to mark the area that you will leave open when sewing. You want this opening to be along the straightest portion of the outer curve but NOT at the very edge. If you leave a bit sewn on either side of the opening it makes it much easier to close it up later.
Side Note: The pattern includes very detailed information on which is the right and left sides and I have found, in my experience, that it doesn’t matter. The pattern pieces are really not that different and regardless you need to shape the fabric shoe form to the shape of the shoe later on. Additional fun fact, espadrilles are traditionally worn on either foot and designed that way so they don’t wear out unevenly. So, go ahead and take the easy way by simply putting one toe outside with one toe lining without regard to left and right.
Sew, at 3/8″ seam allowance, along the entire toe except for the area you marked as an opening.
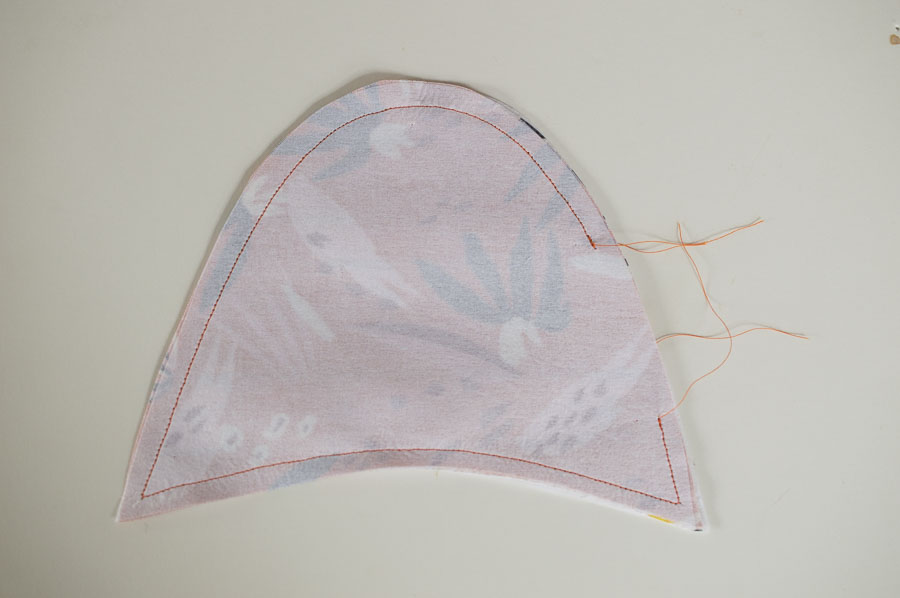
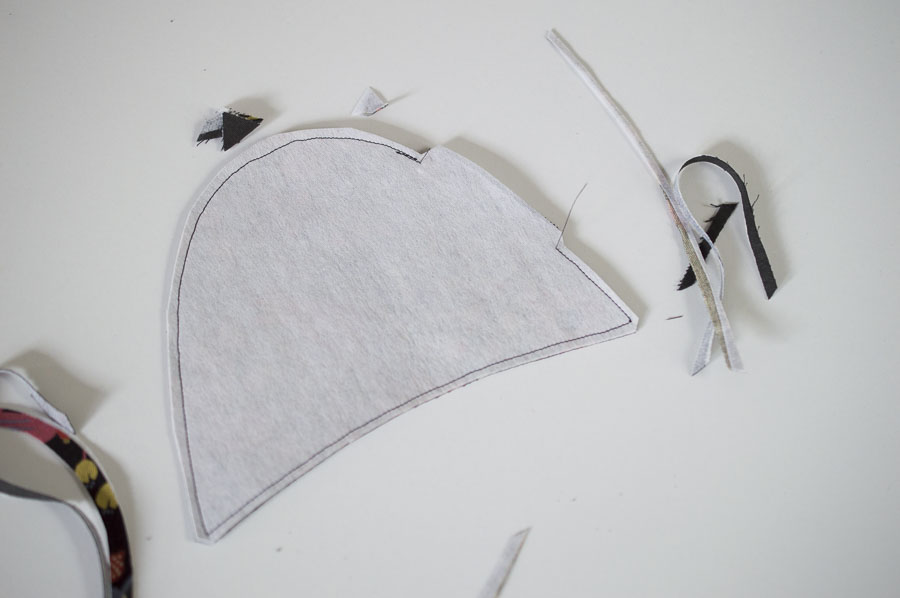
Clip the seam allowance down about a half along the curve of the toe and clip off straight across near the corner. DO NOT clip the seam allowance at the opening! Leave it the full 3/8″.

Repeat with the other TOE lining and outer fabric.
Once you have sewn up both toe pieces, repeat the same thing with both HEELS by placing the lining and outer fabric right sides together and leaving a 3-4″ opening along the straightest portion of the outside curve (the longest curve is the outside curve). Sew at them with a 3/8″ seam allowance and clip the seam allowances, just as you did before, leaving the seam allowance at the opening un-cut.
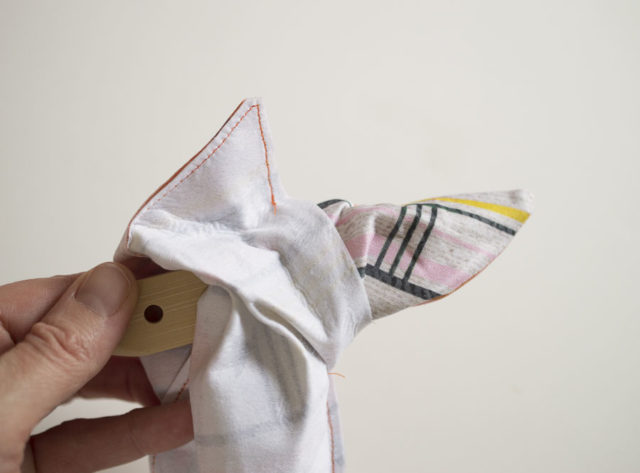
Now that you have all your pieces assembled, you can turn everything right sides out. Use the bamboo point turner (or a chopstick) to turn really poke out the corners and give the pieces their correct TOE and HEEL shape.
 Once everything is turned right side out, press it very well. Be sure to fold the fabric at all openings inward before you iron. Then, iron it flat on a medium-high heat.
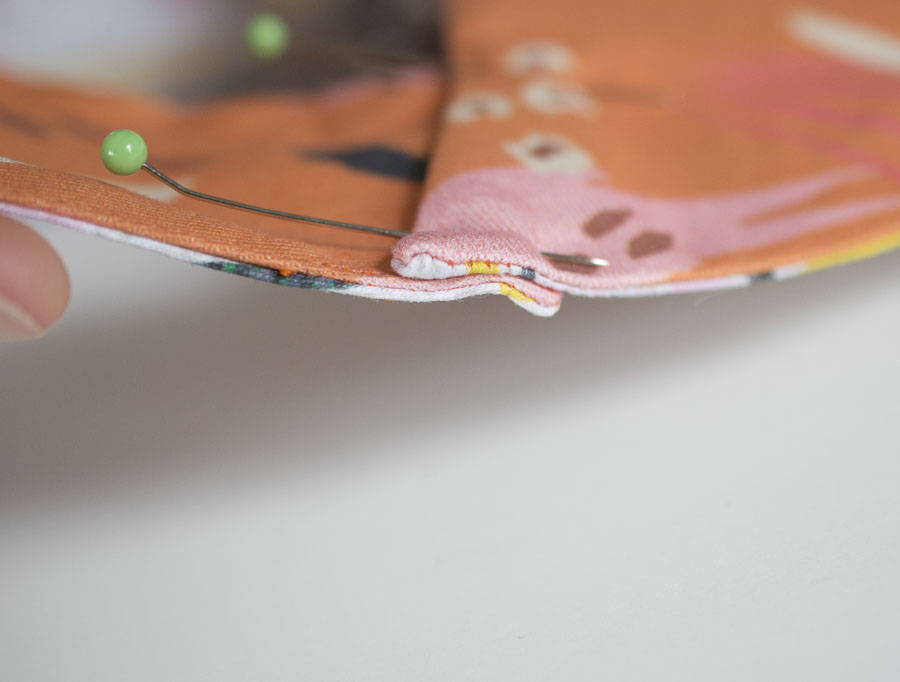
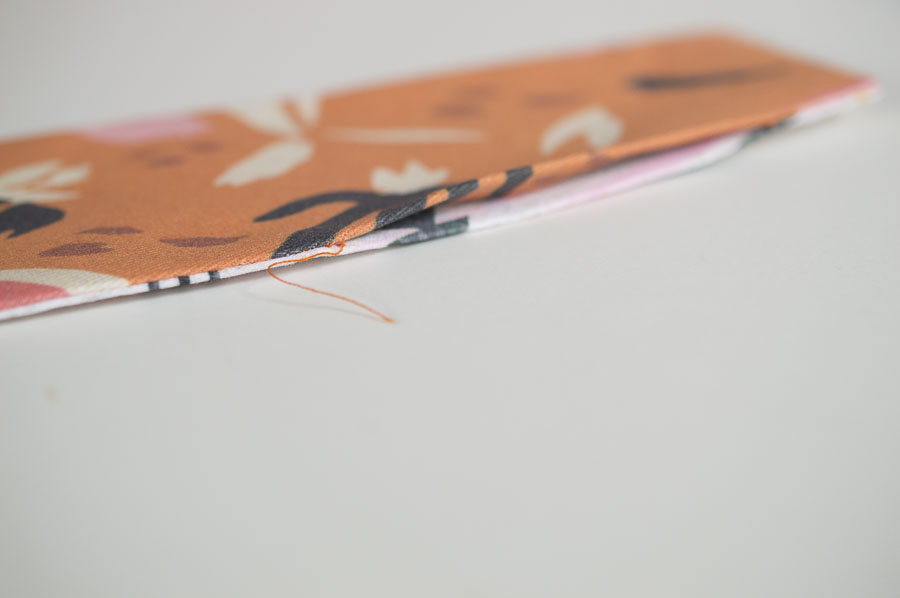 Edgestitch, meaning you stitch right along the edge of the fabric where the two pieces are folded inward, along the openings on toes and heels. It should look like the picture below.
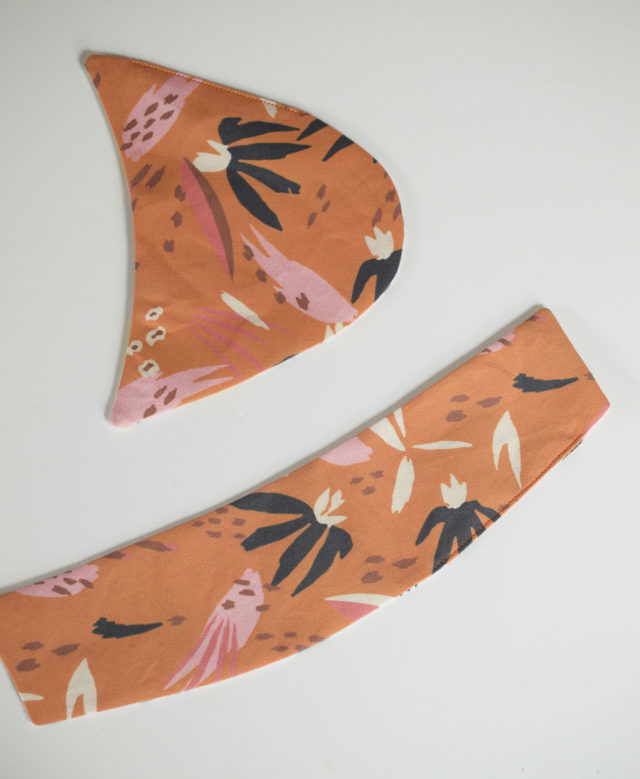
Do this for both toe pieces and both heel pieces. You will have two toe pieces and two heel pieces, both of which are lined.
Join The Heel to the Toe:
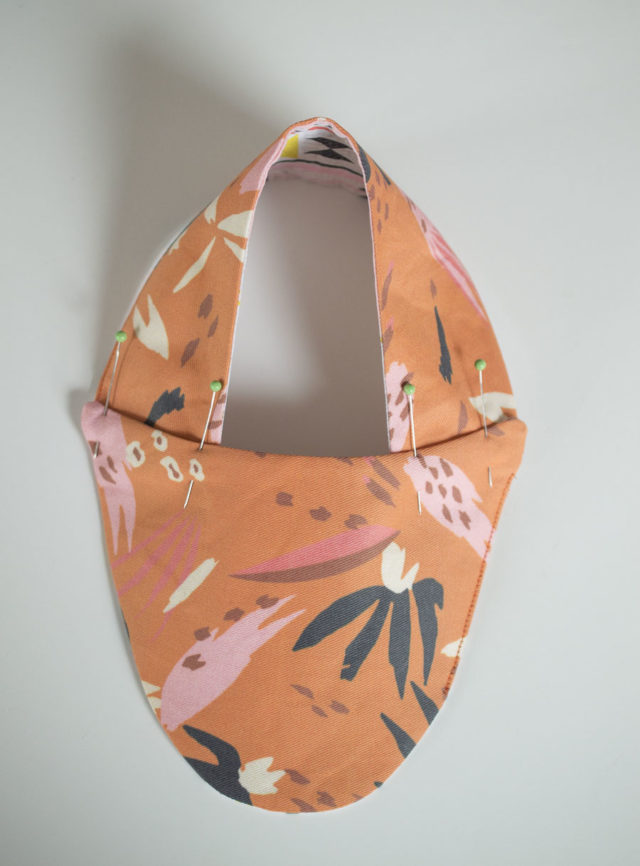
Place the short end of the heel under the outside edge of the toe by 5/8″. This means there will be an overlap of 5/8″ of the toe and heel pieces with the heel piece underneath the toe. Be sure that it is an even 5/8″ all along the short end of the heel.
Pin this in place on both sides to completely attach the heel. It should look like the funky-style visor thing below.
Side Note: This is one of those points where you can adjust the fit of the shoe. I will be doing a complete post on this later. The quick and dirty version is, if you want a tighter fit overlap the toe and heel by MORE than 5/8″ and if you want a looser fit overlap them by LESS. A little adjustment goes a long way so only adjust by an 1/8″ or so and maintain an even adjustment.
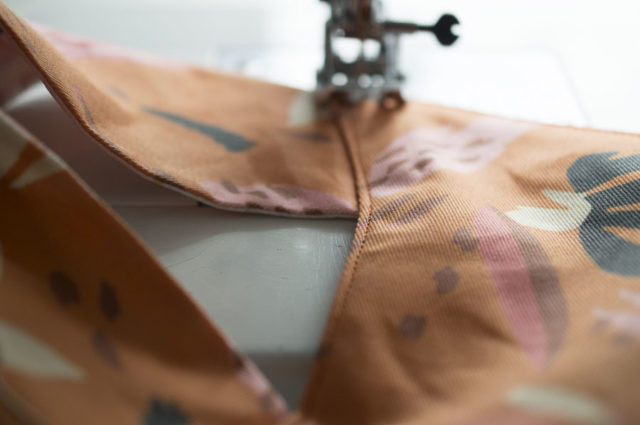
 Sew a straight line across, along the edge of the toe from one end of the toe to the other end. This can be a really bulky place to start sewing a stitch. In order to help it along, grab both of the threads as you start the stitch and pull on them. Once you have sewn over the very bulky area you can let go of the threads. You can also place a folded piece of paper or postcard under the sewing machine foot as you start sewing so the stitch begins with a level presser foot.
 Sew a second, parallel stitch all the way across to be sure the pieces are held together well. You do not need to worry about sewing the very edge of the heel piece (which is now inside) as with regular wear of the shoes it will stay in place.
Pinning the Fabric to the Shoe Sole:
Now we are all done with the part of espadrille making that requires a sewing machine! So, nestle up for some lovely hand-work.
Begin by folding your fabric shoe form in half such that the overlapping areas match up. With your fingers press the mid-way point of the heel to create a crease. This is the middle of the heel. Eyeball, or measure, the mid-way point of the shoe sole heel.
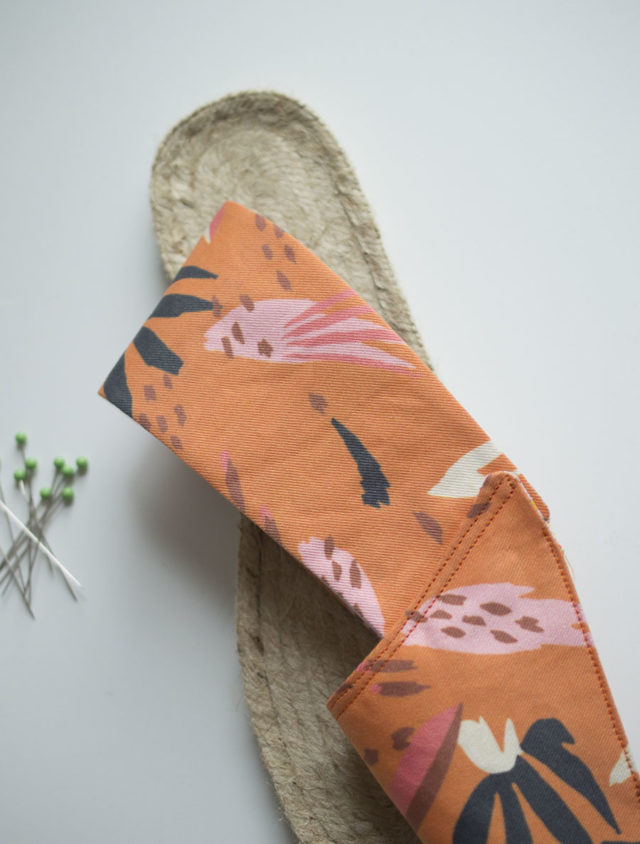 With one of the strong pins that come with your kit, pin the middle of the fabric heel to the middle of the jute shoe sole. This is your starting point for pinning the fabric to the shoe sole. When you put in your pins, you want the fabric to match up with the edge of the shoe sole. As I mentioned before, don’t worry about whether you are using the right or left shoe.
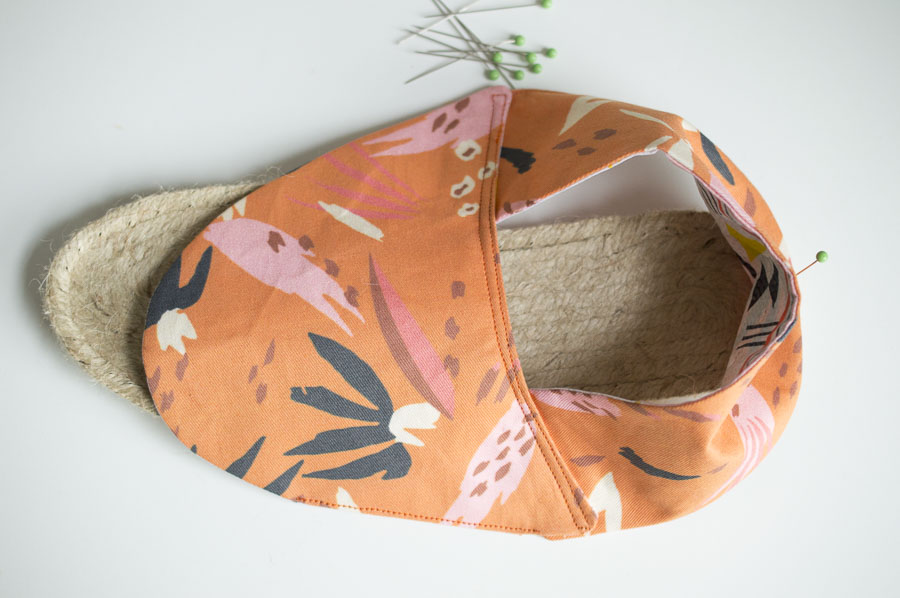
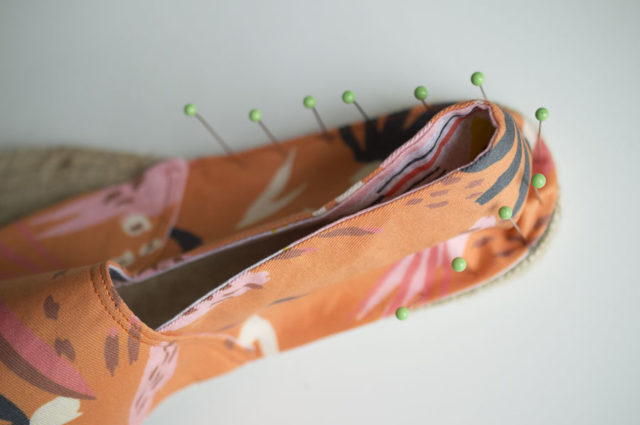
As you can see, I’m kind of ‘smooshing’ the fabric down so that the edge of my fabric sits up next to the edge of the shoe sole. Continue to place pins as you shape the fabric to the shoe sole. Pins can go in about every 3/8″ or about a thumb-widths distance apart.
Begin placing pins around the back heel working toward the side joints. Once you get to the inside joint, you will find you need to force the shoe fabric a bit more to take on the shape of the shoe sole. Don’t worry! That’s fine.
Continue pinning, leaving the toe portion for last. If you find you have a bit of extra fabric, you can add in small puckers in the fabric between each pin. Only add puckers at the toe. You want a tight fit at the heel but it doesn’t hurt to add a bit of toe room! If, instead, you have not enough fabric simply stretch it to fit. You may need to take out a few pins to get a good fit. Just take your time. 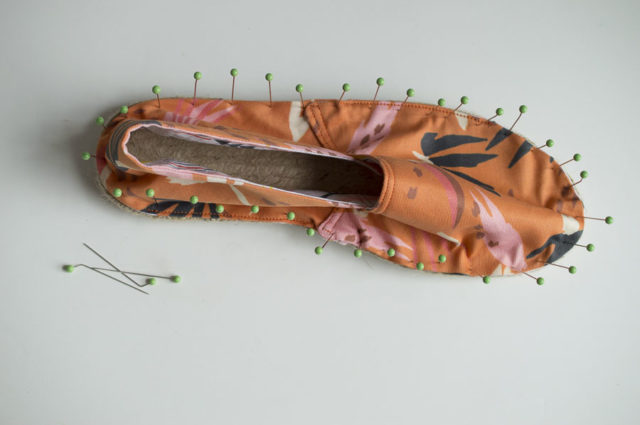
Once you have pinned everything in place, you are done!
Next, we will create the classic blanket stitch that finish off our shoes!! So, be sure to check out SERIES 3. Got a questions? Please leave a comment or a question. I am happy to help!

Leave a Reply