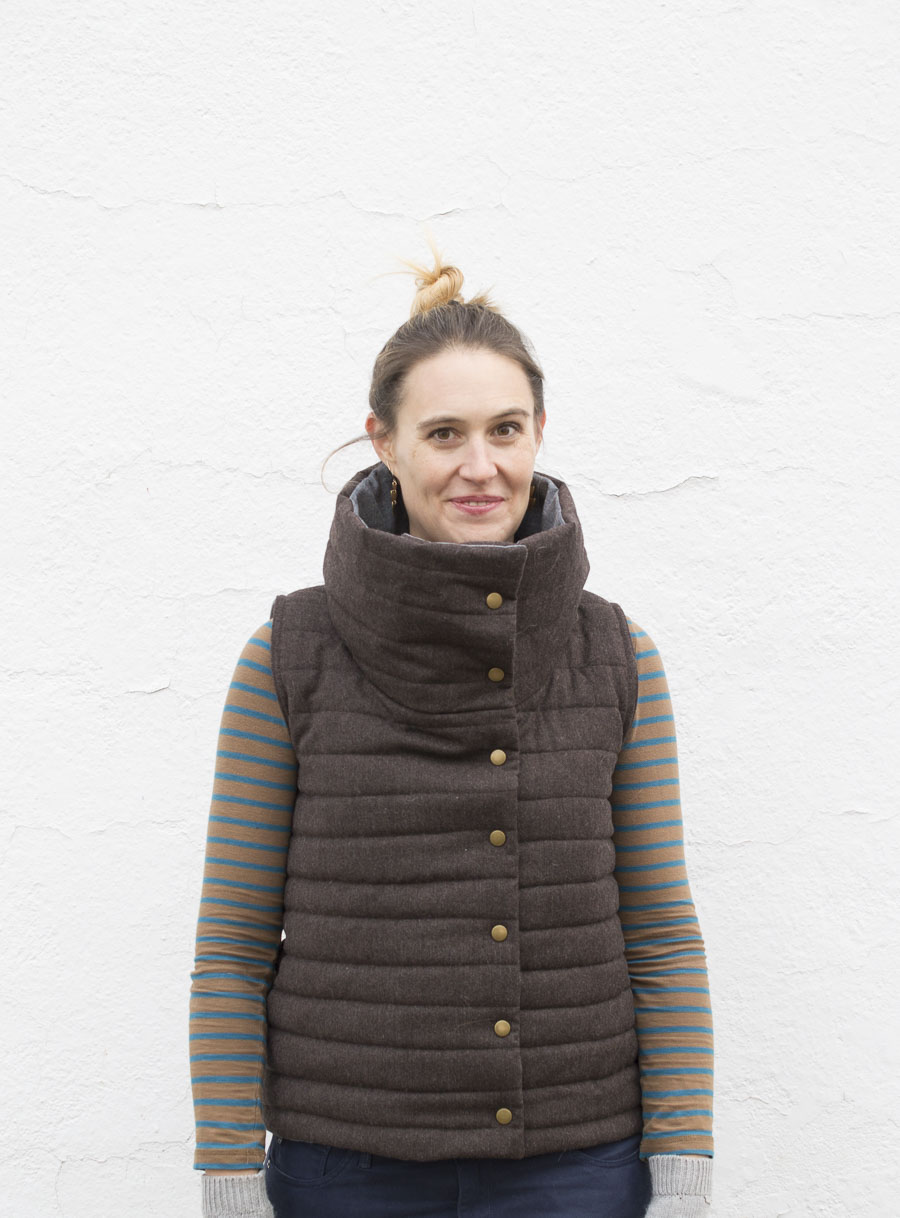
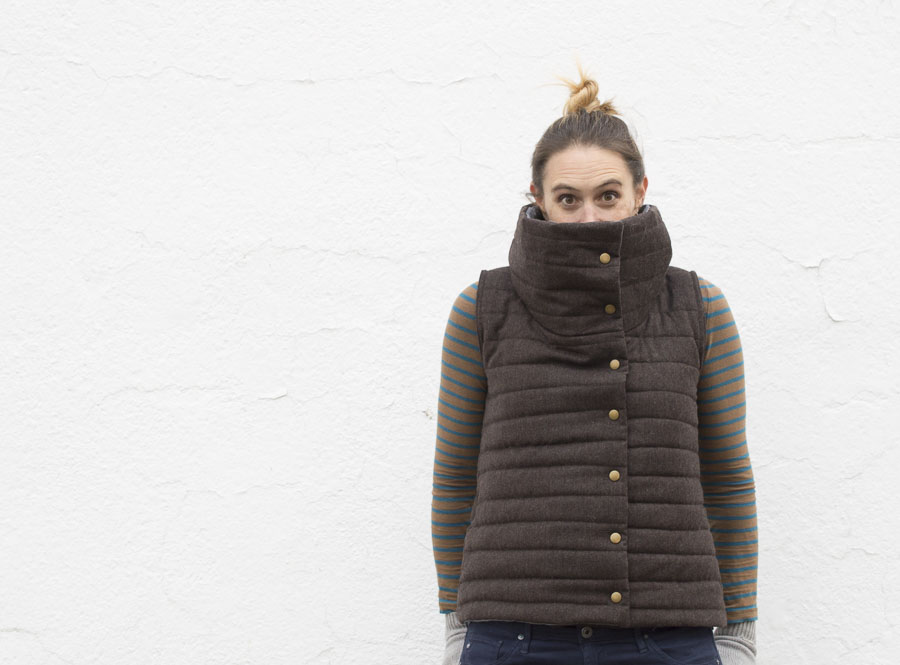
This funnel neck vest DIY was originally created for Fairfield but I’m just so excited I had to share it here. Ok fine. I really want to yammer on a bit more about it and get weird and sappy and I get to do that on my own blog because no one can stop me!
Ahem. About the vest, I made it by pattern hacking a Hey June Handmade pattern, the Halifax Hoodie , with a wool outside, wool batting insides and chambray lining.

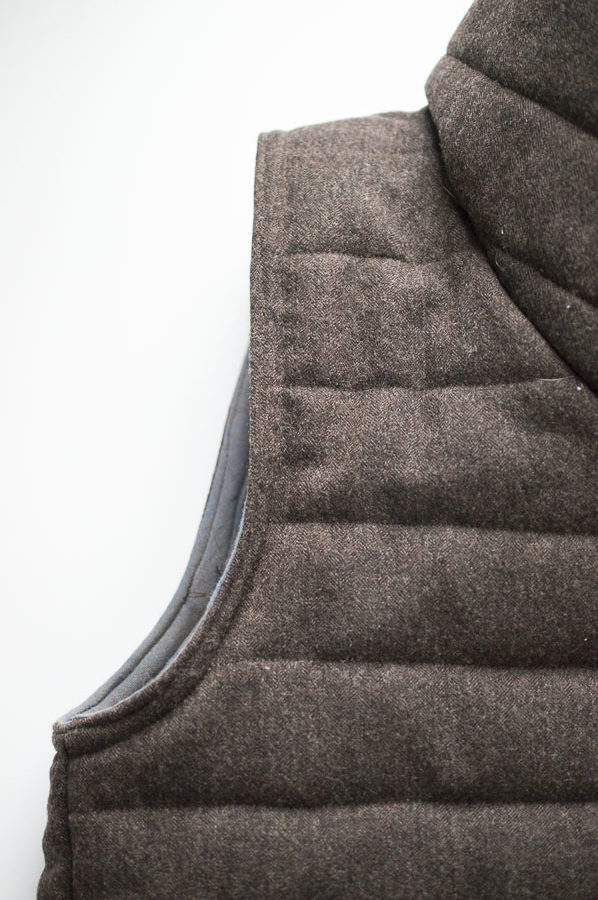
It’s really cozy and incredibly warm and I’m in love with it for so many reasons. First of all, I’ve been thinking of it as my introvert jacket because if I need to I can actually bury my head in its luscious funnel neck while out in public. Combine a great way to stay warm (the neck is an actual zone of warmth) with a way to avoid unwanted social interactions and I am in! No one can see me in here, right?!
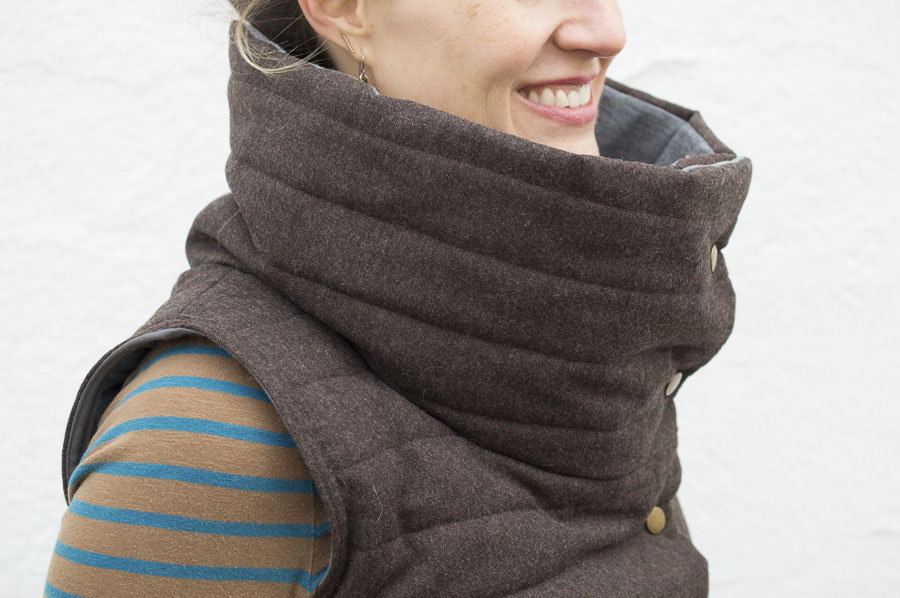
And it truly is so warm. It hugs quite close to my body, which is comforting and serves to keep the core body heat in, but also it’s made of wool with two layers of WOOL BATTING. It warmth times three and these days I am loving that.

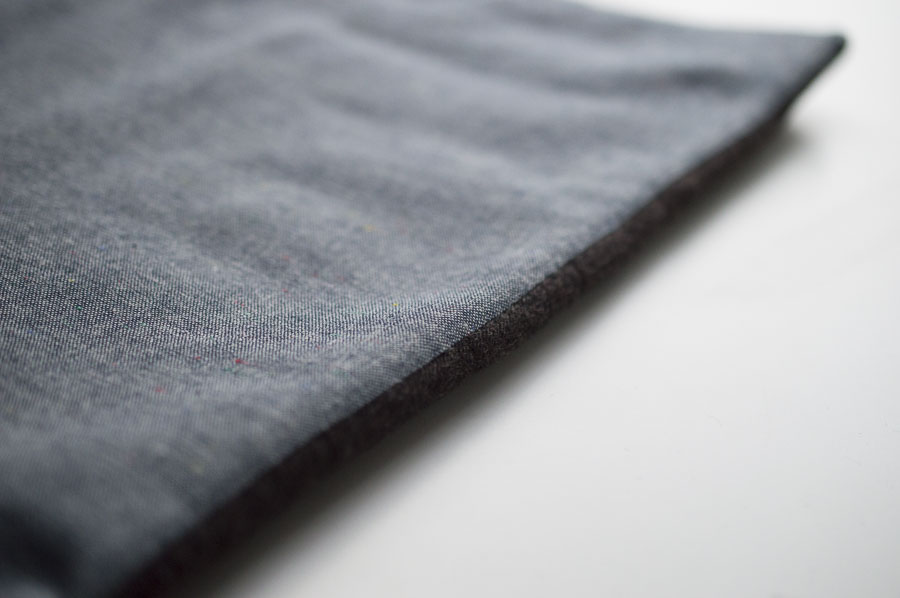
On top of all of that, I made it in an amazing lightweight wool with a subtle herringbone design that I got from my grandmother. My grandma has really been on my mind lately (as my newsletter subscribers know) because she wasn’t feeling well. She is feeling better now but she’s 96 so when she feels ill, everyone gets a bit skittish. She was an amazing seamstress in her day and stockpiled high-quality wool fabric that I was lucky enough to receive when she moved into a senior living apartment.

in short, this funnel neck vest is ticking all of my boxes…warmth, social awkwardness and the love embedded in textile fibers. C’mon. All of that right there is why we sew, am I right?
Here is what to do if you want to make one for yourself.
Gather the following supplies:
+ The pattern from Hey June or your favorite sweatshirt pattern with a cowl neck
+ 2 Yards Lightweight Wool suiting or other outerwear fabric
+ 2 Yards cotton Chambray (mine is from Imagine Gnats and is sold out but similar to this one)
+ 2 Yards Wool Batting (link goes to what I used but any wool batting works)
+ 1 1/2 Yards lightweight interfacing (this is what I used but any light interfacing is good)
+ Single-fold bias tape to match the wool

PATTERN HACKING:
Trace the pattern pieces for the sweatshirt BACK, FRONT AND COWL neck in your size. (Note: if you are in between sizes, use the larger size as your vest will have less stretch than standard sweatshirt material).
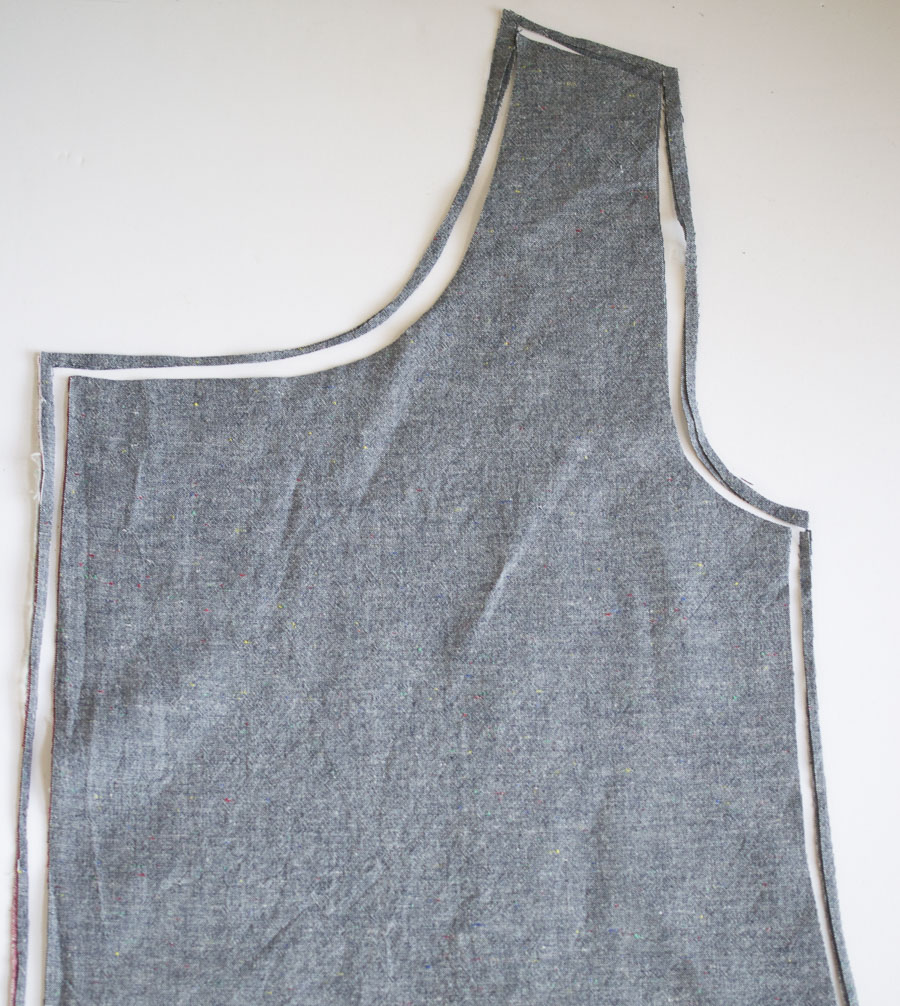
Take the FRONT pattern piece and measure across the chest from the center seam. Divide that measurement in half and subtract one inch. On a separate piece of paper take the FRONT pattern piece and re-trace it adding the number you came up with to the center seam of the sweatshirt. This creates the overlapping portions of the vest front. You will cut TWO of these instead of one on the center fold!

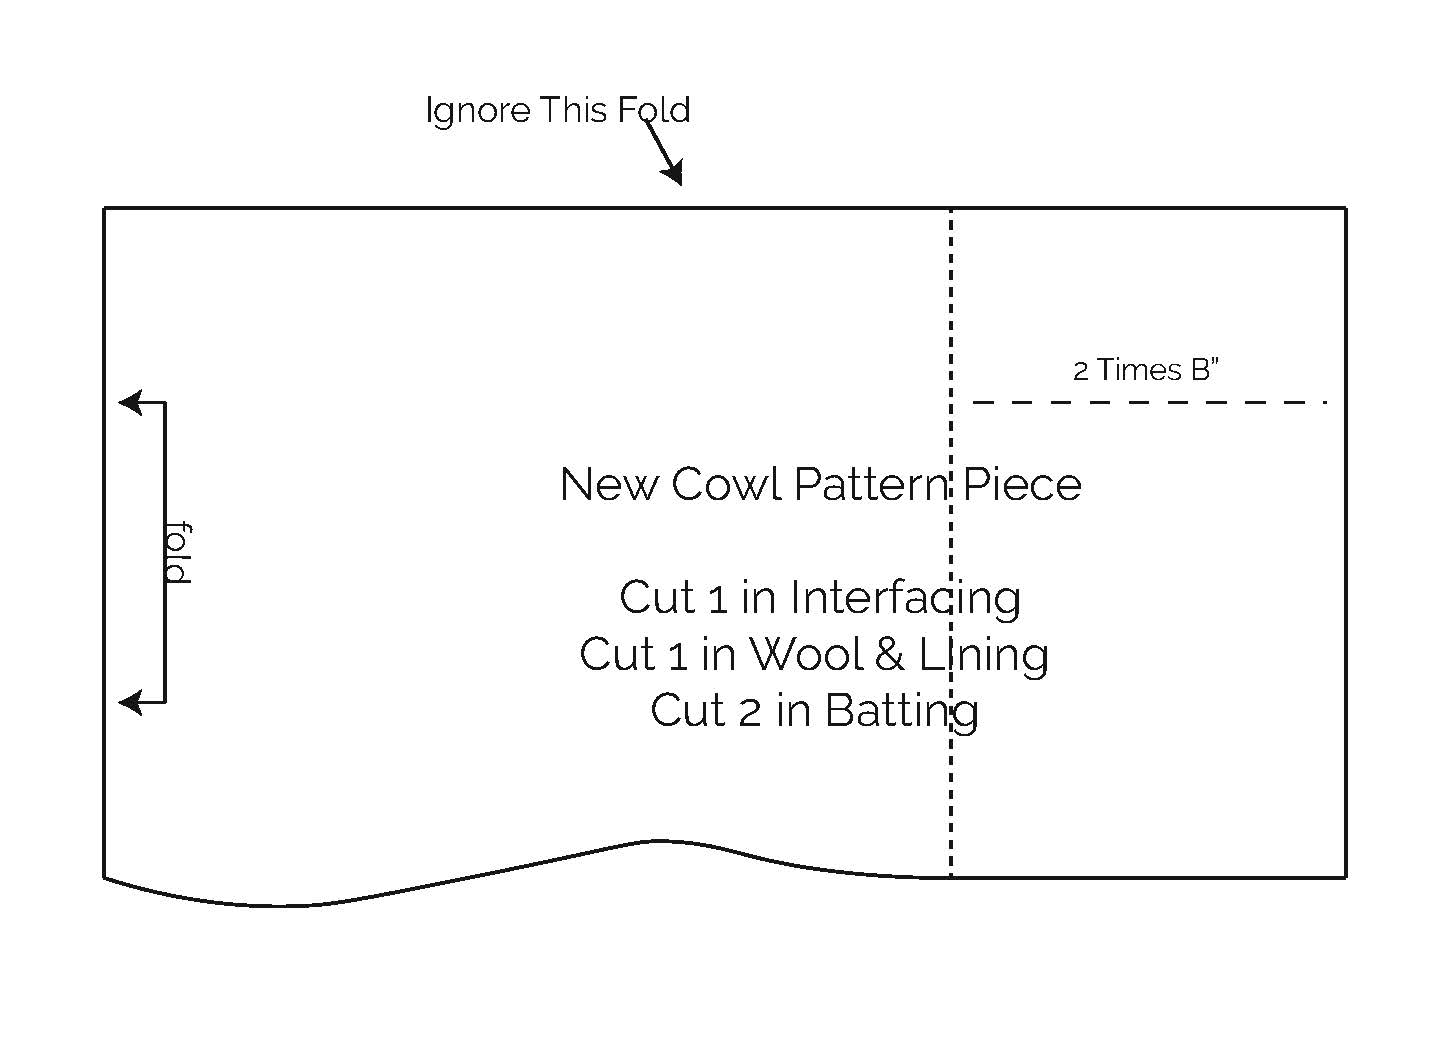
Take the COWL neck pattern piece and add twice the amount as you did the front piece to the SHORT end of the cowl that is NOT cut on a fold. (Ignore the fold line that exists on the long end because you are creating a vest lining instead of a fold over.)
CUTTING: Cut the following:
+ 1 BACK in wool suiting and cotton chambray (cut on the fold)
+ 2 BACK in wool batting (cut on the fold)
+ 2 FRONT in wool suiting and cotton chambray (cut separately NOT on the fold)
+ 4 FRONTS in wool batting (cut separately NOT on the fold)
+ 1 COWL in wool suiting fabric and cotton chambray (cut on the fold for the short end only)
+ 2 COWLS in wool batting (cut on the fold for the short end only)
+ 1 COWL in lightweight interfacing (cut on the fold for the short end only)
+ 2 Strips of lightweight interfacing that are 3″ wide and 24″ long (set these aside)
PREPARATION:
Cut 1/2″ from every edge of the COWL shaped piece of interfacing. This ensures that your cowl stands up straight into a funnel neck but doesn’t add excessive bulk in the seams. Adhere the interfacing to the wrong side of the wool suiting fabric of the cowl as the instructions indicate.
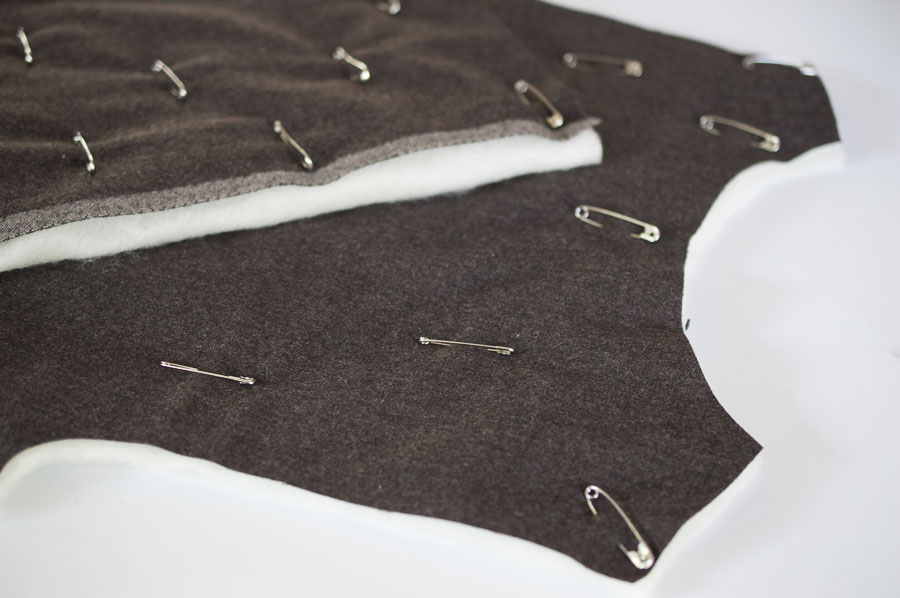
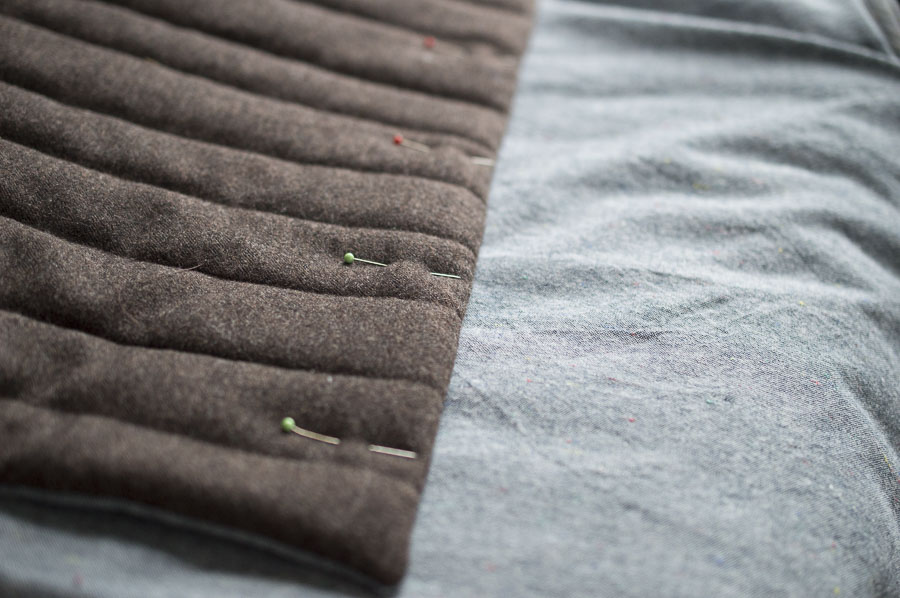
Place the two layers of wool batting for the cowl on top of each other and then place the interfaced wool on top of that (right sides up). Pin with safety pins all over, just as you would with a quilt.
Repeat the same thing with the BACK. (Place both layers of wool batting on top of each other and place the wool suiting on top of that.) Pin, just as you would a quilt.
Do the same for the two FRONT pieces.
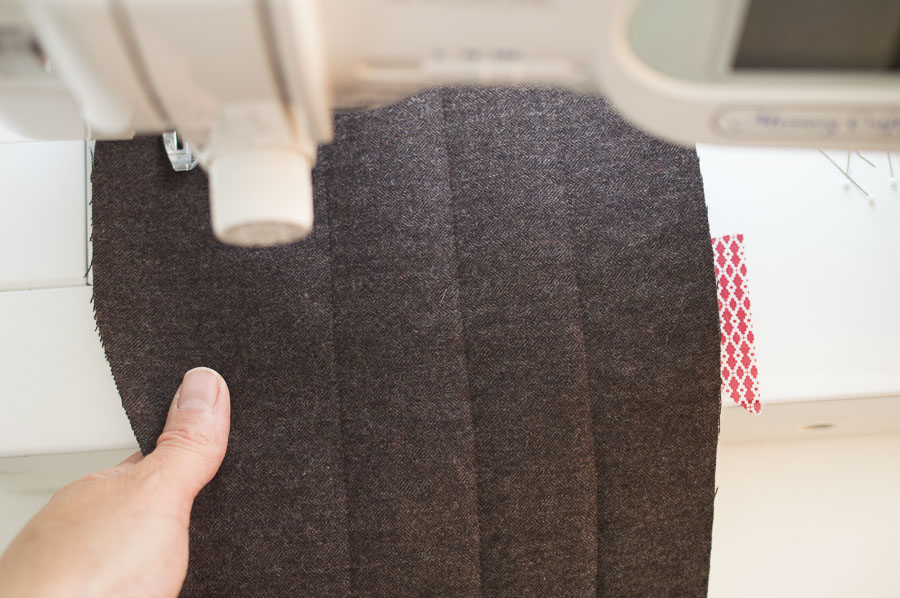
QUILTING:
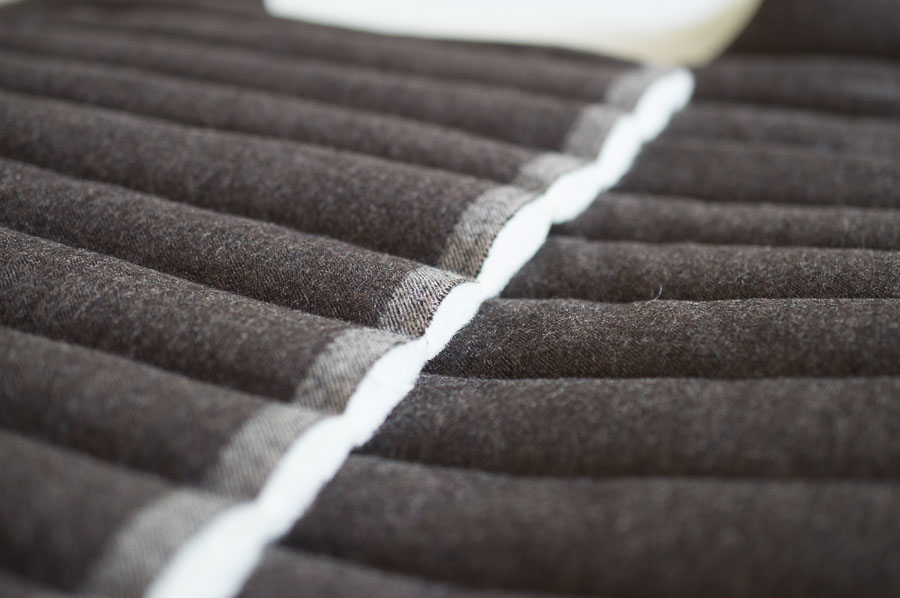
Always beginning at the bottom hem, quilt all pieces of the jacket with even 1 and 1/2″ lines. You will have the most success using a walking foot on your sewing machine although it isn’t necessary. You are quilting through two layers of batting and the wool fabric.
Tip: To help maintain even lines of quilting you can either use a quilting attachment or place a piece of washi tape on your machine, evenly spaced, after each stitch so you have an easy visual to follow.
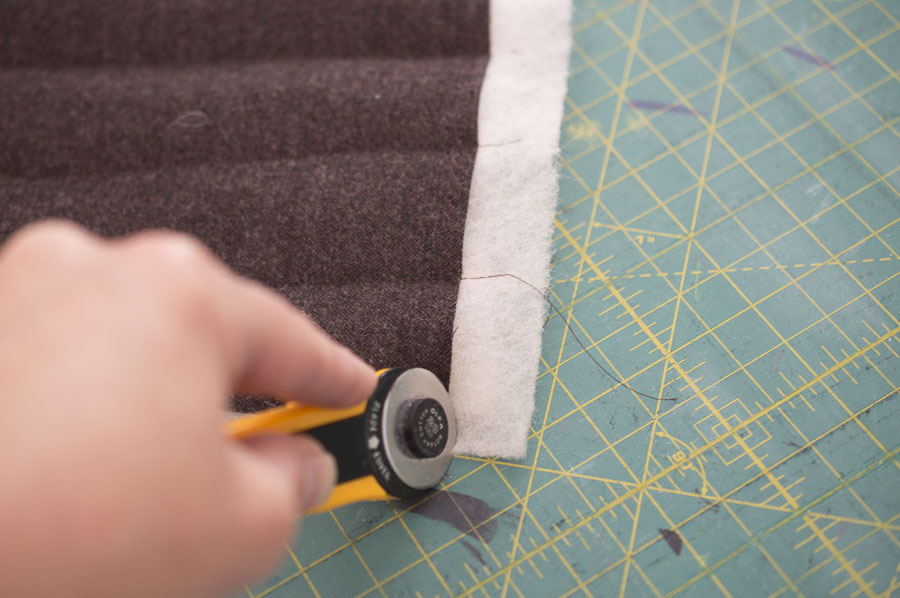
Once you have quilted all of your pieces, you may need to trim off any excessive quilt batting that exposed itself.
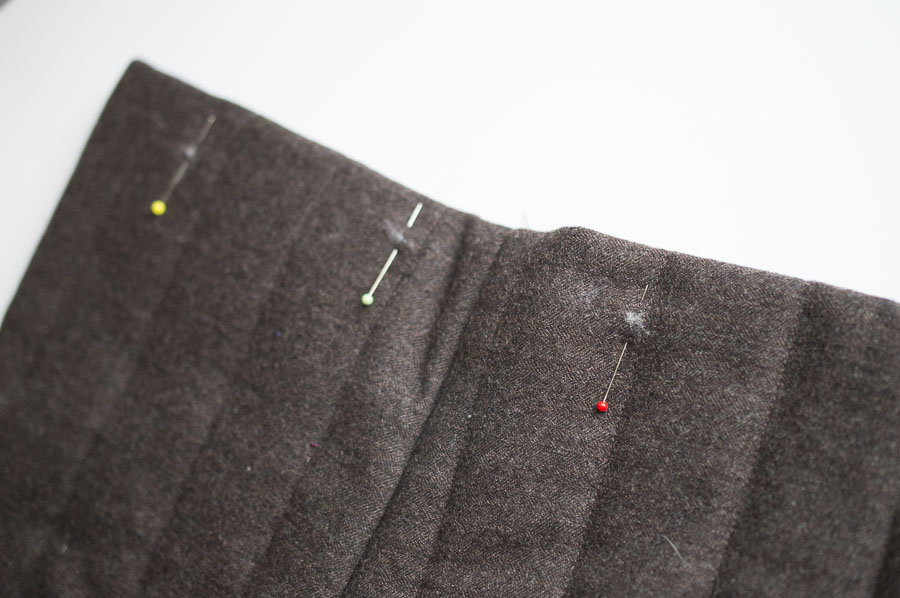
Sew, with a 3/8″ seam allowance, the FRONT pieces to the BACK at the shoulder and side seams.
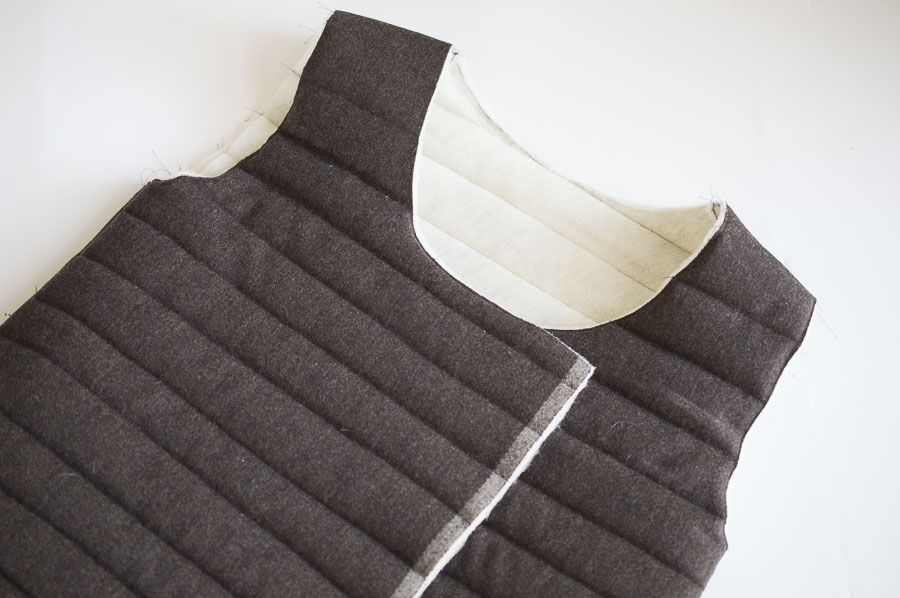
To attach the COWL neck to the neckline begin by pinning the midpoint of the cowl (where the fold line was) to the midpoint of the BACK. Continue to pin along the neckline from that midway point around to the front of the vest.
Sew in place with a 3/8″ seam allowance. There may be extra COWL fabric at the front and that’s ok. Just trim it flush with the front.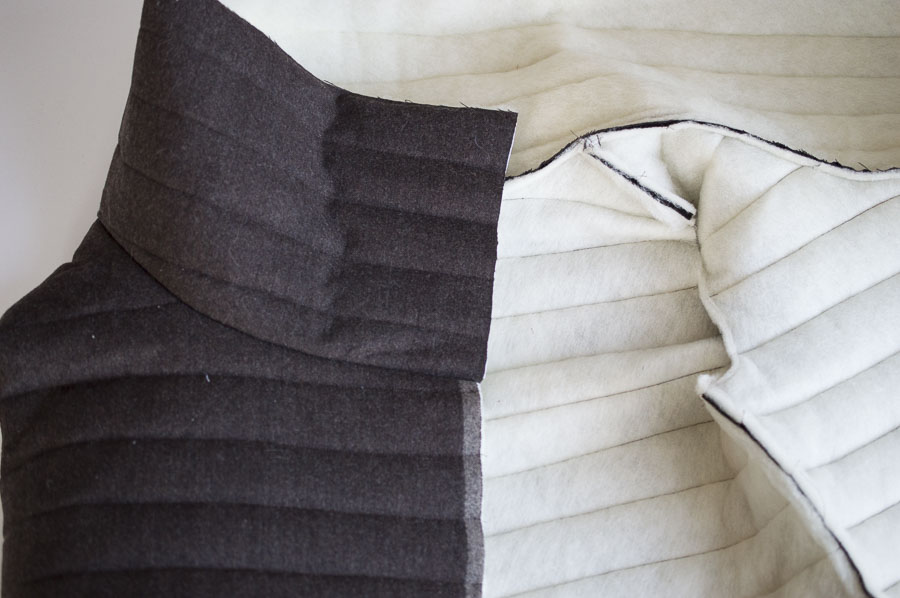
CREATE THE LINING:
Before you repeat the above steps with the lining fabric you will want to trim off a small amount (around 1/16″ of an inch) from the edges. DO NOT TRIM TOO MUCH! You want the lining to be just a smudge smaller so that your wool seams roll just a wee bit to the inside of the vest when you sew the lining to the outside.
Once you have done your trimming, sew the lining just as you did the wool portion of the vest…sew the shoulder seams and side seams and attach the cowl.
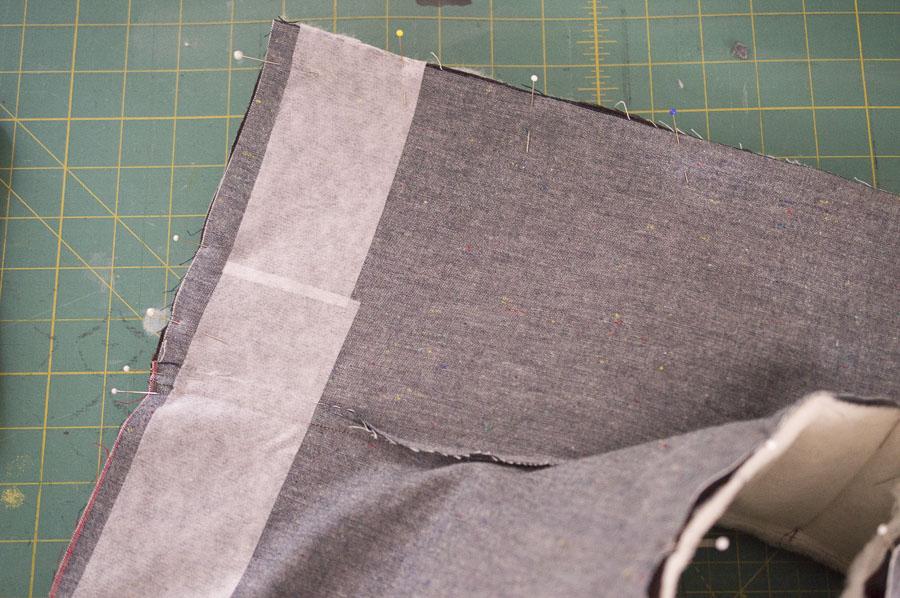
Adhere the strips of Stabilize interfacing the WRONG side of the FRONT pieces, about 1/2″ in from the center. This will help to strengthen the fabric when you use the snaps to open and close the vest.
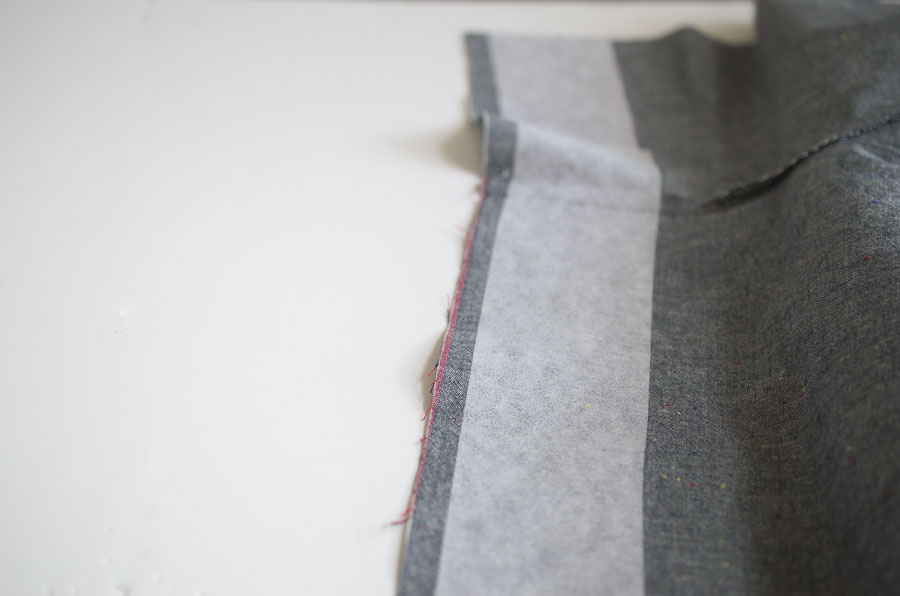
Tip: You don’t have to have one long strip of interfacing. You can save by fusing two different pieces. It will do the same job!
PUTTING IT TOGETHER:
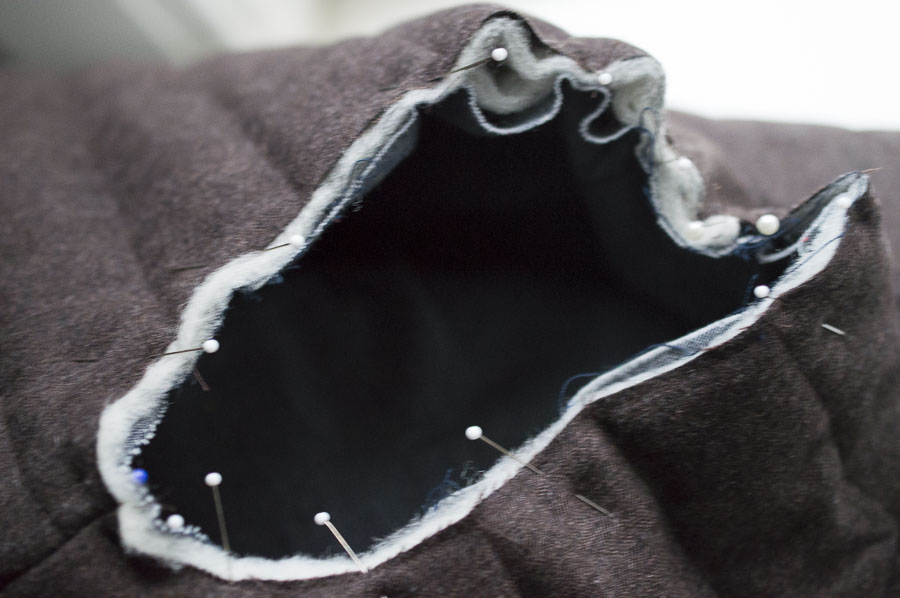
Pin the RIGHT SIDE of the lining to the RIGHT SIDE of the quilted wool outer along the top, front sides and bottom hem, leaving a 9″ opening along the bottom hem.
You can put a few pins in the armholes at this point, just to be sure they are properly aligned with everything else, but you are not sewing them shut.
Sew, using a 3/8″ seam allowance, along the top, sides and bottom leaving the bottom opening unsewn.
Trim all the corners to reduce bulk.
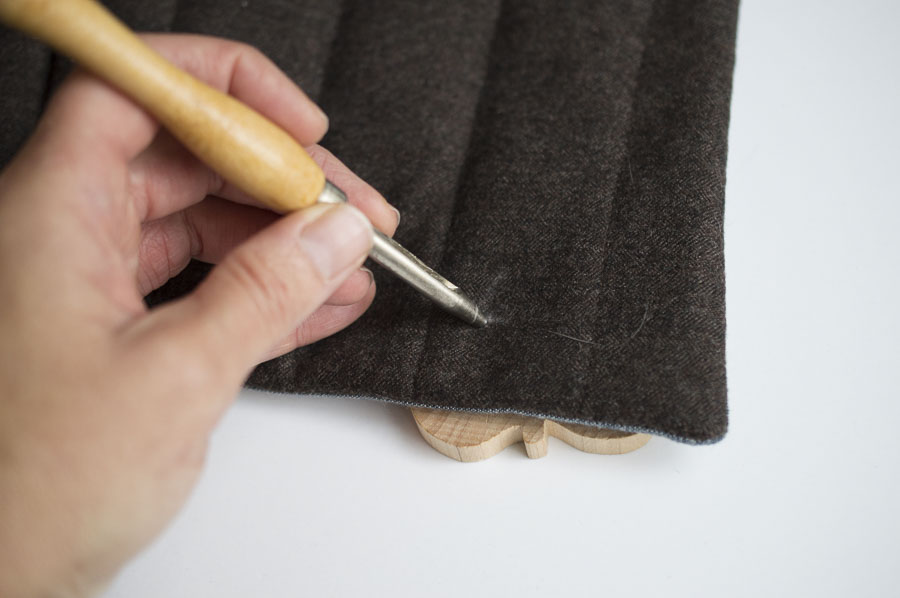
Turn everything right sides out and use your hands to give it shape. You will find it helpful to use a chopstick or point turning tool to be sure the corners are fully turned right sides out.
You should see the lining naturally move toward the inside of the vest but press with an iron to help it along.
Pin the armholes and baste stitch the wool fabric, batting and lining together.
CREATE ARMHOLE BIAS BINDING:
I provide a quick and simple overview of how to create an armhole bias binding here but for a more thorough look check out this step by step tutorial from Oliver and S. I found it hard to take clear photos while I was working on the actual armhole so these are on a flat lay. Hopefully that isn’t confusing, I was trying to be clear about the steps.
Cut a length of single-fold bias tape that is approximately 4 inches longer than the length of the armhole.
Begin by unfolding the single fold bias tape. Then, fold one short end over by about 1/2″. Pin it to the outside (wool side) of the vest, at around 1 and 1/2″ from the side seam. Stop pinning 1 and 1/2″ from the side seam at the other end.

Stitch at 3/8″ (sew across the starting fold) around the armhole starting and stopping when your pins end. Using the open end, pin it across the original folded portion to continue the final stitch. Trim any excess fabric.
Fold the entire bias tape over the other side and pin in place such that no bias tape is visible from the front.
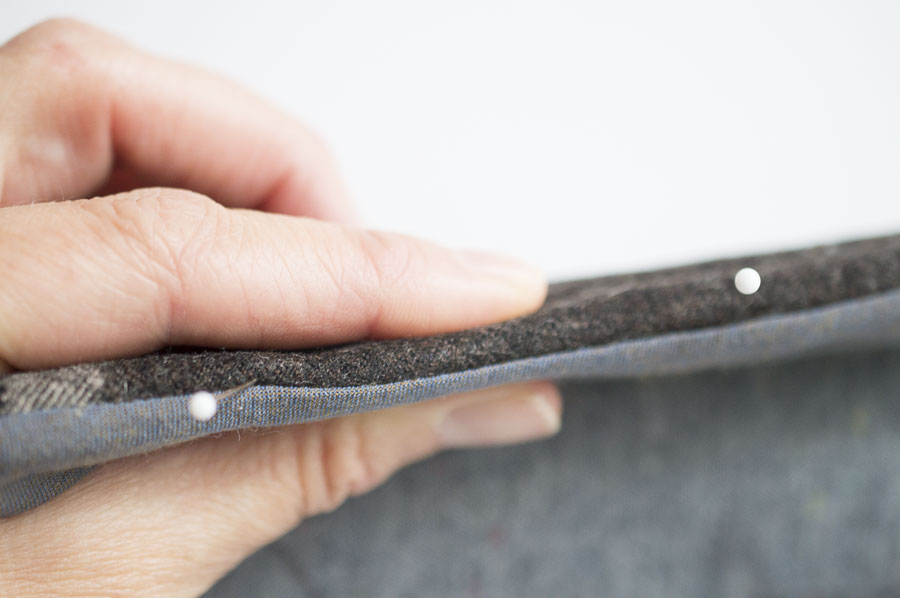
Sew, on the wool side, at 4/8″ seam allowance and then follow with a topstitch at the edge of the armhole.
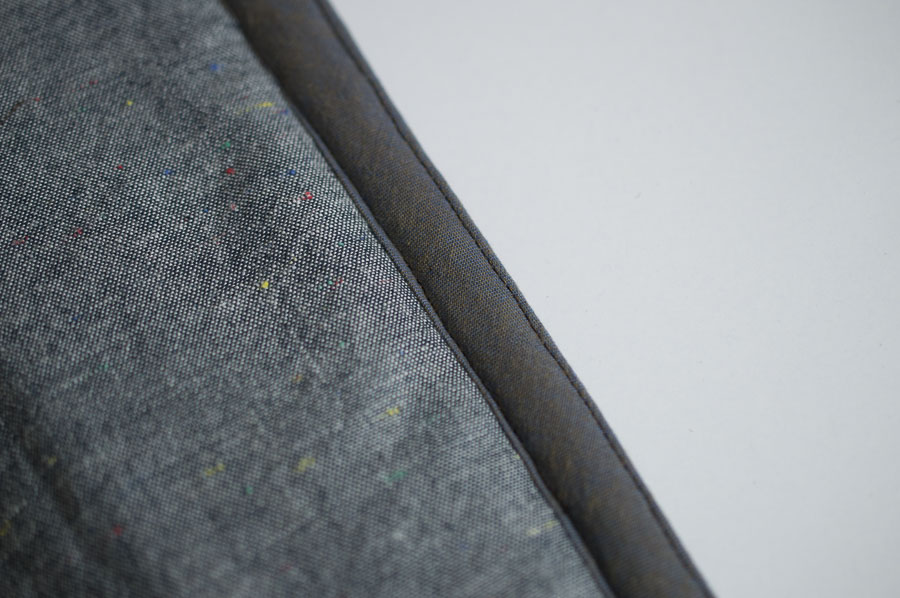
It will look like this on the funnel neck vest.
ATTACHING SNAPS:
All that is left to do is attach the snaps!
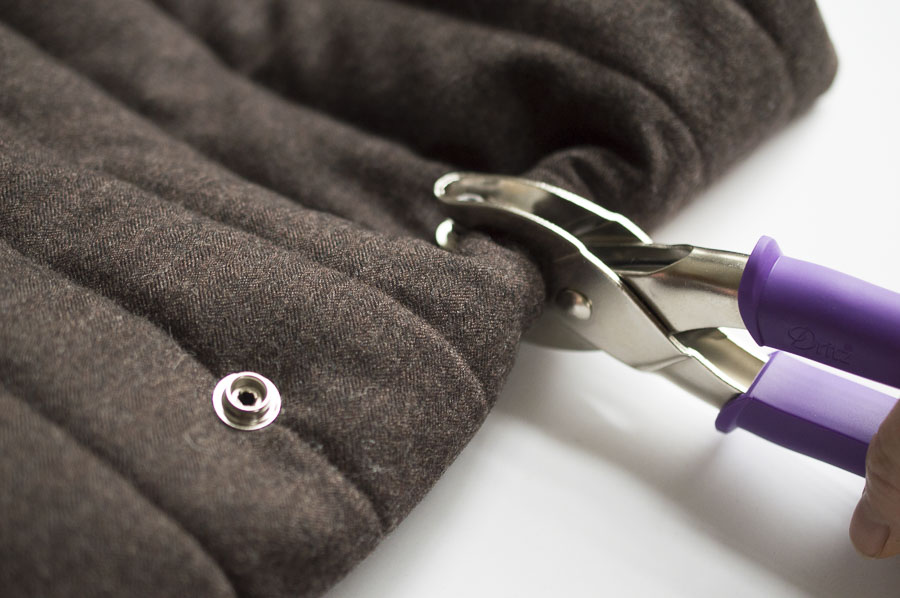
This seems like it would be harder to do than it really is but the snap pliers make it relatively easy. This was my first time attaching snaps and I’m kind of addicted now. Nothing elevates a handmade wardrobe like a little brass hardware!
Start by gathering your heavy duty snap pliers and snaps. The snap pliers come with replacement heads that can do everything from creating holes in the fabric to attaching the snaps. Personally, I found it easier to create my own holes (to insert the snaps into) with a fabric hole punch and I happen to already have one. So I used that to create the holes.
You do not need to have the separate fabric hole punch because the pliers can do it all. I just didn’t like having to change the head on the pliers all the time. Generally speaking, I’m a minimalist when it comes to sewing accessories so I hate to push you into getting both tools but I did use them both so I am mentioning it. The pliers are definitely a necessity if you are inserting the snaps and the make the job, well….a snap. (Cringe).

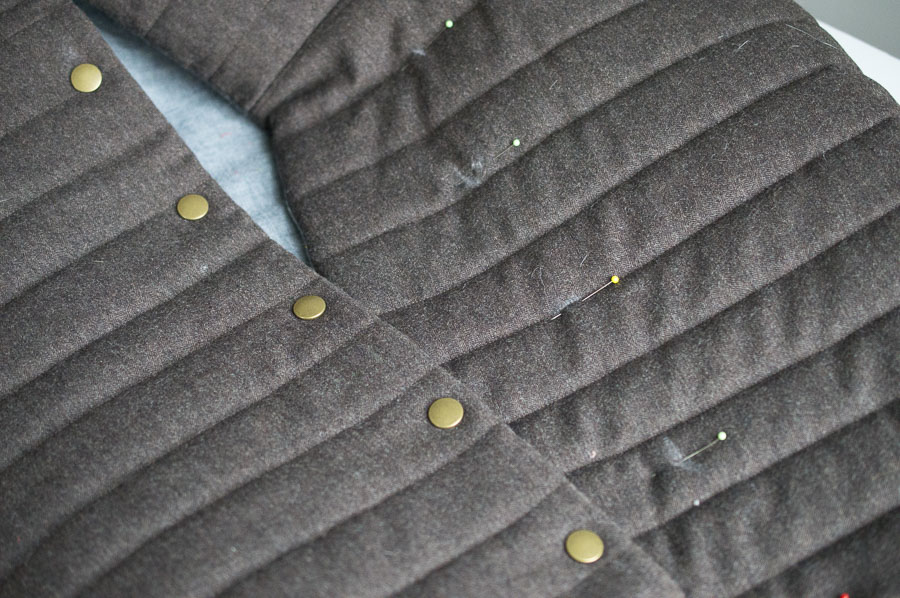
Start by marking placement for all 7 snaps on the wearer’s right side. Place all the snaps an even 3/4″ from the edge of the center of the vest. The top snap should be 1 and 1/2″ from the top and the bottom should be 1 and 1/2″ from the bottom.
All others should be an even 3 and 1/2″ distance from each other.
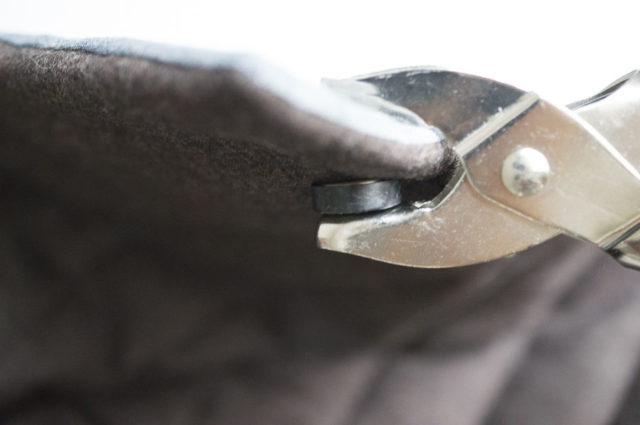
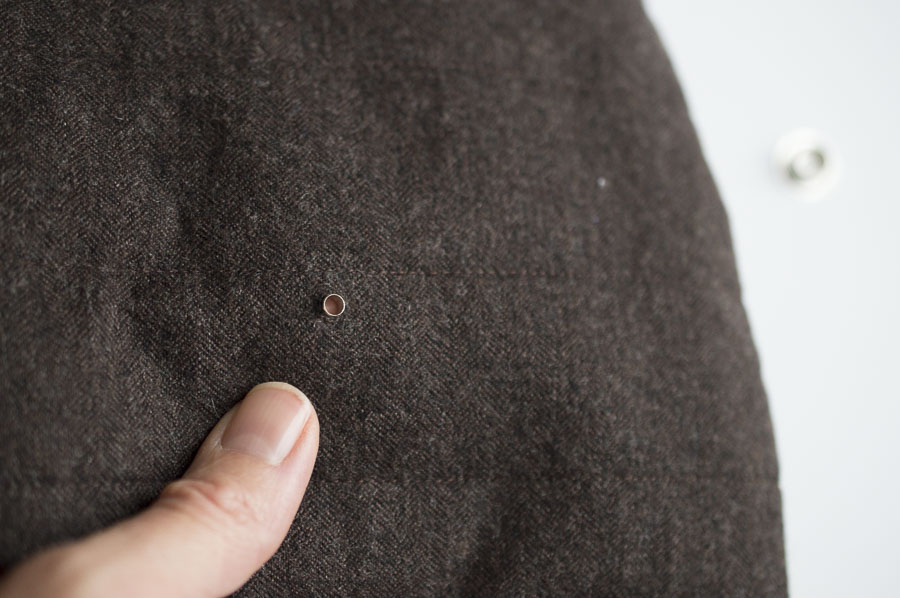
Once you have marked the proper placement, use the pliers or fabric hole punch to create a hole all the way through in each spot.
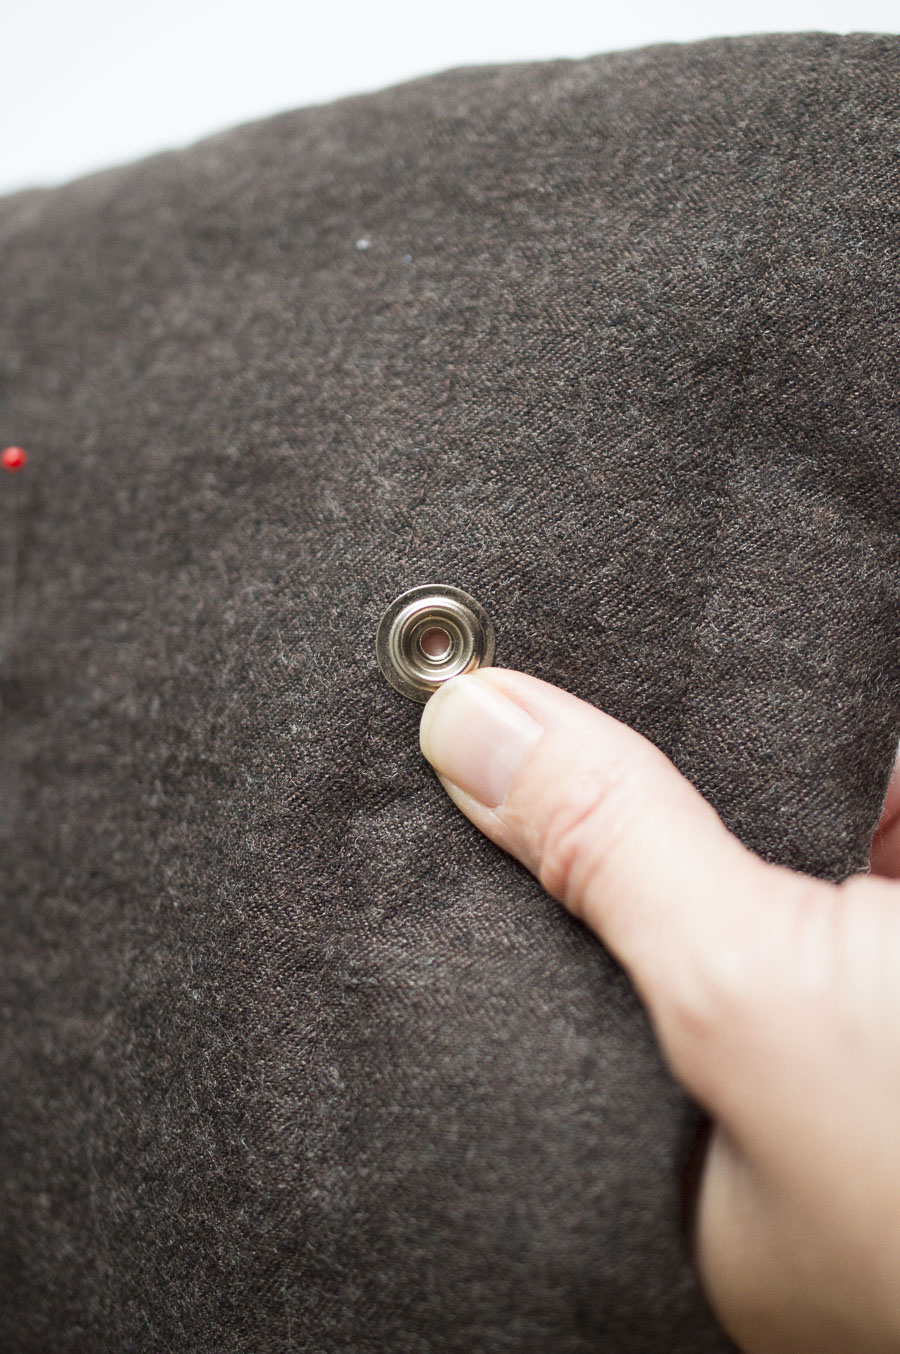
Place the brass flat end cap through the hole to the cotton side and lay the socket portion on top. Use the pliers with the BLACK CAP attachment and the METAL SPLITTING punch to set it in place. Place the brass post inside the black cap attachment and align the metal splitting punch with the socket (placed as pictured) and squeeze.

Repeat for all seven snaps on the wearer’s right side of the vest.
Using the right-hand side snaps as a guide, determine where the snap attachments should be on the left hand side. You will probably need to try on the jacket in order to do this. Be sure you get a nice snug fit that also feels comfortable. You might want to leave it a little loose if you plan to wear bulky sweaters underneath, for example.
On me, this is about 3″ in from the center flap of the vest.
Use either a fabric hole punch or the snap pliers to create holes in each indicated spot, as you did with the other side.
Place the PURPLE POST holder and METAL SPLITTING punch on the pliers.
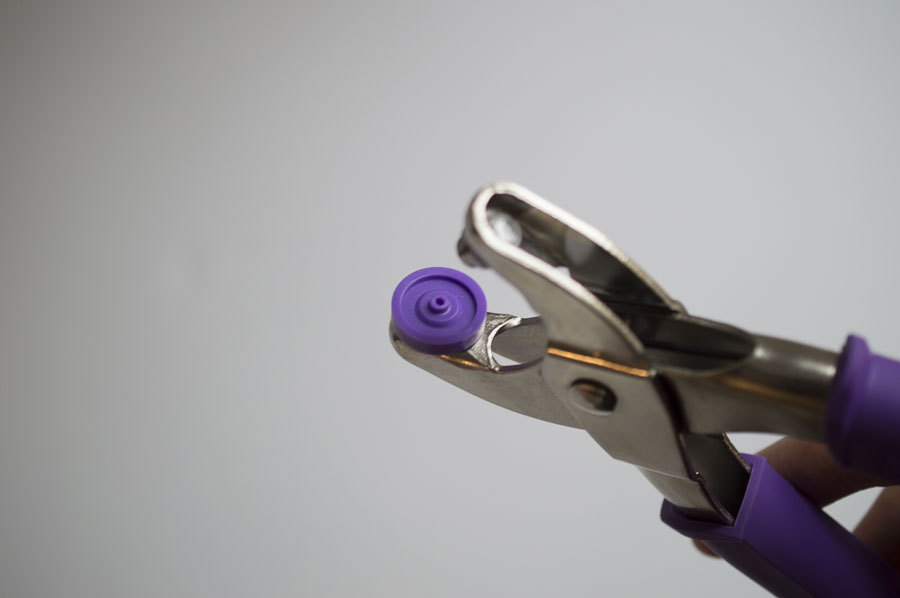
Place the CAP through to the wool side from the cotton chambray side (lining) and place the STUD over it.
Fold the excess fabric into a roll so that the pliers can reach and place the CAP into the purple post and the metal splitting punch onto the STUD. Press the pliers firmly to be sure you get the snap in place.
Repeat for all seven snaps.
Your beautiful, toasty warm funnel neck vest is ready to keep you warm and loved and respect your personal boundaries! Yay!

Note: This post contains affiliate links. This means I make a small commission, at no cost to you, if you buy after clicking on those links. It’s a small way to support me and I appreciate it!

Melissa, I really love this vest! Such a cool take on a classic design.
Thanks so much!
Things like this make me miss living in a cold weather environment (temporarily, anyway) 🙂
Ha! Needing to make things like this make me wish I lived on a tropical island. 🙂