I have always admired those high-end, gauzy baby blankets from Aden and Anais. You know, the totally gorgeous, clean and beautiful things that seem kind of a silly investment for a baby? Naturally, I wanted to make something similar but could never find good gauze fabric so I was thrilled when Michael Miller Fabrics let me play with some of their bubble gauze, newly released from Sarah Jane. I also made a baby blanket with the double gauze from this collection but more on that later. For the bubble gauze I decided to hand-paint sweet polka dots.
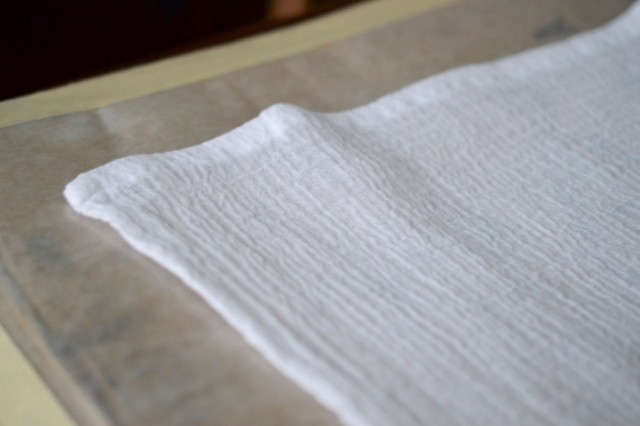
First, lets discuss the bubble gauze. It’s sheer and has a super soft hand. It’s the type of fabric that quite literally moves in slow motion, catching bits of air in its bubbly spots like mini parachutes, when you throw it up into the air. The word dreamy comes to mind. Of course all of that dreaminess makes it a bit tedious to sew. See how the fabric is gorgeously scrunched together? The scrunched together parts stretch way out when you press the fabric and all of that stretching makes it challenging to sew.
For my baby blankets, I hemmed all four sides of a full yard of fabric by folding over twice by about 3/8″ on each side. After all the cutting and sewing and ironing and hemming, I washed and dried the blankets again, which meant the hems scrunched back up. It worked like a charm but the hemming process itself was slow-going. Of course, it was absolutely worth it for the drap-y, soft result.
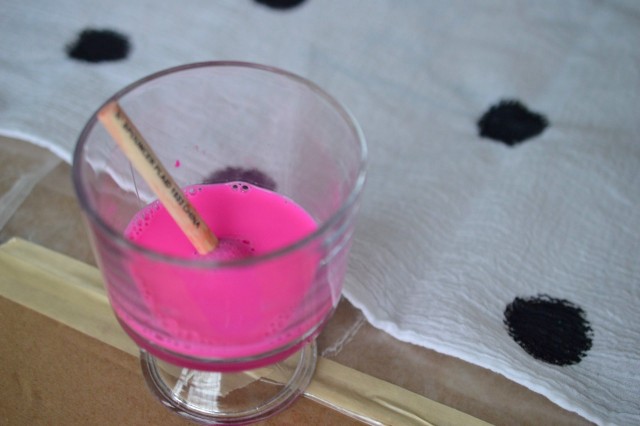
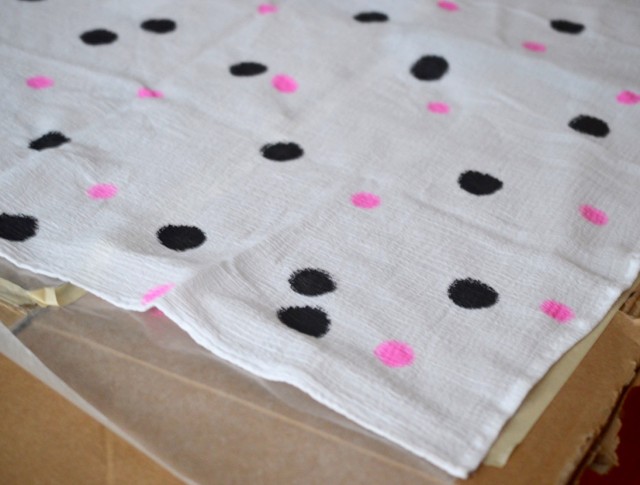
I had dreams of printing with intricately carved stamps onto the fabric but, again, the texture of the bubble gauze made me worried that a stamp wouldn’t apply evenly. So, I decided I needed to somehow super-saturate the fabric in order to print on it. I decided to use watered-down fabric paint and round sponge brushes for a cute polka dot. First, I laid the blanket out on large piece of cardboard covered in wax paper. The wax paper is necessary because of how wet the paint has to be.
Then I applied the watered down fabric paint with the round sponge brush, randomly stamping all over the fabric with dots. I didn’t really measure but I would estimate that I used two generous squirts of fabric paint to a 1/3 to a 1/2 cup of water.
I used a large sponge for one color and a smaller sponge brush for the other color. Every time I set down the brush I tried to be sure it really soaked in without flattening the fabric out. It worked really well.
Once I had all the polka dots I wanted I let the whole thing sit and dry without disturbing it. This is really important because the paint is saturated and very wet so any movement will smear paint where you don’t want it. It is also the reason you need the wax paper; if the wet blanket sits on just cardboard it will adhere a little to the cardboard and be messy to remove.
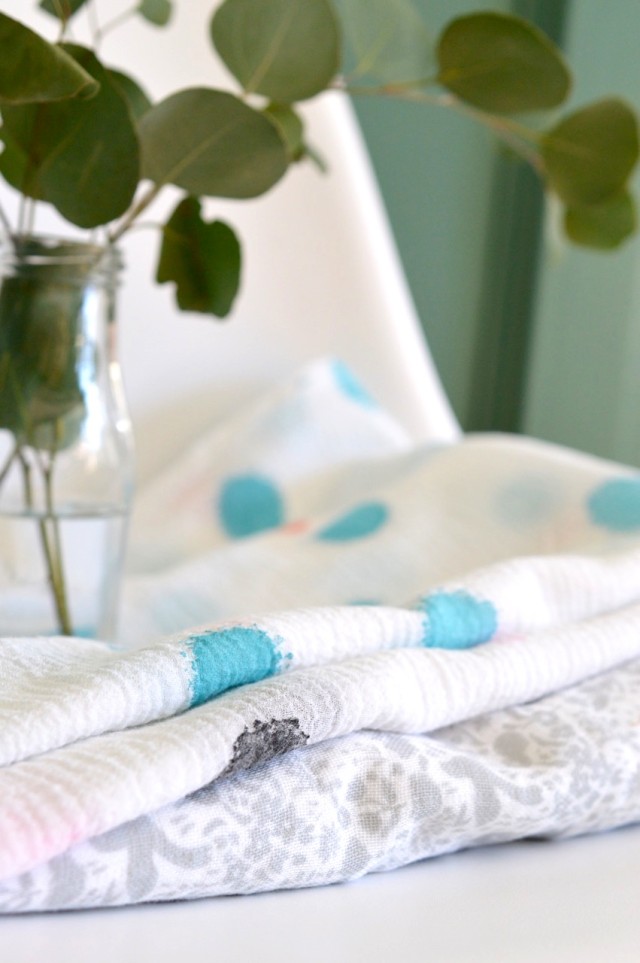
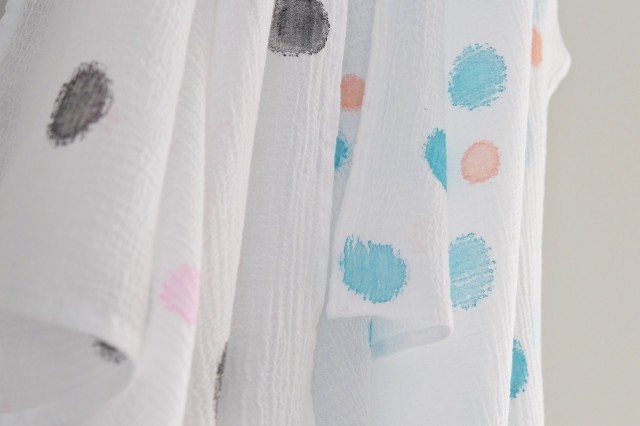
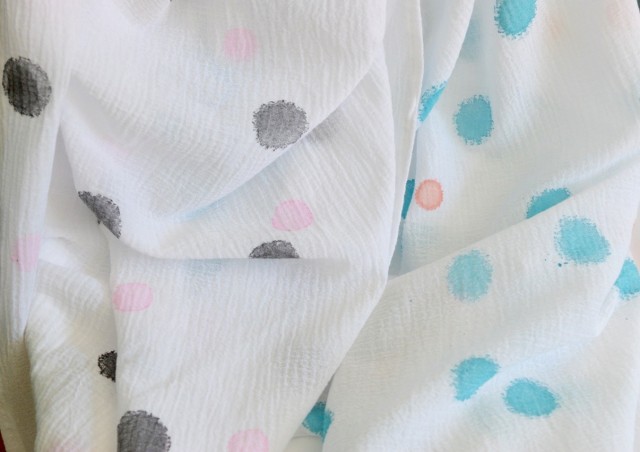
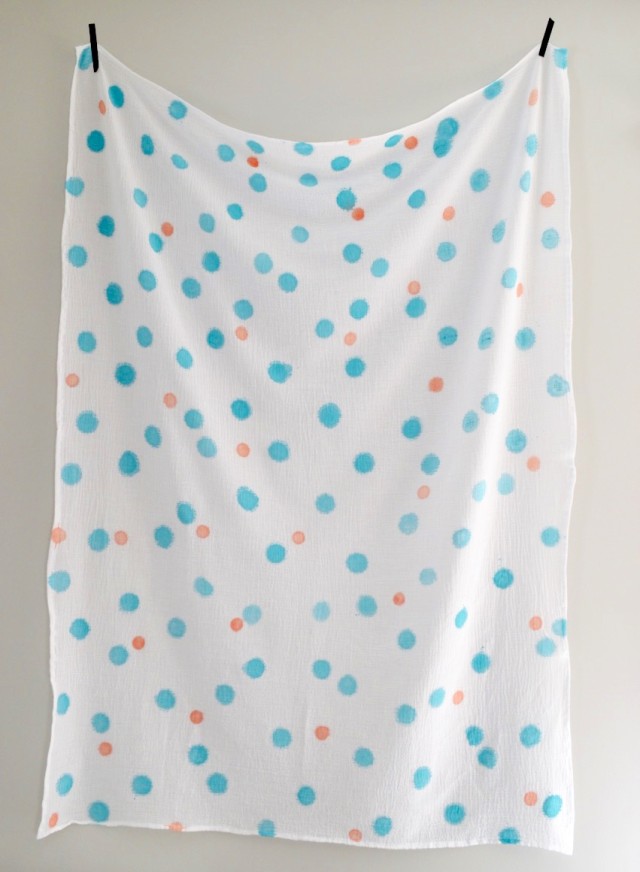
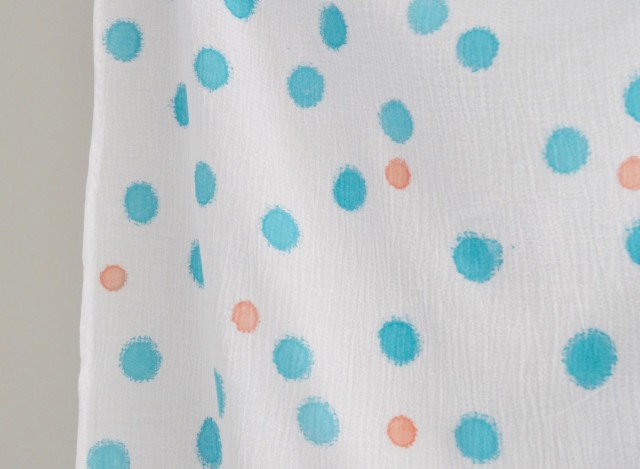
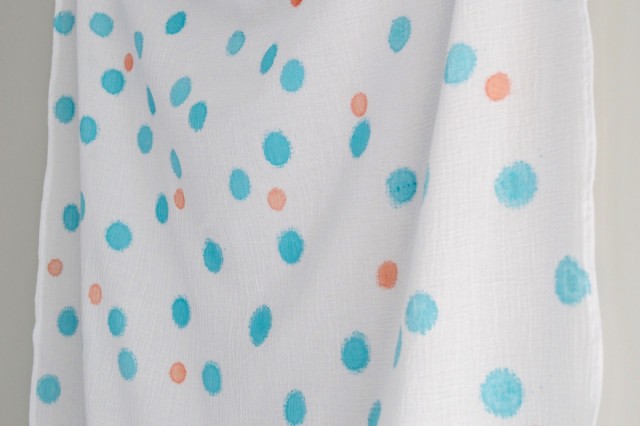
The colors will fade in the wash, as you can tell my hot pink turned into a very light pink. I still like it but the watered down paint does make for a softer color. I love how the colors on the blue and orange blanket turned out.
I especially like how the orange dots have a bit of a watercolor effect.
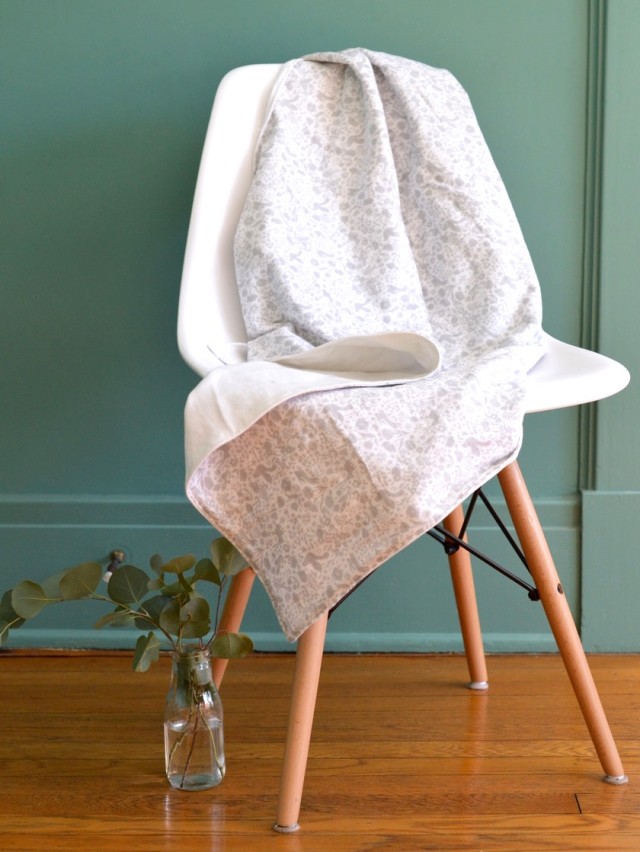
As I mentioned before, I also made a blanket with the double gauze from this same collection. Remember my cheyenne tunic from this same fabric but in blue. Yep, this is the same stuff but I used the grey.
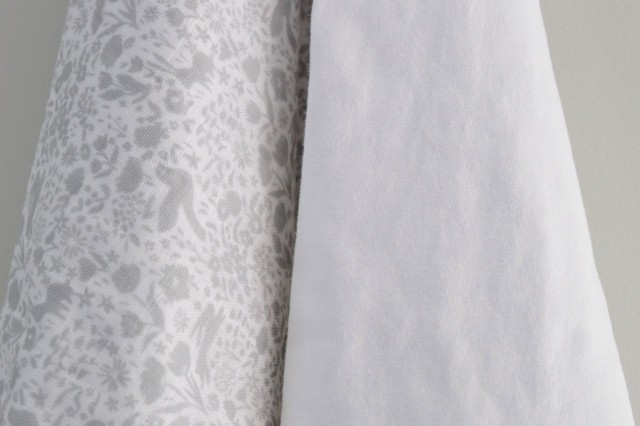
I happened to have saved a blanket in white organic knit cotton from when the boys were little that was somehow still white. I made this simple blanket by stitching together that white knit with the double gauze.
It made for a sweet, soft combination that is a little warmer than the bubble gauze.
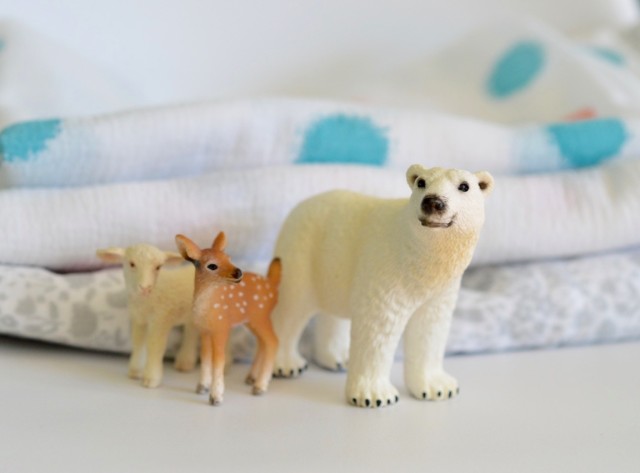
All of them are perfect for a sweet nursery, don’t you think? Well, nobody in our house is pregnant (thank goodness!) but I do have a friend who is awaiting a bundle of sweetness and I’m thinking these will be a perfect baby gift. You can never have enough baby blankets. And as much as a white, hand-painted blanket is pretty impractical for a baby it’s also somehow perfect. Nothing else is quite as good at saying “welcome to the world you perfect and scrumptious new being.”
P.S. Since these instructions were very scattered here is the cliff notes version:
+ Hem one yard of fabric to create a blanket by folding over each end by 3/8″ and then another 3/8″. Stitch around whole perimeter.
+ Lay blanket onto wax paper-covered piece or cardboard or big table that doesn’t need to be used for a white.
+ Water down fabric paints in two different colors and grab two different sized, round sponge brushes.
+ Paint polka dots all over blanket making sure to let paint soak in completely.
+ Leave blanket to dry until dots are mostly dry. Then you can move it and leave it to completely dry for a day. Wash and dry.

These are precious!! I’m hoping for a new baby and plan to make some of these if my hopes come to fruition!!
Monica, thanks for your kind words. I’m hoping right alongside you, friend. It’s a tough one.