everyone once in a while I rescue something from my closet that is sorely neglected and try to upcyle it into something I will regularly wear. it’s how these neglected scarves became infinity scarves I wear regularly and why I rescued a consignment store dress and turned it into a skirt and top.
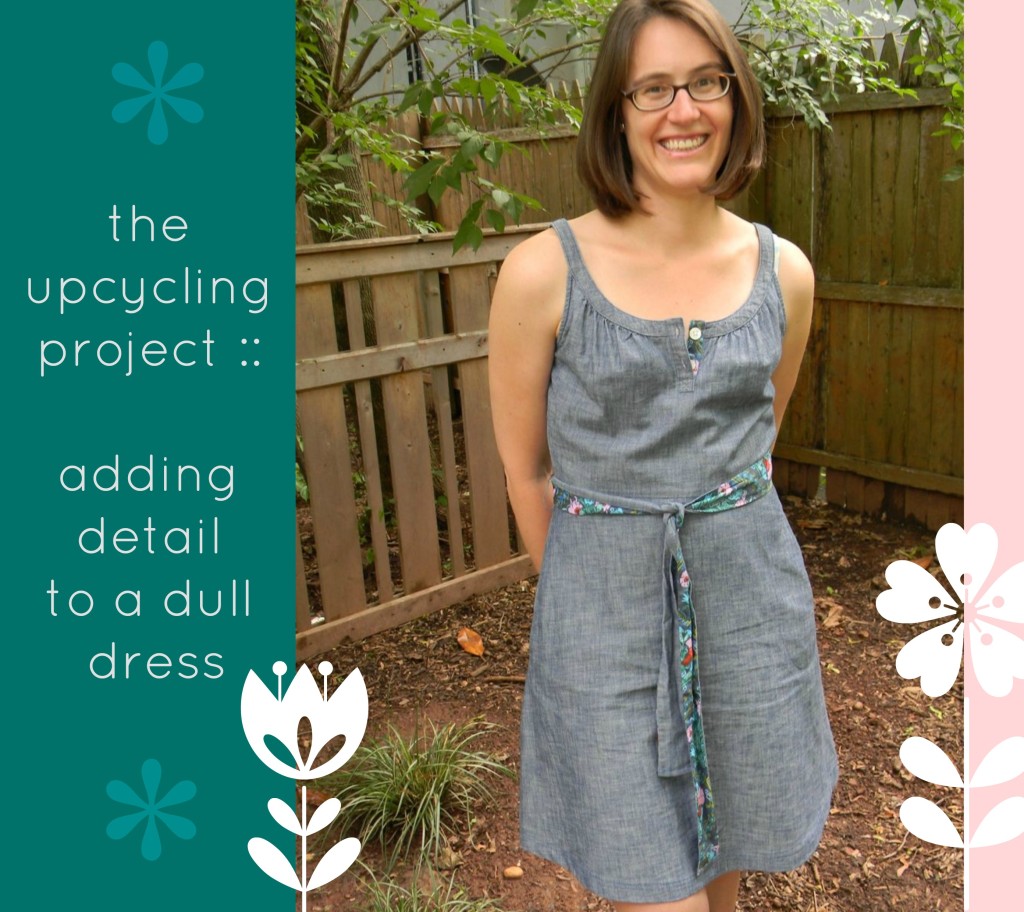
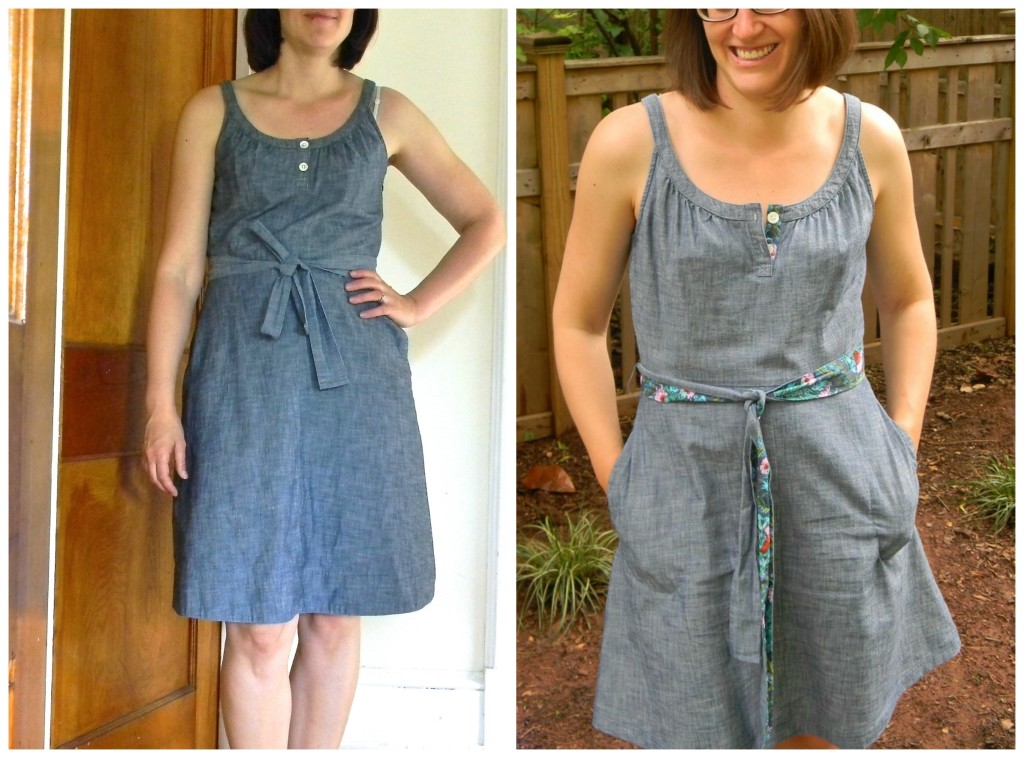
next up, in the queue, was this light denim chambray dress from Land’s End canvas. I liked this dress but it was dull…a little long and lacking detail completely. kind of relegated to the dreaded ‘mom dress’ category if you ask me. at least on my frame it looked dumpy and sad. here is the before and after. (admittedly, this is a classic ‘sad faced’ before picture and ‘happy as can be’ after picture. the difference is I am not hawking diet pills.)
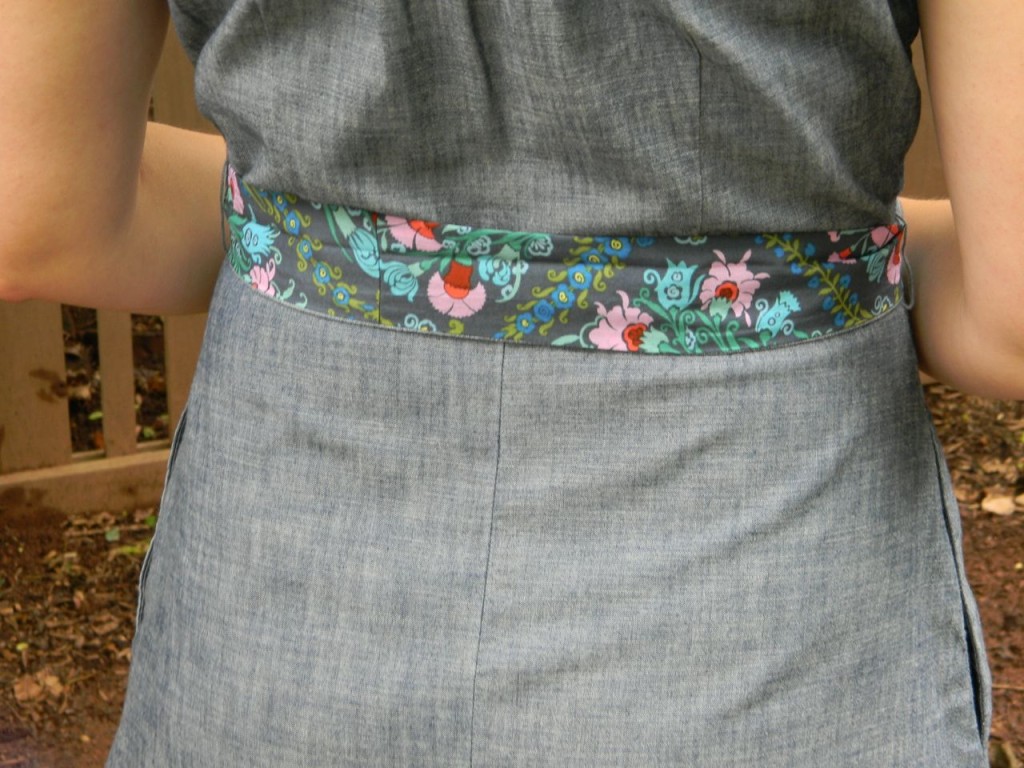
back to the dull dress…never fear, its the upcycler to the rescue! with my trusty seam ripper I was prepared for anything. and, let me tell you, there was so much seam ripping action. I started by shortening the length which involved unpicking the seam, hacking off an even strip of the bottom and re-folding and stitching…not too tough, right? yet, somehow I have neglected to re-hem so many things in my closet! then with trusty seam ripper still in hand, I moved on to un-picking the entire belt and the bottom seam of the dress packet. I wanted to make one side of the belt colorful and I had a bit of scrap fabric from another project ready for the job. in fact, it’s beautiful voile fabric from the latest Amy Butler. cameo to be exact and it is soft and silky with just enough blue to fit in with the style of the dress but also pops of color to keep it interesting.
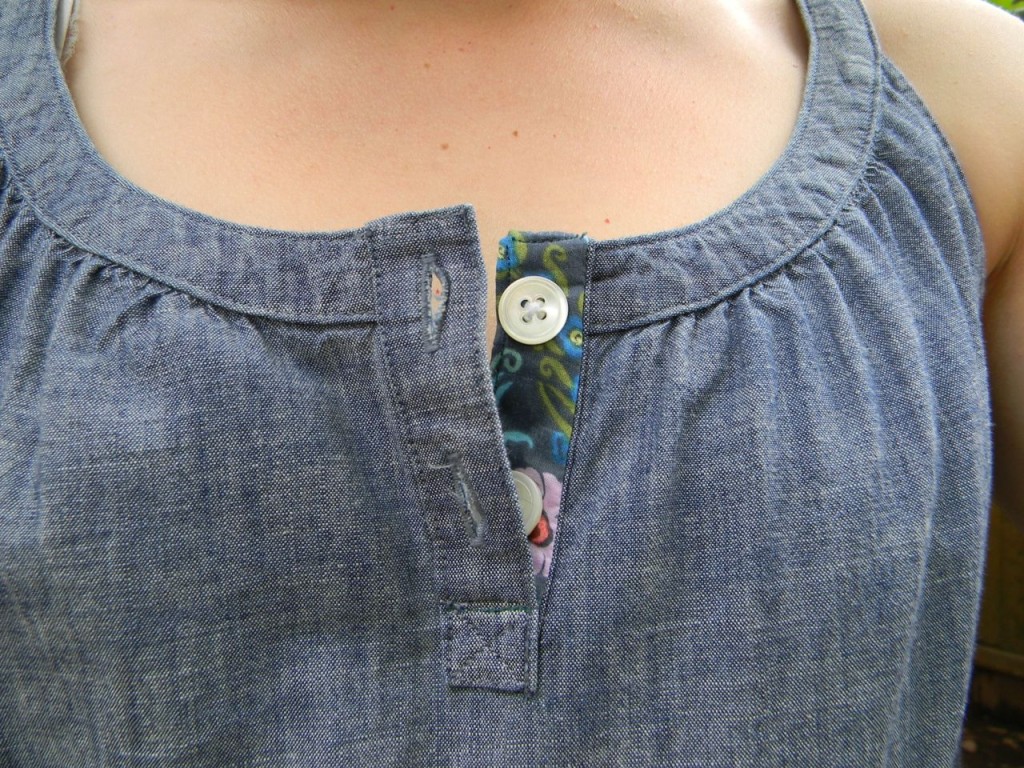
next up, I tackled the placket. I love the placket on this dress, just the right bit of button detail and a pretty swooping neck but I wanted a tiny bit of color behind the buttons. I will be honest, this was fussy seam picking and tedious detail work but it was absolutely worth it. I removed the buttons and unpicked the seam at the bottom of the placket so I could sew on a tiny bit of fabric to the placket. I started by sewing right-sides together one side of my strip of voile to the placket, then I folded over the top and the other side and sewing it down in an upside down l-shape. last, I stuffed the bottom of the voile into the bottom part of the placket sewing it down by sewing one stitch on the outside.
 it wasn’t all that difficult but mildly hand-cramping work especially considering how slippery voile can be. but, it turned out really nice…just the detail I was looking for. never mind, of course, that I realized afterwards I had sewn the small sliver of voile fabric on wrong-side facing out! but, I didn’t go in and fix it. really, you can’t even tell! can you tell? well, either way, there was no way I was going to attempt such a delicate operation twice! once was enough, thank you very much.
and, that is the whole dress upcycle! I have already worn this dress a few times (even washed it without much drama) and am happy to have it in circulation. no more sad corners in the closet!


I love this, especially the detail at the placket.
I love the fabric you chose and no, I cannot tell that it is wrong-facing out. 🙂
Awesome! And, I know your hawk-like designer eye would notice if you could tell the fabric was backwards. Thanks!
I should do this to some of my less exciting clothing. The little pops of print are funny but classy and subtle. Love it
Thanks Kelsey. Sometimes I actually just don’t know what to do with those lovely but loud prints…a little bit here and there on an otherwise dull outfit is perfect!