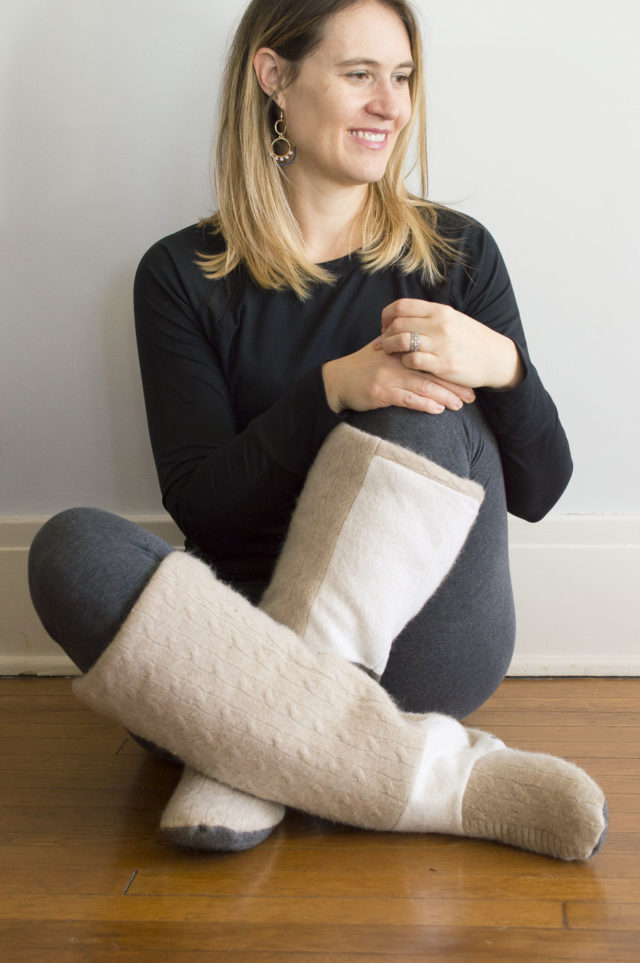
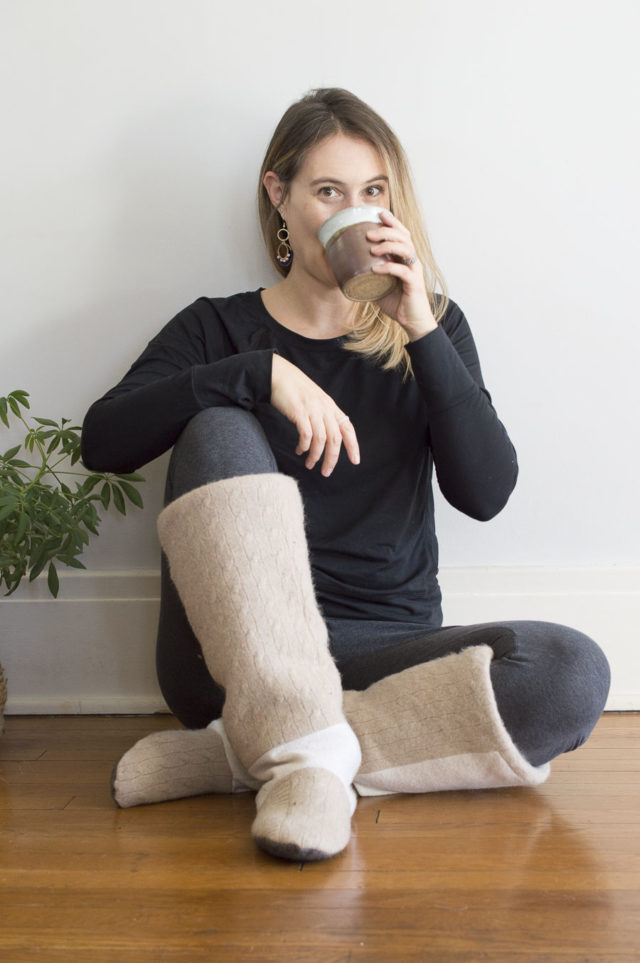
Oh hey. Want to know why I am sitting so serenely with my cup of hot tea? Yes, it has something to do with my incredible upcycled sweater boot slippers. Additionally, it’s because I’m about to bring you a little more love. Yes indeed, my sweets, it is Valentine’s Day and this year I am celebrating by sending a little mending and remaking challenge out into the world. I’m thrilled to be working with the dazzling Joan Goodspeed of Break and Remake for a Mending Heart Challenge.
Joan and I connected over our love of sustainable making and crafting and Joan came up with the brilliant idea to spread that love over this, the sweetest of holidays. (If you follow me on Instagram you already know about the challenge. Why aren’t you following me on Instagram? 🙂 ) Joan covers it really well in her video (also she is super cute about it so don’t miss it!) but the basic idea is to pull together the things in your closet that need mending (the broken hearts) and mend them (mending the hearts)! So simple, right? Of course it is, in theory. But it’s hard to actually take the time sew closed that rip or re-do that hem. We want to motivate you and we are doing that in two different ways: 1. We are both going to share tutorials of our mending projects and 2. Prizes! Joan and I are both giving away a prize to a random person who participates by mending something and posting about it with the hashtag #ahappyremake between February 14th and March 17th.
We wholeheartedly want you to join us. So, take some of those broken hearts sitting waiting for you in your closet and mend them! We cannot wait to see the new life you bring to old loves.
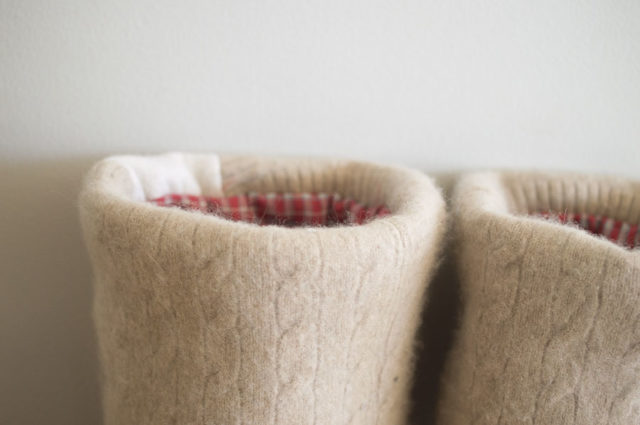
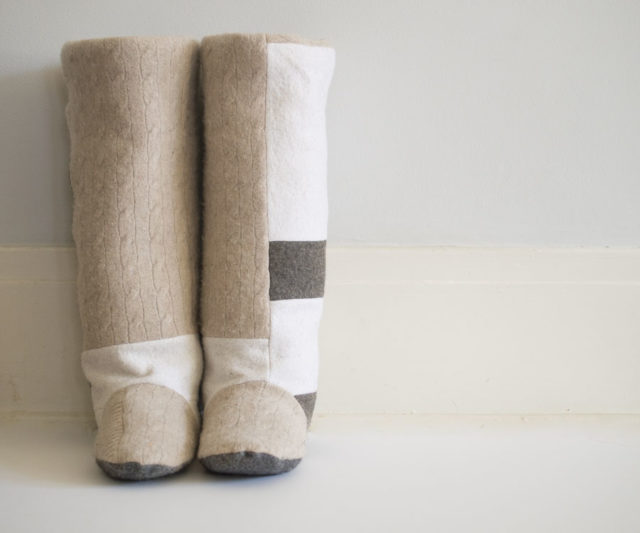
I’m kicking things off with a tutorial and free pattern for these glorious Upcycled Sweater Boot Slippers.
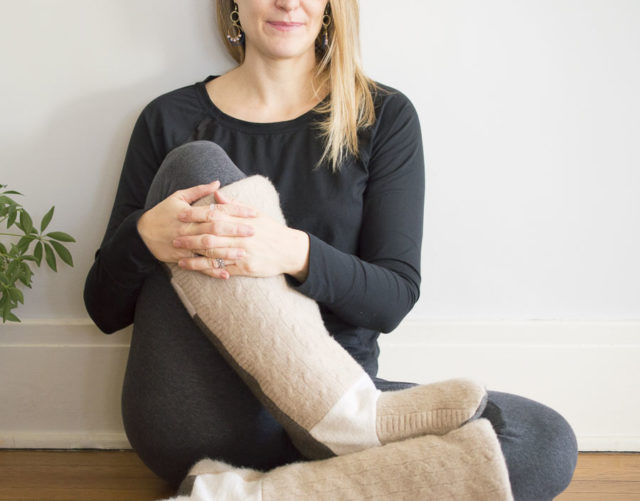 It is hard to know where to start in explaining how much I love these boot slippers. I think I will start by describing a cold winter day in my studio. I was freezing, or frangry as I’ve heard people describe it. So cold I really didn’t want to move and when I don’t move I don’t get much done in my studio. Hence the angry part of frangry. So, I put on slippers. I still wasn’t warm enough so I put on leg warmers I made a few years back out of scraps of sweater knit fabric. I looked ridiculous but I was finally warm enough and hence, more productive.
It struck me as odd that I had never seen a combination leg warmer/slipper before. It’s especially odd since slippers and leg warmers are two of the most perfect things in the world. I decided that I should make myself a pair. Necessity is the mother of invention after all.
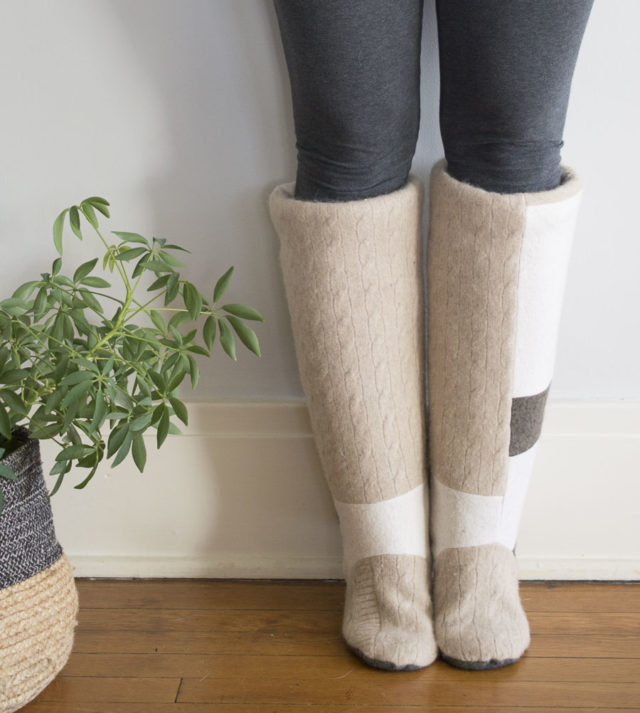
As I was making them for myself, I pulled together a quick pattern and sandwiched in some wool quilt batting. I also found three (THREE!) wool and cashmere sweaters with lots of holes in them and knew right away they should be felted and recreated as boot slippers. It is not an exaggeration to say that I was heartbroken to find my sweaters eaten away by moths. I love a warm wool sweater so much so it really made me happy to recreate them into something new and not lose them forever.
So, here is how to make them for yourself! You too can be productive and shed some anger for serenity, warmth and coziness.
Supplies:
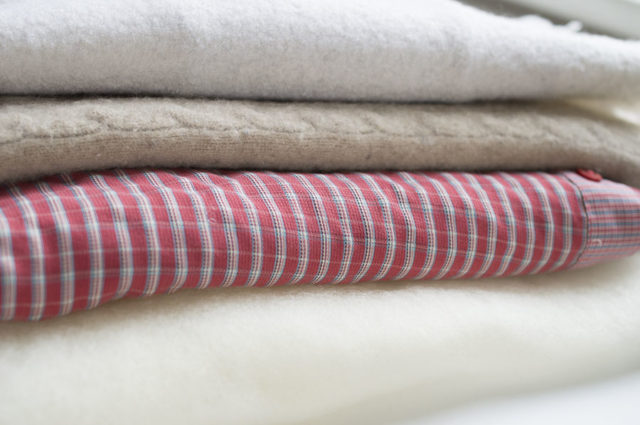
+ 2 to 3 cashmere or other 100% wool sweaters that you no longer wear
+ A large-sized secondhand men’s shirt that is either interlock jersey knit or a cotton/rayon mix (it needs to have some stretch to it)
+ 3/4 yard of 3/8″ braided elastic
+ 1 yard Wool Batting (or other quilt batting of your choice)
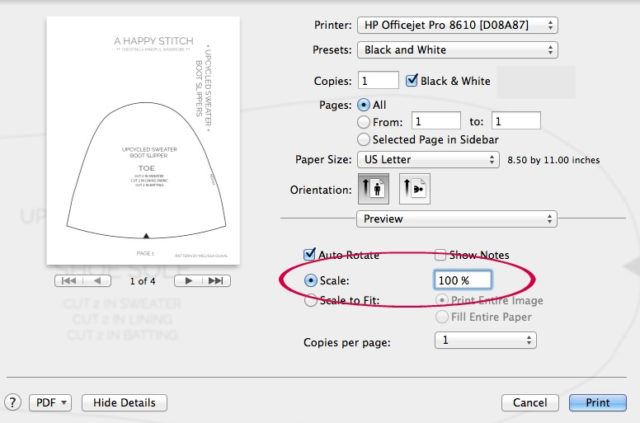
Begin by printing out the free pattern. Be sure to print it out at 100% scale in your size. Generally speaking, the small = sizes adult woman 6-8; Medium = 9-10; and Large = sizes 11- 12 in women’s sizing. The sweaters do have some stretch to them so if you are in between sizes you probably want to go with a smaller size. Additionally, I have what is usually considered a wide calf so these may fit a bit wide. For example, when I shop for boots I always go for the wide calf option. If you are in doubt you may want to make a muslin in leftover sweatshirt material before you cut into your precious wool sweater ‘fabric’.
Tape together pages 2-4 by removing the un-printed edge of page 3 and taping it to align with the images on pages 2 and 4. It should look similar to the image. This is how you create the pdf pattern.
Once you have done that you can cut out the TOE, BOOT SHAFT and SHOE SOLE paper pattern pieces in your desired size.
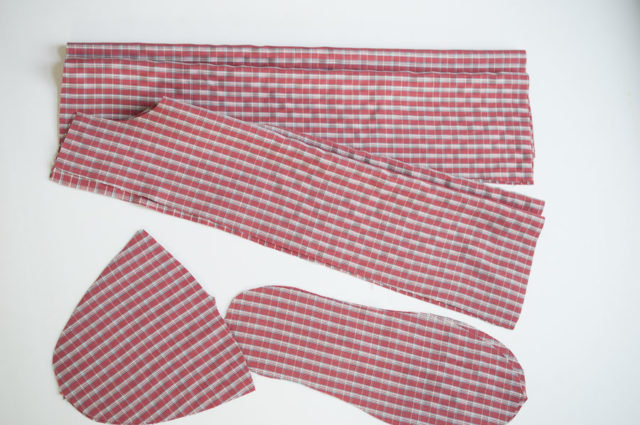
Begin by cutting the lining fabric and wool batting. I used an oversized men’s shirt from the thrift store as a lining for the boot. If you do the same, make sure the shirt has some rayon or other material to give it a little bit of stretch. Otherwise, just use a sturdy (but not heavy) interlock knit.
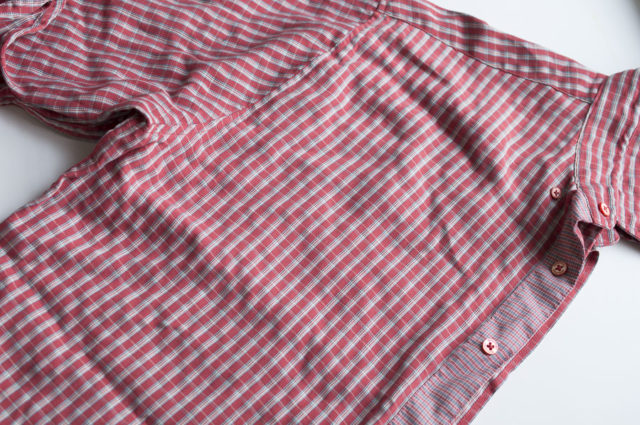
Using your pattern pieces, cut out a TOE, Back BOOT SHAFT, SHOE SOLE and a Front BOOT SHAFT as directed on the pattern pieces in your lining. Notice that the Front BOOT SHAFT is almost the same as the Back BOOT SHAFT except it has a front cut out. This leaves room for the toe. Also, the lining BOOT SHAFT is cut slightly shorter. Make sure you cut the lining at its own cut line at the top.
Be sure to include markings where indicated on the pattern pieces. You may also find it useful to mark the top of the back BOOT SHAFT as it’s difficult to tell the difference from the top hem and heel before it’s sewn.
Repeat, cutting the same out of the wool batting. This time, however, do not cut a shorter BOOT SHAFT. Use the full length marking. Only the lining is shorter.
Set the lining and wool batting aside.
Now we get to the the fun part….felting wool! Begin by gathering your sweaters that have holes in them or are too small but are 100% wool or cashmere. You will need approximately 2-3 sweaters to make the boot slippers.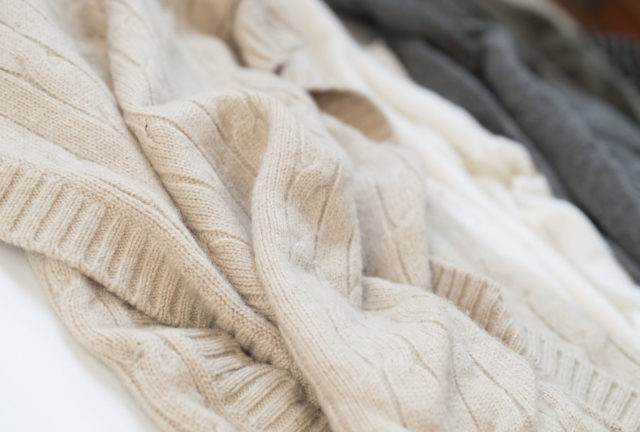
Cut apart the sweaters at the seams.
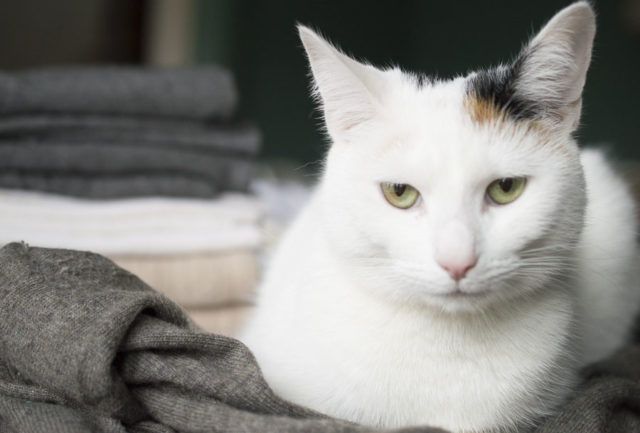
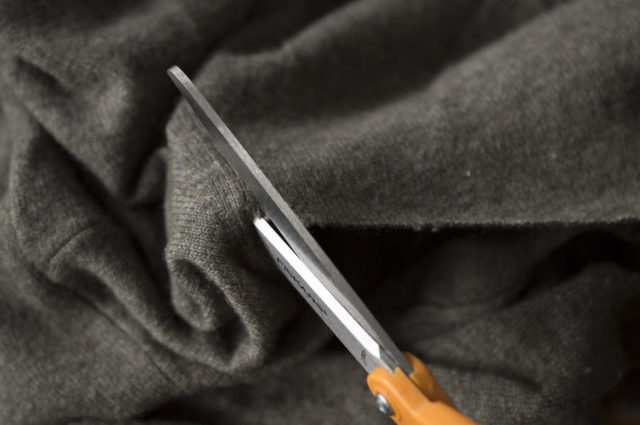 For some reason, this was my cat’s absolute favorite thing ever. I guess she was just loving that warm sweater action. This is her happy face, it’s the same as her unhappy I-might-bite-you face. You feeling the love?
Take the cut up sweaters and put them in a washing machine on a hot water cycle and then throw them in a high heat dryer. It make take up to 3-4 wash cycles to get them to felt up. Felting works best with heat, friction and water. I discovered that washing the sweaters with towels and jeans sped the process up significantly. I washed all the towels and jeans in the house for this exercise, in fact.
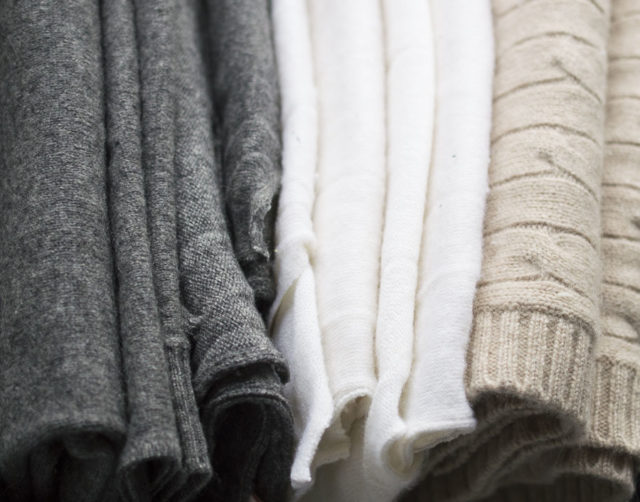
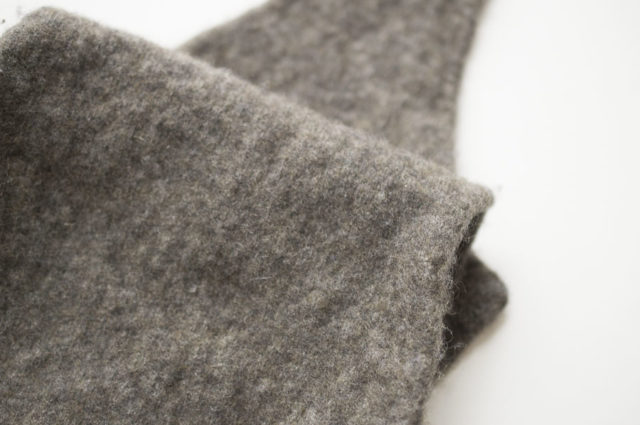
Felting means that the sweaters will no longer unravel and form a non-fraying edge while also gaining strength and decreasing size. They will also have less stretch to them and be quite warm. They should look something like this.
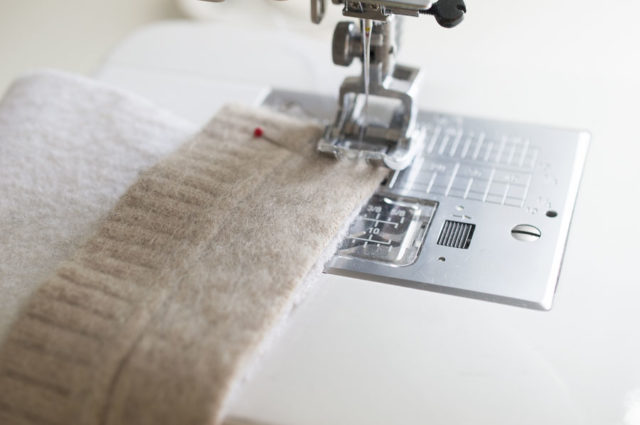
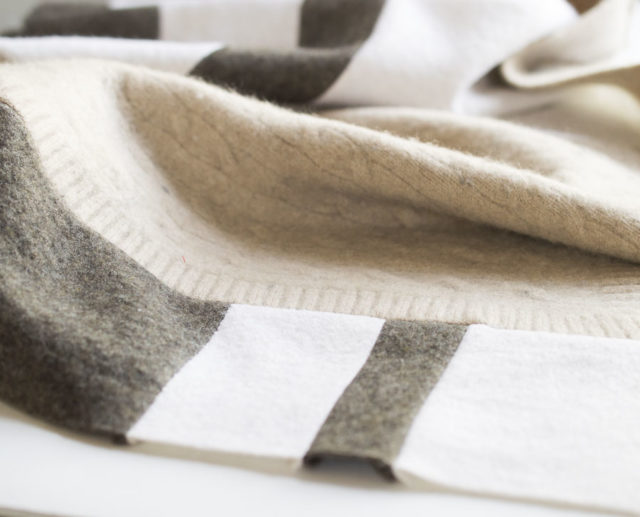
Once you have felted pieces you can begin to piece them together. I recommend sewing in a freeform patchwork style and using a 1/4″ seam allowance. It is thick sweater material so it will get bulky if you have a bigger seam allowance.
You may need a more heavy duty sewing needle like a #90 or #100.
Be sure to iron, with steam, after every time you stitch pieces together. This keeps the seams flat and re-adheres the fabric together.
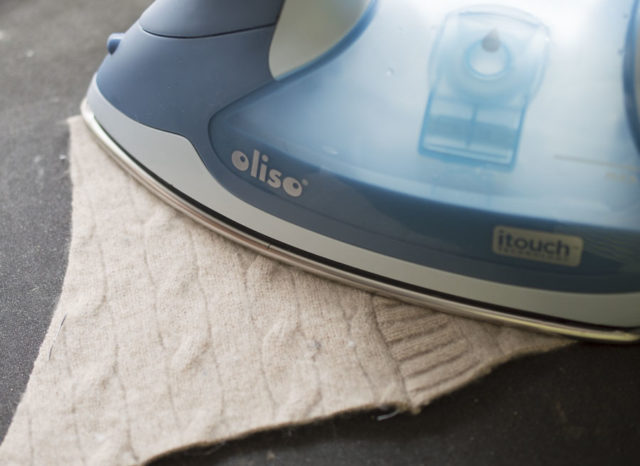 It is easiest to form one big piece and then cut out the BOOT SHAFT pattern pieces from that large (scrapped together) piece of “fabric” formed out of the felt. The TOE and SHOE SOLE pieces are smaller and can be cut straight out of a back or sleeve of a felted sweater without the need to patchwork.
However you achieve it, use the pattern pieces and your newly formed wool sweater ‘fabric’ to cut out a TOE, SHOE SOLE, and Front and Back BOOT SHAFT. Be sure to include the markings as indicated on the pattern pieces. Just like you did before.
You will now have all of those pieces in sweater wool, wool batting and lining fabric.
Once the fabric is cut we are ready to start construction of the boot slippers! Begin with your sweater fabric.
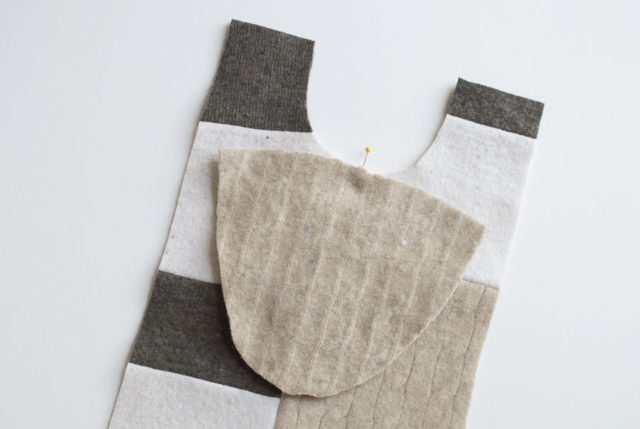
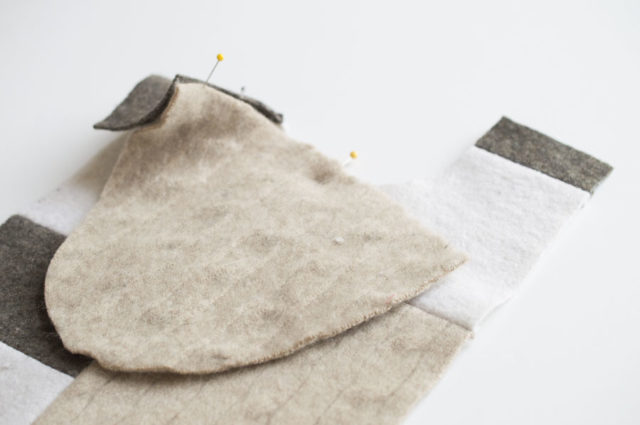
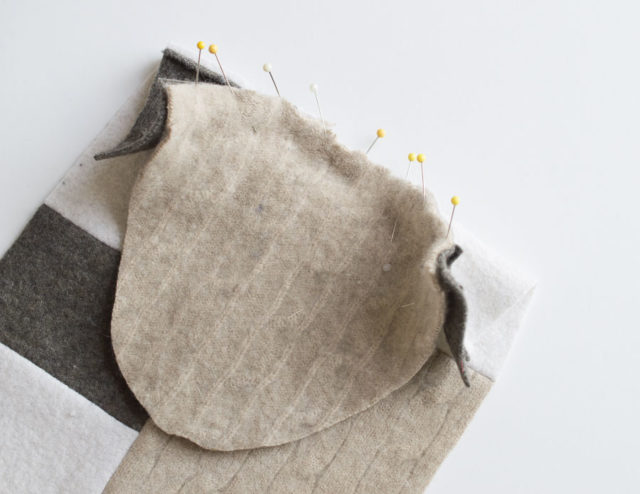
Place the midway point of the front BOOT SHAFT curve and the marked middle of the TOE edge right sides together. Pin in place.
Connect the side edge of the TOE with the furthest edge of the front BOOT SHAFT. Pin.
Repeat with the other edge. Next, stretch the material so that the raw edges of both TOE and front BOOT SHAFT are aligned.
Sew in place at 1/4″ seam allowance and press with an iron when done.
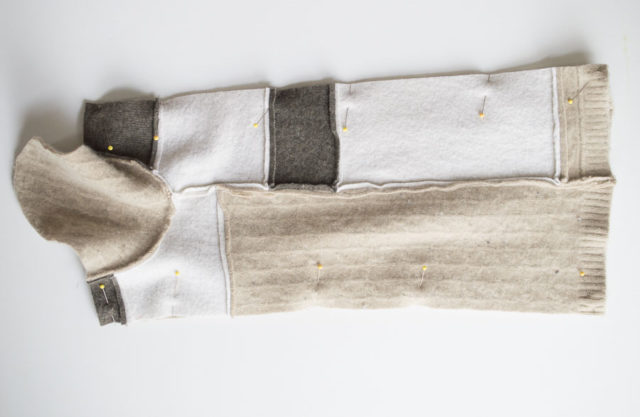
Place the front BOOT SHAFT and the back BOOT SHAFT (the one that doesn’t have a front cut out) right sides together. Pin along the long raw edges.
Sew at a 1/4″ seam allowance. Press with an iron after sewing.
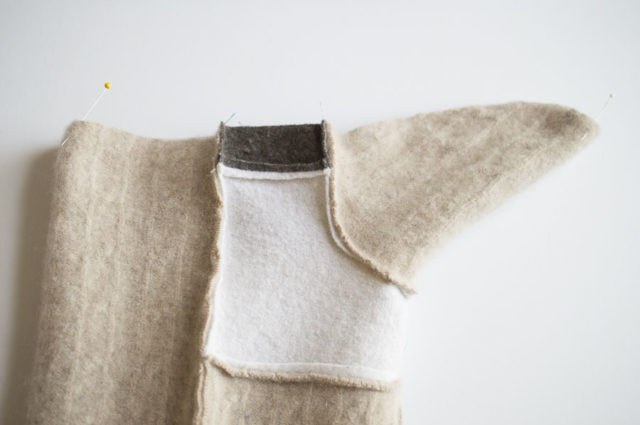
Fold the bottom of the boot slipper in half as shown below. Mark the midway point of the TOE and HEEL.
Attach the SHOE SOLE right sides together with the boot slipper body lining up the markings with the midway points.
Pin in place the rest of the shoe sole so that it aligns with the raw edges of the boot shaft.
Sew in place with a 1/4″ seam allowance. Turn the boot slipper right sides out and press with an iron the best you can
Repeat this process for the wool batting. Do not worry about ironing the wool batting pieces.
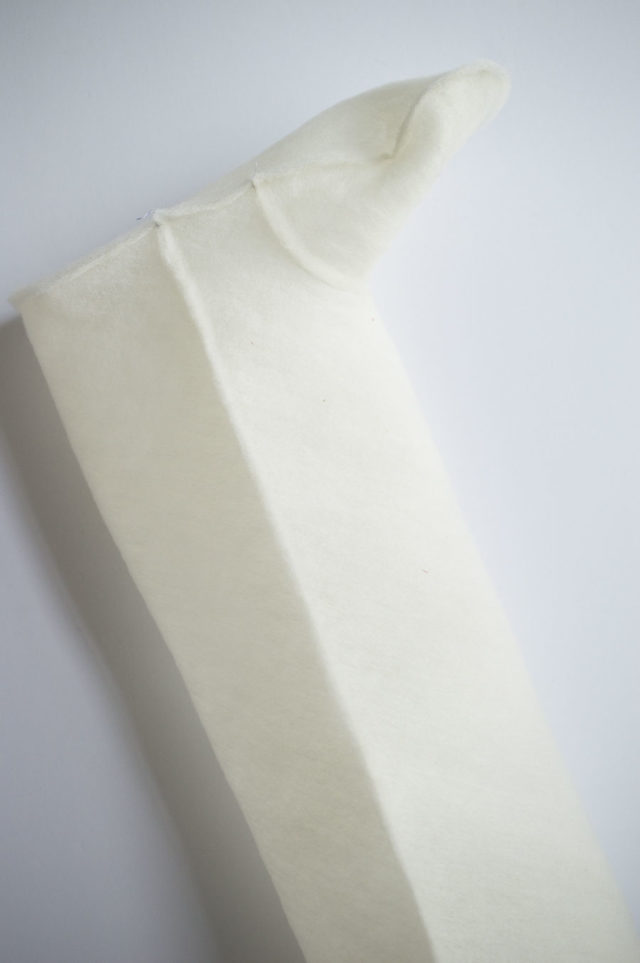
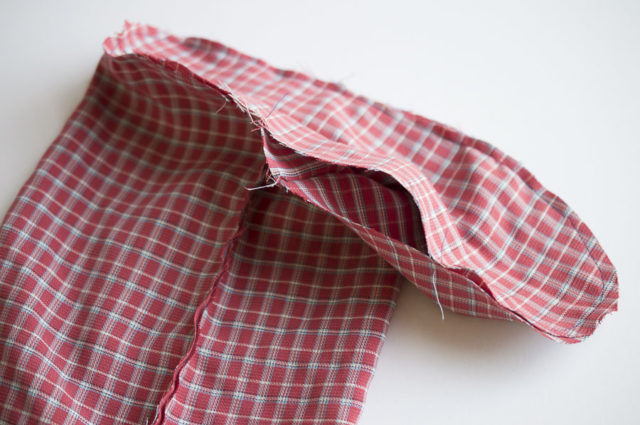
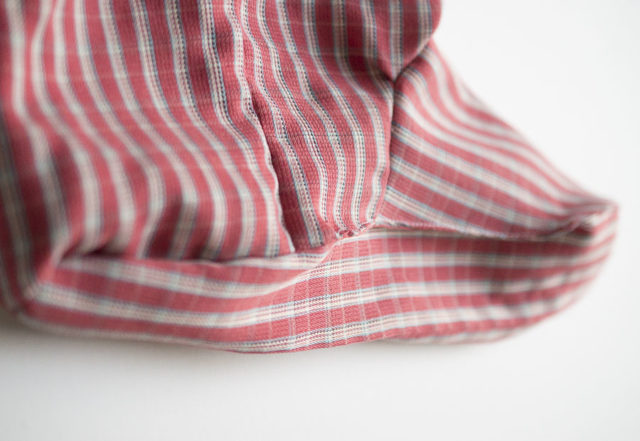
Repeat the same process for the lining fabric with one exception. Leave a small opening (around 5-6″ ) as you attach the SHOE SOLE to the BOOT SHAFT. Iron as you go.
Set aside the lining.
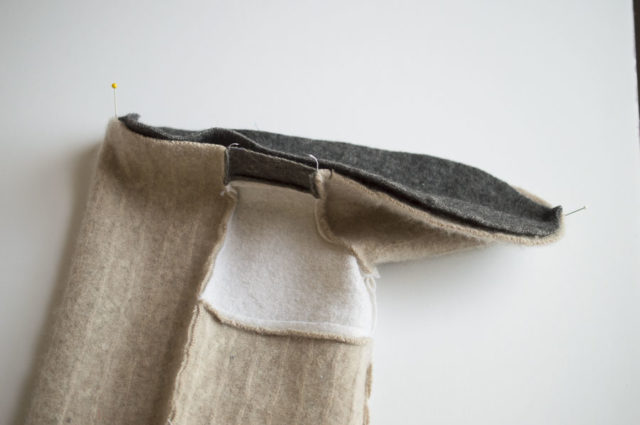
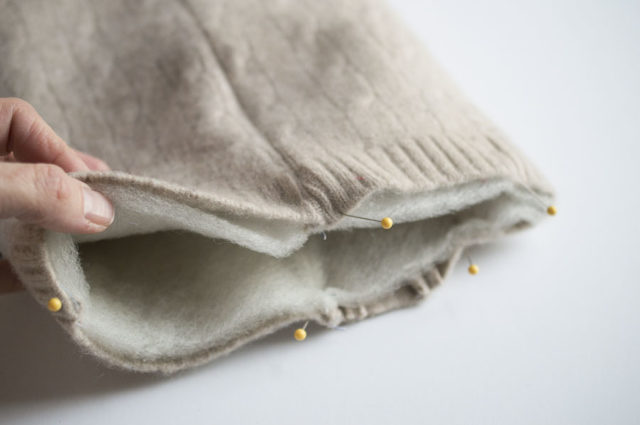
Place the wool batting boot inside of the sweater fabric boot with the WRONG sides facing.
Pin to align at the top (sides seams should meet side seams) and sew with a 1/4″ seam allowance.
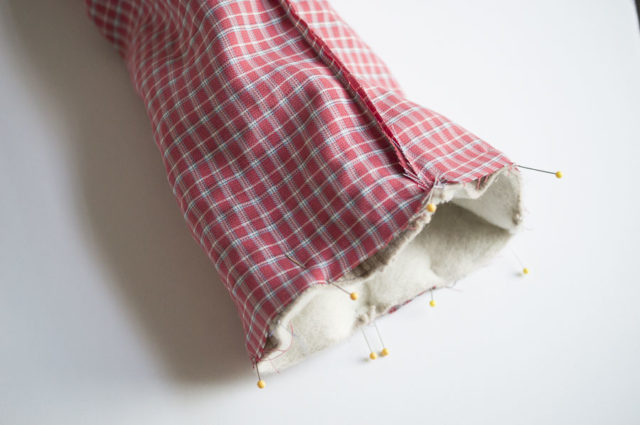
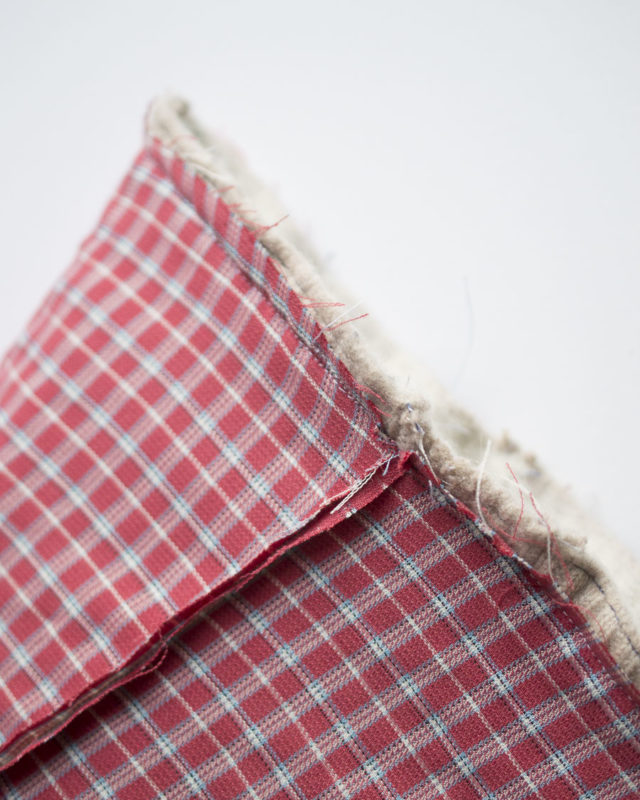
Slip the boot LINING around the sweater/batting boot so that the right sides are facing each other. Line up the side seams and be sure the tops are aligned with each other. The boot lining is purposely ONE INCH shorter than the sweater fabric boot so that the lining isn’t visible when you are wearing the boot slippers. This means that you will need to scrunch the sweater boot down a little to line up the top edge. You may also find you need to stretch the lining fabric to fit. This is fine.
Sew at a 4/8″ seam allowance all the way around the top. Do not turn it right sides out just yet!
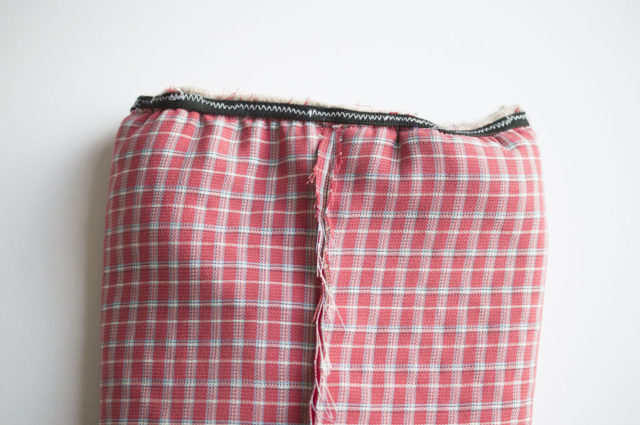
Next we will add an elastic band to the inside of the boot to assist in holding them up. You don’t need to do this but I do find it really helpful for the keeping them comfortably situated.
Measure, with a measuring tape, around the area just below your knee. Decrease that measurement by 1 and 1/2″ and cut two pieces of elastic to that length.
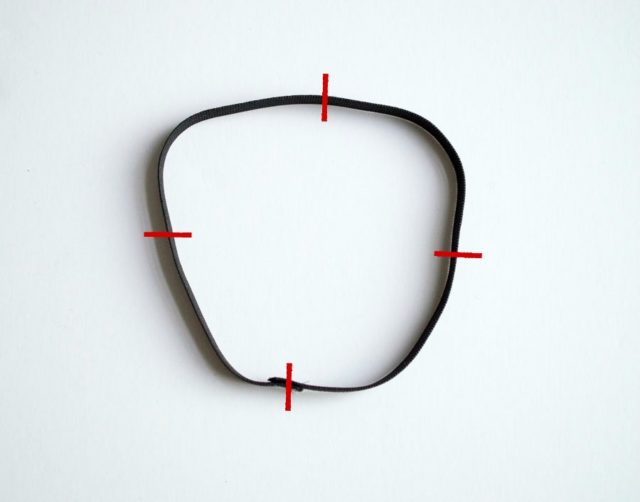
Overlap the raw edges by 1/2″ to create a loop. Make sure the elastic isn’t twisted. Sew to hold the loop in place.
Divide this elastic loop into four equal parts using either a marking tool or pins.
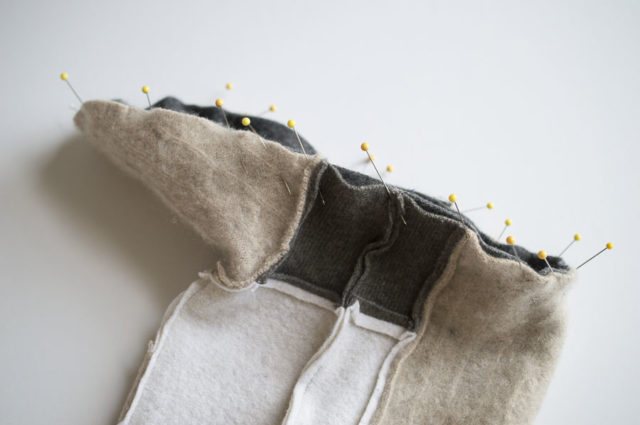
Divide the top of the boot slipper into four equal parts as well. The easiest way to do this is the use the side seams as 2 of the marks and then fold in half aligning the side seams to find the other 2 equal parts.
Align the elastic quadrants with their counterparts on the boot. Pin in place.
Set your machine to a narrow zigzag stitch and sew the elastic to the seam allowance. You will need to stretch the elastic as you sew. This will create a bit of a band to help hold up the boots when you wear them.
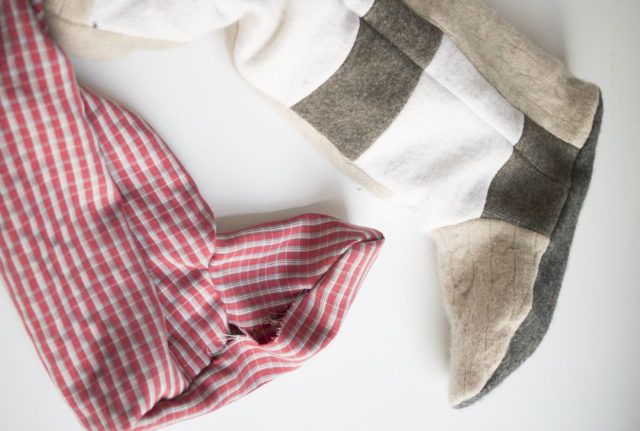
Using the opening at the bottom of the shoe lining, pull the whole boot slipper right sides out.
Fold the opening inward on the boot slipper lining and stitch to close it up. Do not sew anything but the lining piece.
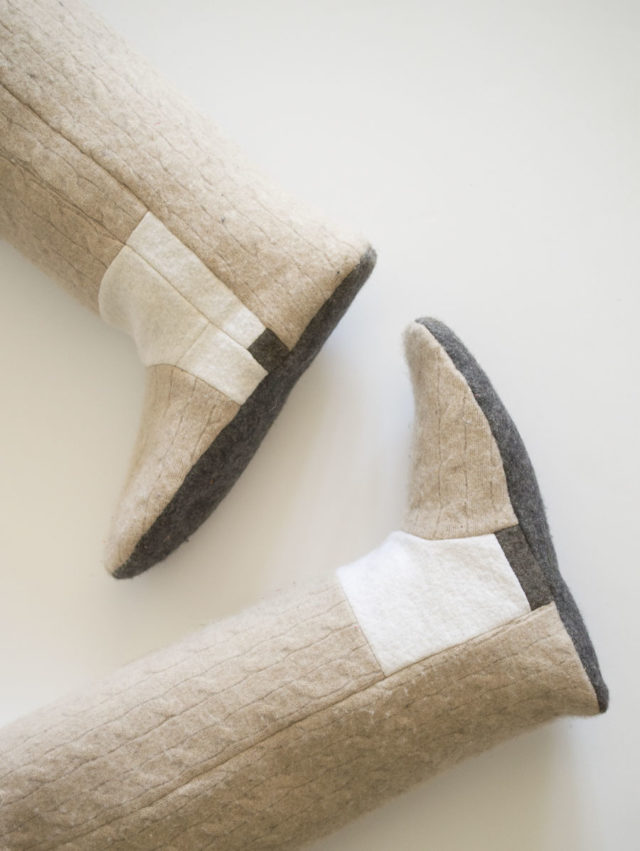
Place the lining inside of the sweater fabric to create your Upcycled Sweater Boot Slipper! It make take some finagling to get it in place.
Slip them on and enjoy a hot tea alongside your crazy cozy boot slippers!
 Whether you make fabulously warm upcycled sweater boot slippers or not, Joan and I really hope you join our mending challenge. We love building community and can’t imagine a better community than one built around finding new love in our closets!
Remember to use the hashtag #ahappyremake to show off your mended hearts between February 17th and March 17th. Winners will be announced March 21st!



I absolutely love your slipper boots, what a talented lady you are and so inventive. I have saved your pattern and now just need some old sweaters! Thank you for posting all the details.
Oh yay! I’m so happy to hear this. I’ve been wearing mine non-stop these last few weeks (as I work from home!).