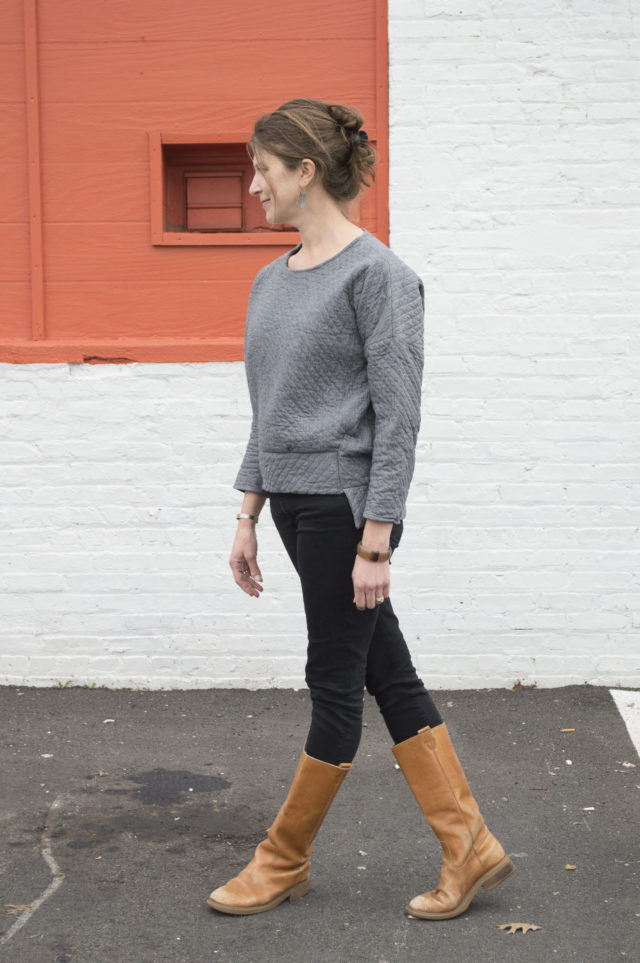
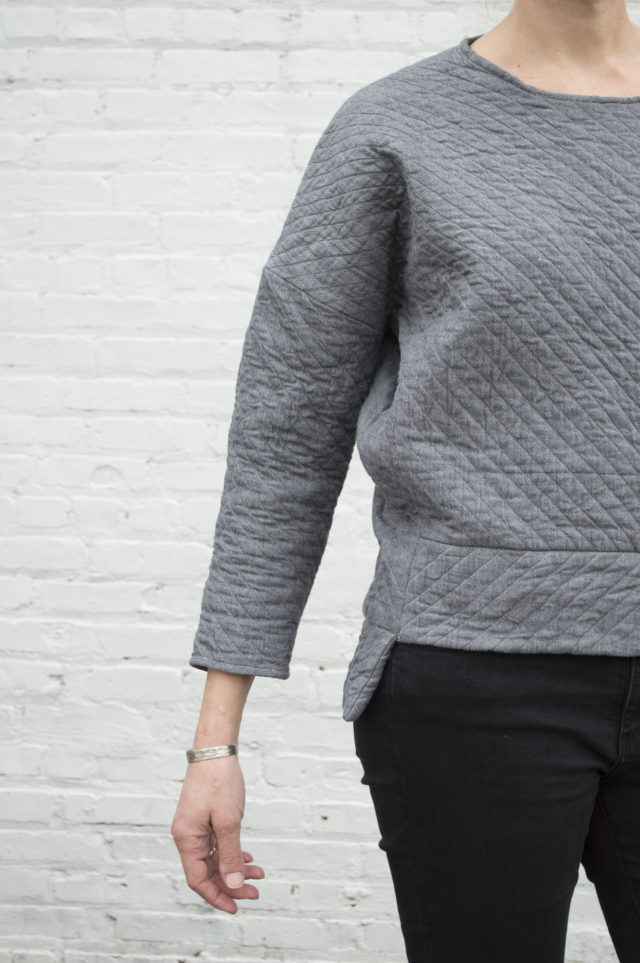
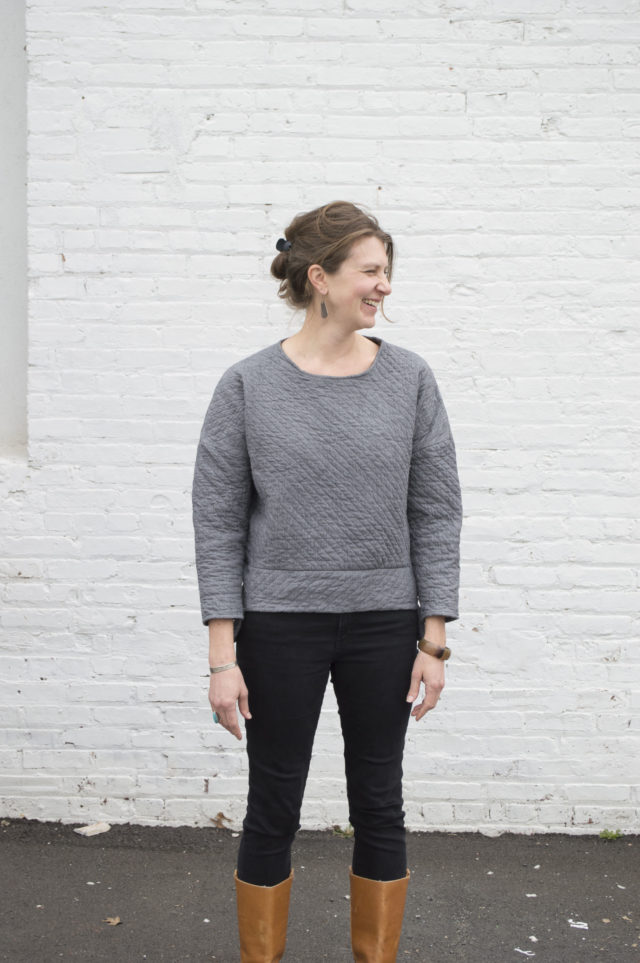
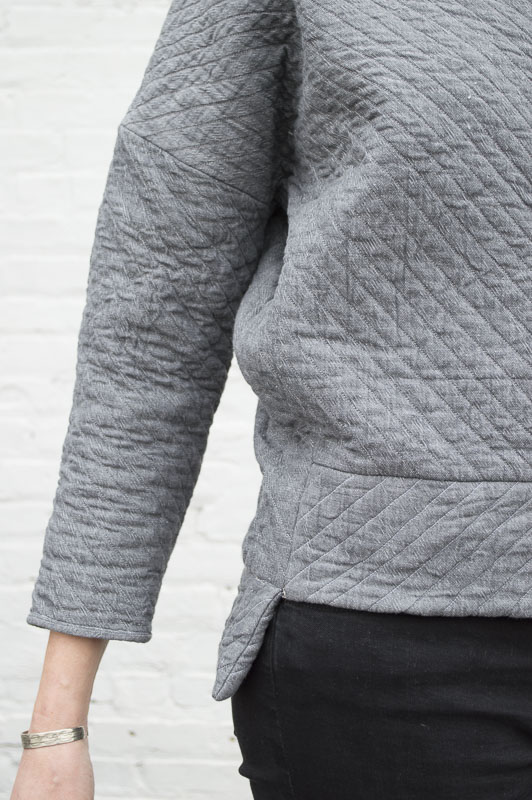
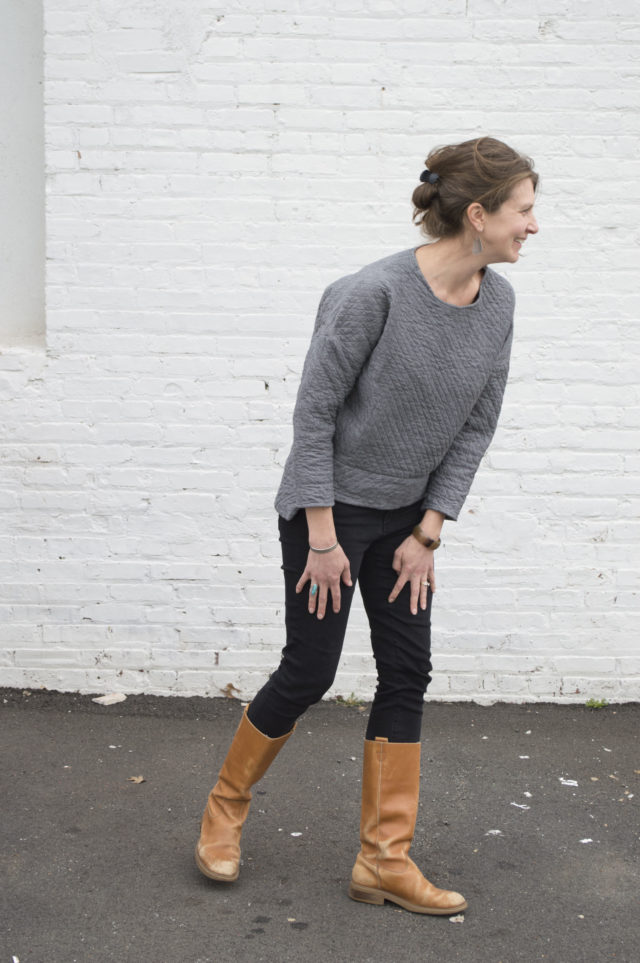
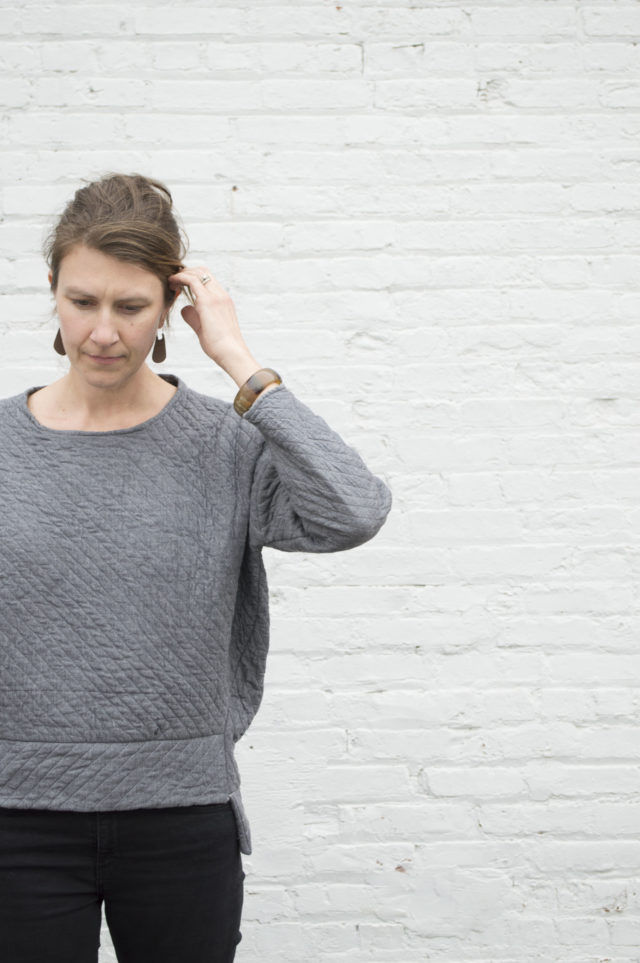
I recently created a project for the Fairfield blog that was just so much fun I knew I needed to share it here as well. Sometimes I come across something in the ‘real’ fashion world and it just tempts me to try out a DIY version. I was feeling that way about the quilted-looking sweatshirts in the ready-to-wear world ( like these here and here). I mean, how could I resist the temptation to create quilted fabric and make an oversized sweatshirt. Right? You feel me. The result is this DIY quilted sweatshirt.
I’m especially thrilled because this fabric is a grey chambray I found at the thrift store. It’s not every day that you stumble upon seven yards of amazing fabric at the thrift store but it’s positively dazzling when said fabric can be transformed into an amazing quilted sweatshirt. Give it up for thrifted amazingness!
This project uses ‘made’ fabric to sew up an oversized sweatshirt. I’m going to talk through how to create your own quilted fabric and note a few other adaptations I made but I don’t go through every step of actually making the sweatshirt. Those details will depend on what pattern you chose to make. For the record, I made the Sunday Everyday sweatshirt (with a hi-lo hem in a cropped length) from Ensemble Patterns. It’s a wonderful pattern but you can also use whatever fave pattern you have on hand.
So, let’s get started.
Supplies you will need:
+ Sweatshirt pattern of your choice, (see below for some of the things to look for or use the Sunday Everyday like I mentioned)
+ Twice the amount of cotton fabric the pattern requires for a sweatshirt two sizes too big for you. For me, this was 6 yards.
+ At least 3 yards of quilt batting, preferably with cotton content. I like Fairfield’s Soft and Toasty* because it is lightweight and has all-cotton content which is good for staying breathable and washable. And, I’m not just saying that because I work with them. It’s just great stuff)
+ Standard Sewing Supplies including a clear cutting ruler.
Making Quilted Fabric:
To make your own DIY quilted sweatshirt, choose your favorite sweatshirt pattern and then as I mentioned, GO UP AT LEAST TWO SIZES from the size your measurements indicate. Since the quilted cotton fabric will not have any stretch and sweatshirt patterns are designed assuming fabric can stretch, you need to make sure you go up at least two sizes. The reason I had to solicit my beautiful friend Laura (up there) as a model is because I only went up one size and I didn’t fit in my own sweatshirt. Rookie mistake.
So, don’t be like me! Go up two sizes. Got it? I also suggest going with a cropped length because it eliminates any worry about fitting over the hips. Also, it looks pretty cool.
To determine how much fabric you need, identify what is required for the size in your (oversized) pattern and DOUBLE IT. Since you will be quilting the fabric it will be double-sided and therefore require twice as much.
Once you have determined your size, your fabric needs, and have your pattern ready you can begin making your quilted fabric.
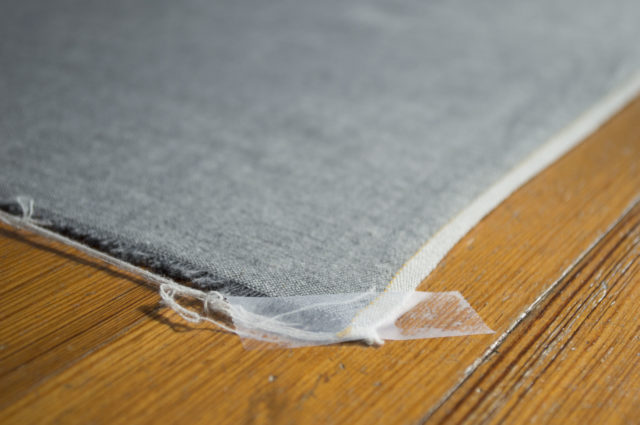
Start by cutting your full length of fabric into two equal pieces. One of these will be on the bottom of your quilt sandwich and one will be on the top.
Tape one portion of your fabric onto a hard surface with there right side down.
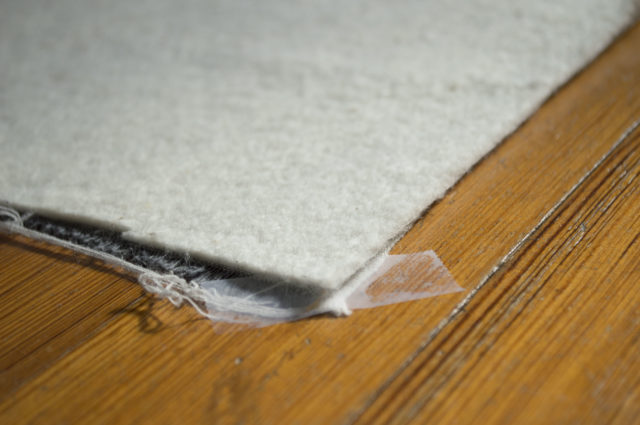
Place your quilt batting of the same size as the fabric on top of the taped fabric. Smooth it to remove any bumps or wrinkles.
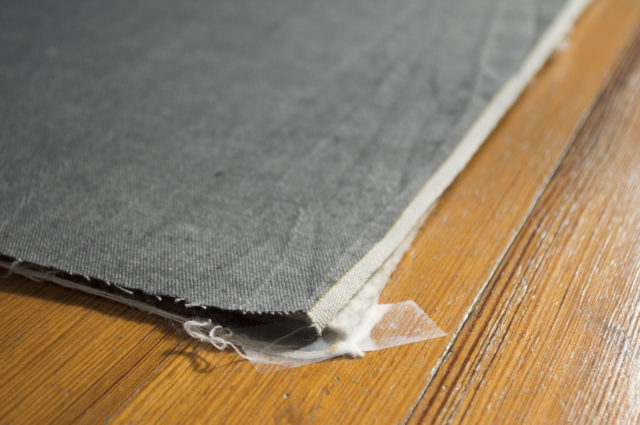
Place the other equal-sized piece of cotton fabric on top of the batting, right sides up.
Using your quilt pins, pin through all three layers throughout. Ideally, you will be pinning at least every 5 inches or so. You want the layers to shift as little as possible during this process and you want to keep all three layers flat and smooth.
If you have quilted before, this process will be very familiar.
Once all of the fabric is pinned and stable, you can begin the quilting process. If you are interested in diagonal quilting lines follow the my instructions below. If you prefer quilting lines that are straight across or up and down, simply draw a straight line somewhere near the middle of your fabric and begin quilting, working outward from the middle of the fabric.
Let’s create your diagonal quilting lines now.
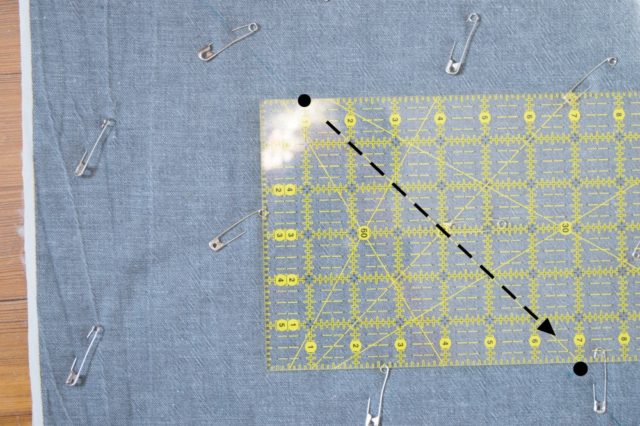
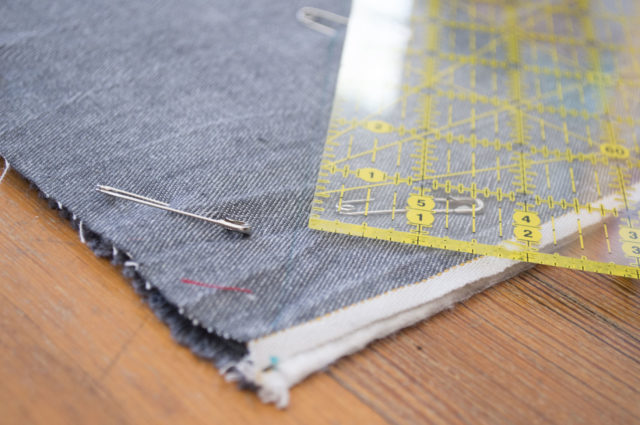
Place your clear rule up against an upper straight edge of the fabric and align the 45 degree line with the selvedge edge of your quilt sandwich.
Mark, with your marking tool, where the 45 degree line meets the edge.
Following the 45 degree line down the length of the fabric, place another mark.
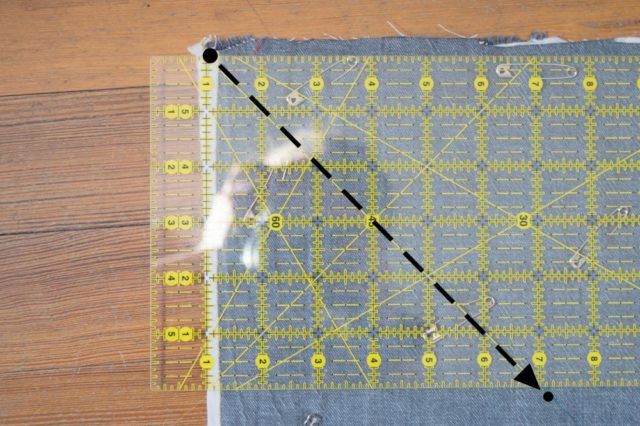
Move the clear ruler so that the top of your 45 degree line aligns with the mark you just made and repeat the same process as up above.
Continue on in this manner until you read the other side of the fabric.
Now, connect all of your dots! Place the ruler so that it aligns with all the dots your made and draw a line with your marking tool.
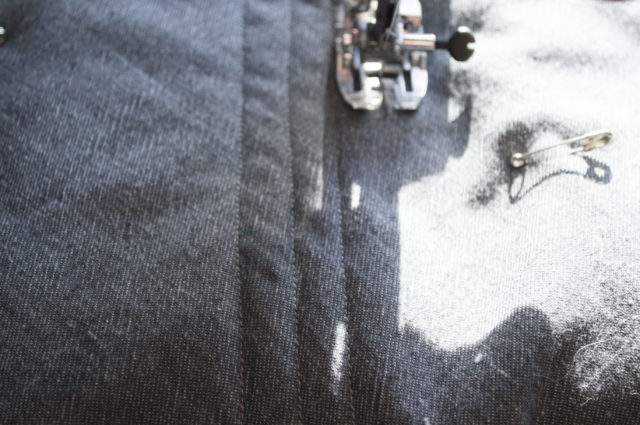
Sew along this line. Continue to sew even lines to the left and right of this first line. If you have a quilting gauge, it will be very helpful.
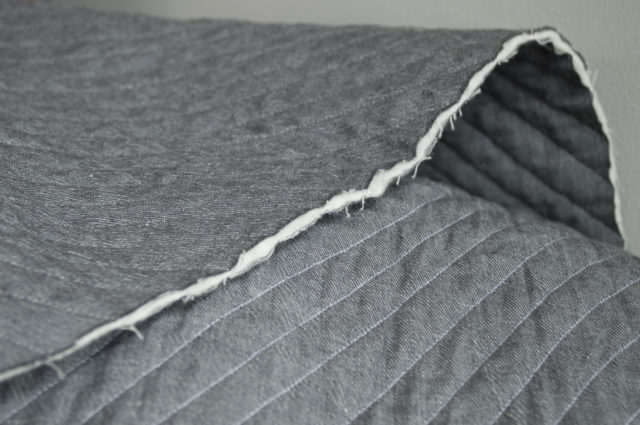
Continue until you have quilted all of the necessary fabric. A quick note: resist the temptation to start your quilted lines at one corner and work outward. If your fabric shifts you will end up with a bit of a mess. You really do want to create this line down the (near)middle and then create lines to the left and right of the original quilted line so any shifting of fabric isn’t such a big deal.
At this point, you will use your fabric as if it is regular sweatshirt material and construct your sweatshirt following the instructions that accompany your favorite sewing pattern. As I mentioned, I used the Sunday Everyday sweatshirt (with a hi-lo hem in a cropped length) from Ensemble Patterns.
Additional Small Pattern Tweaks you Might Like/Need:
You may want to switch out the standard neckline and arm cuff for a bias tape finish. This is desirable because most patterns assume you will be able to stretch the fabric at the neckline and arm cuff but your created fabric won’t stretch.
If you don’t want a bias tape finish and prefer to add a cuff and a neckline you have two choices: 1. You will need to lengthen both the neckband and the cuffs as your fabric won’t stretch to fit the size of the wristband or neck opening. or 2. You can use ribbing fabric to complete the arm cuff and neckband. Either option will work just find, it only depends on your preference.
You MAY also find a similar issues with the waistband. Remember, the fabric doesn’t stretch. So, you probably want to lengthen the waistband as well so it is the same length as the sweatshirt body.
Enjoy! It’s the perfect campfire or chilly spring day sweatshirt, DIY style.
Note: This post contains affiliate links for quilt batting. If you do purchase something through that link it helps support my ability to keep writing on this blog. I really appreciate that support but also need to encourage you to look for this product at your local quilt store. Either way, be sure to support small when you can! Thanks.

Cute! Your friend is very lucky!!
Aw, thanks!
Some of my old 1980s Burda magazines feature patterns with decorative quilting sections (eg celtic crosses) using sweatshirt fabric. You do the quilting before you trace the final size of tbe piece to make sure it is true to the pattern size, but you end up with a custom quilted low stretch top or dress. No need to stick to woven fabric for quilting.
Ooh, I love this Karey! So many fun possibilities. I’m guessing the quilting still limits the stretch-ability but not as much as with woven fabric. Genius.
wonderful thank you for sharing