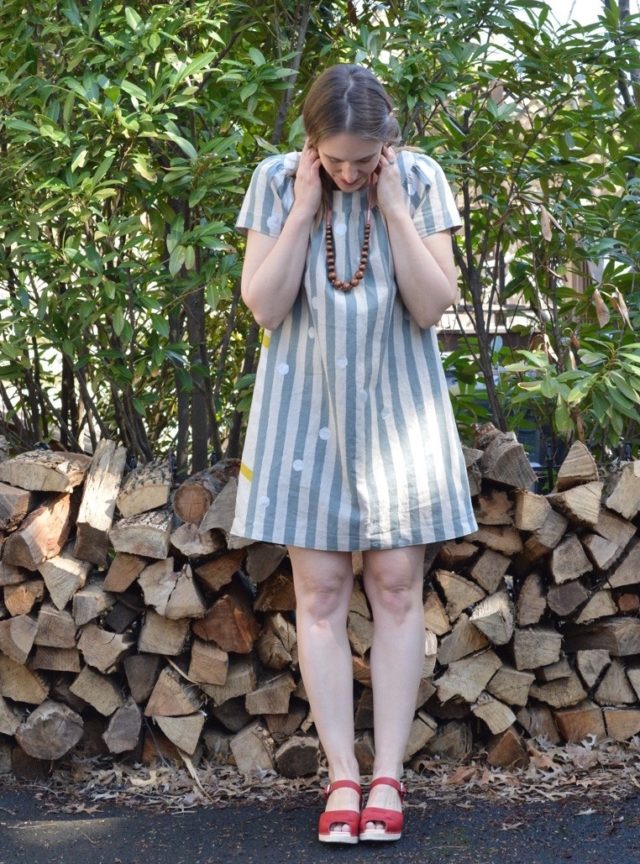
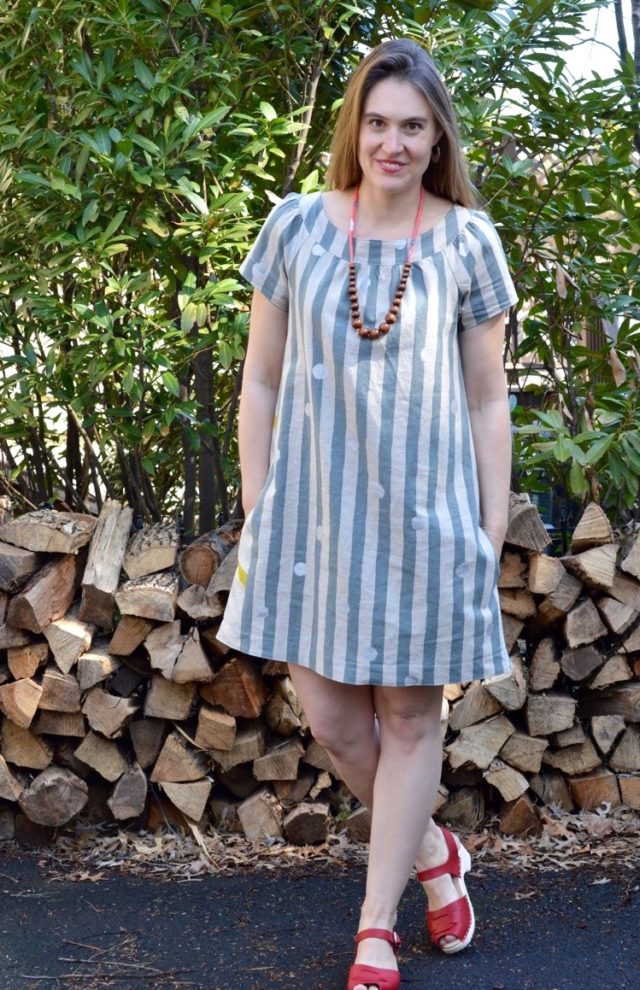
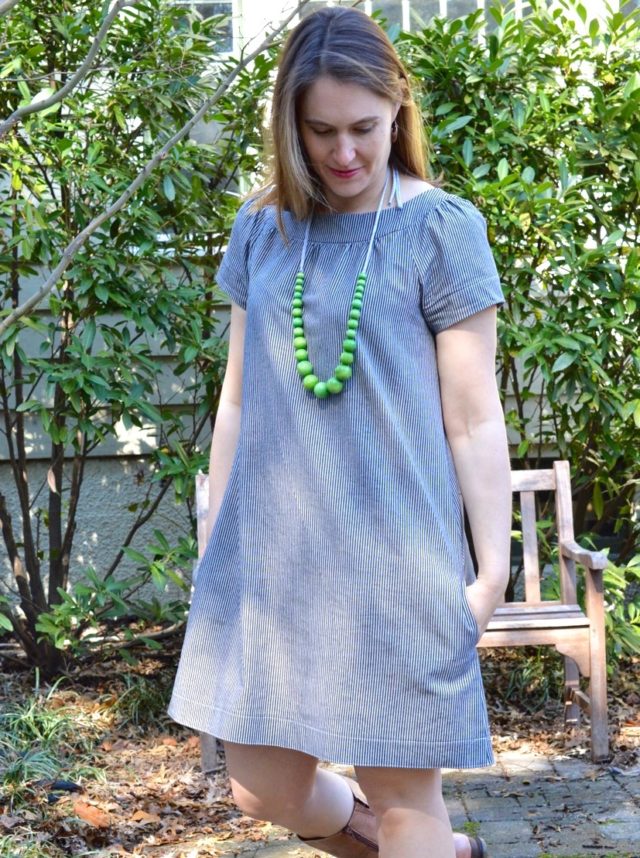
Apparently, I have a theme. Well, besides the ever-present theme of “Look! I turned a top into a tunic/dress!” Ok I have two themes. The one you don’t know about yet is this: Project Sew It encourages me to tackle those ideas that I’ve been thinking about for a long time and haven’t gotten to either due to fear or fear of how time-consuming a project might be. So, basically just fear. Ha! Last month I finally made a Minoru Jacket and for my March project I hacked the Sailor Top pattern to transform it into this here Sailor (Top) Dress. Really, it’s a tunic, I suppose. But it is long enough to wear without leggings and, in my mind, that makes it a dress.
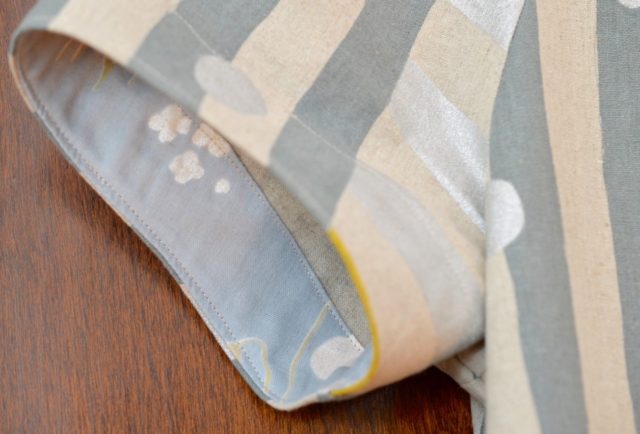
I got a bit fancy with the neck and sleeve yokes and put in double gauze from Nani Iro that I ordered from Miss Matatabi a while ago. I love little details like this, they are little secrets between me and my handmade wears.
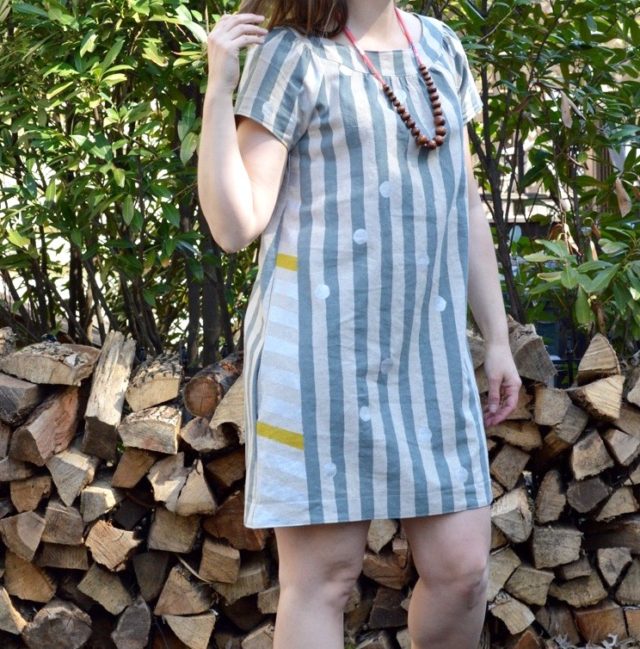
I really love the dress fabric, it’s a linen-cotton blend from Kokka, called Echino line b. It is also from Miss Matatabi and I like it because it is playful but still wearable. I thought it was fun how the stripes worked out on the side.
Doesn’t my sailor (top) dress look good with my Madre Beads!? I tell you they are the perfect accessory. (P.S. I would call it simply a sailor dress but that brings to mind those skimpy sailor girl Halloween costumes. Yuck, I can’t handle that.)
I got it in my mind to transform the sailor top into a longer dress soon after making my first sailor tops. I love how the neckline sits on the Sailor Top and knew that I would get lots of wear out of a dress with the same neckline but also with pockets. I also found a few fitting issues with my original sailor tops that made them uncomfortable after a full day of wear. This project was my attempt at making a wearable dress that addresses those fitting issues. My first attempt was with a railroad strip lightweight denim-ish fabric bought at Rock Paper Scissors. I was really happy with this version and have worn it a few times already but I did decide to shorten it a few inches on the second one.
My final modifications:
+ I added 1″ to the length of the top yoke. I found the original pattern a little tight in the back and shoulders and this small addition made it perfectly comfortable. Because of the gathering at the yoke, I didn’t need to make any other adjustments to accommodate this addition.
+ I dropped the arm scythe down 1/2″ on each sleeve which also loosened the fit. I did need to add a 1/2″ to the sleeves as well to make sure everything lined up. Thanks to Beth at Rock Paper Scissors for these great tips.
+ I added pockets with complete guesswork. I estimated where would be comfortable to reach down and find a pocket and then drew out a simple kidney-type shape with a straight edge and attached those at the side seam. On my first dress, the pockets are a little low and small so I moved them and made them bigger.
+ I added 11″ to the length.
Not too much work for a perfectly quirky, wearable, everyday dress, right?! Of course! Another win for Project Sew It!
Hey! Selfish Sewing Week is in full swing! Are you playing along? I’m a bit behind on blogging but hope to share soon. Of course, selfish sewing is a bit of a misnomer for me considering I’m usually sewing for myself but I still love to participate.

You have totally inspired me to make one! It looks so great and so wearable!!! And thanks for the shout out about the arm scythe and sleeve adjustment. xox
Yes! Make one! How could I not give you credit? It’s genius!
I love your first one, the fabric choice is so cool! The stripes align so funnily at the sides!
Thank you. Yeah, I love my funny stripes!