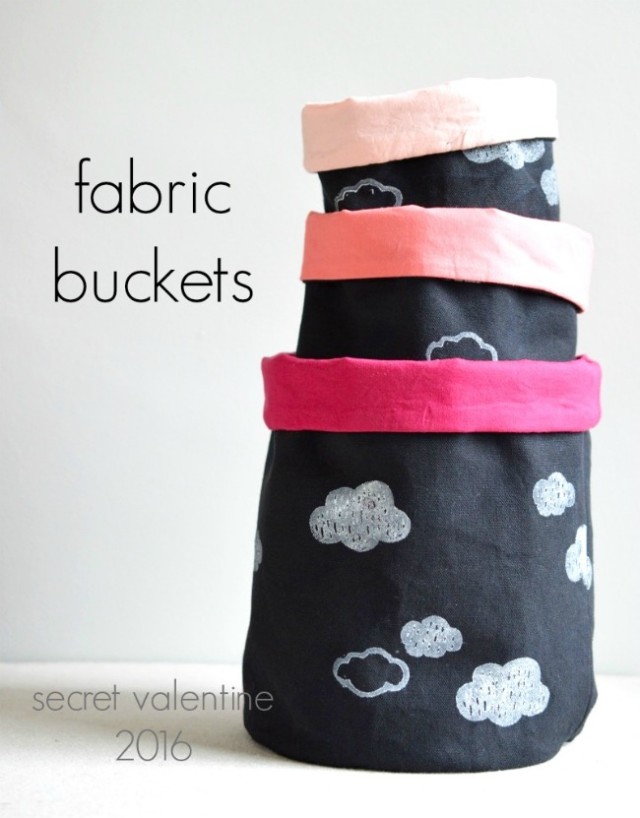
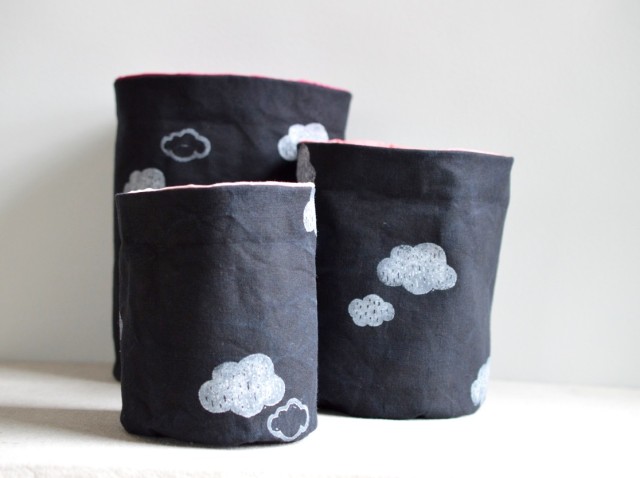
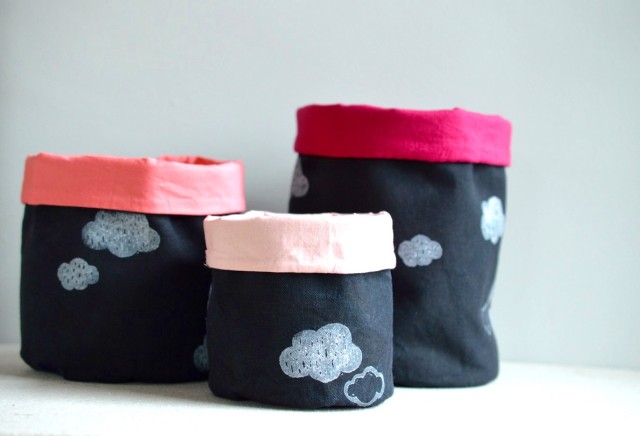
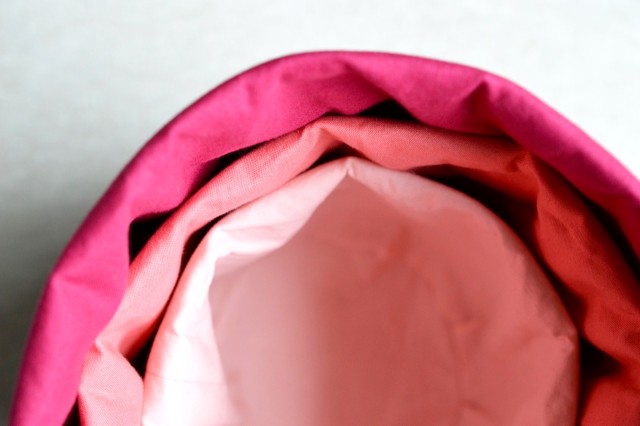
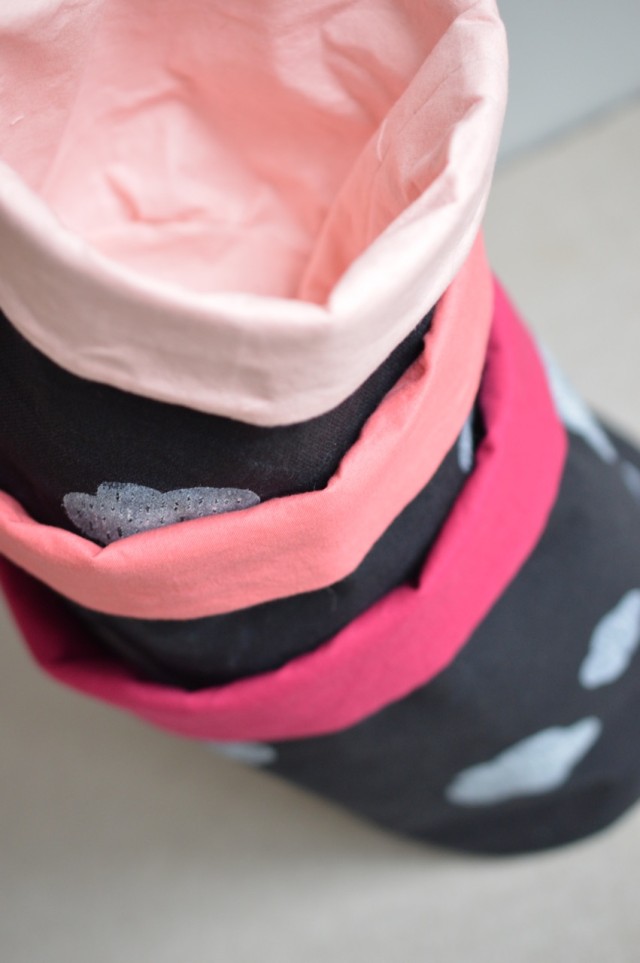
I’m not exactly sure how many years Sanae and Ute have been running the Secret Valentine Exchange but it seems like I’ve managed to miss out on it a million times. I honestly read Sanae’s blog religiously and every time I see it announced, I intend to sign up and then forget. But not this year! I signed up and participated and loved it. I received the best, beautiful suede-like bag and cement magnets from the lovely Aida. I feel so lucky! For my part, I made my secret partner these hand-stamped fabric buckets. They nest together and form a lovely ombre pink effect when they are all sat inside of each other.
I wanted them to be able to look good standing upright or folded over. That way, they are really versatile.
Ooh pink! I will be honest, I wasn’t much of a pink lover until these last few years. Now I don’t know what I’d without it. I still don’t wear much pink but I find it adds just the right amount of interest when it comes to other textile adventures. Plus, as this was a valentine’s gift I thought pink made the fabric buckets sweet but not too saccharin-esque.
I realize that Valentine’s Day is long gone but I still wanted to share how I made these because they make great organizers and even would be lovely as Easter baskets, don’t you think?!
So, here is a quick overview of how to make these fabric buckets.
Supplies: Canvas Fabric, Cotton fabric, mediumweight interfacing (such as this), a circular fabric cutter, and standard sewing supplies. If you want to hand-stamp your fabric you will also need rubber stamps (I hand-carved mine) and ink.
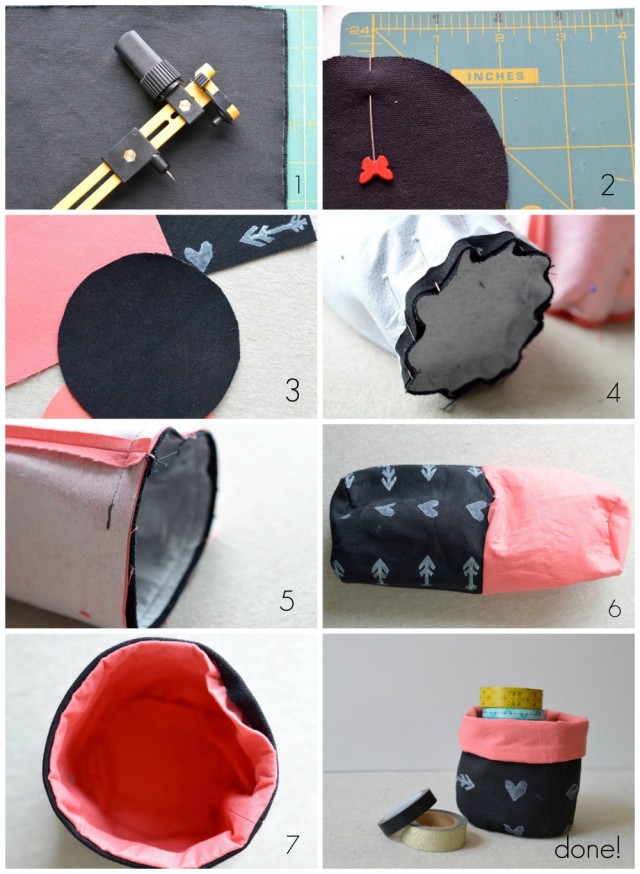
- Begin by cutting a circle out of the canvas fabric at the size you prefer with the circle cutter. I made this bucket with a 1.5″ radius. The radius is the measurement noted on the fabric cutter. Cut a second circle out of the lining cotton fabric.
- Determine the circumference of your fabric circle by placing a pin at one point on the edge of the circle and rolling the circle along a straight tape measure or other ruler. (I’m sure there is also some easy geometry you could do but this cheater method worked for me!)
- Add 1″ to the circumference measurement and decide how tall you want the fabric buckets to stand. For my 1.5″ radius bucket, the circumference measurement was 16″ and the height was 6 3/4″. Cut one rectangle out of canvas with using these measurements and cut an additional rectangle this size out of cotton lining fabric. Cut 2 circles and 2 rectangles out of interfacing and adhere the interfacing to their respective fabric counterparts. Using a 3/8″ seam allowance sew the short side of both rectangular pieces of fabric. You will now have two fabric tubes.
- Carefully attach the bottom of the canvas fabric tube to the sides of the circle and stitch with a 3/8″ seam allowance. Repeat for the lining fabric.
- Place the lining inside of the canvas bucket so they are right sides together and align the top raw edges. Stitch around the top leaving a 3″ opening.
- Reach into the opening and gently pull everything right sides out.
- Nestle the lining fabric into the canvas and slipstitch the opening closed.
- Get organized! You are done.
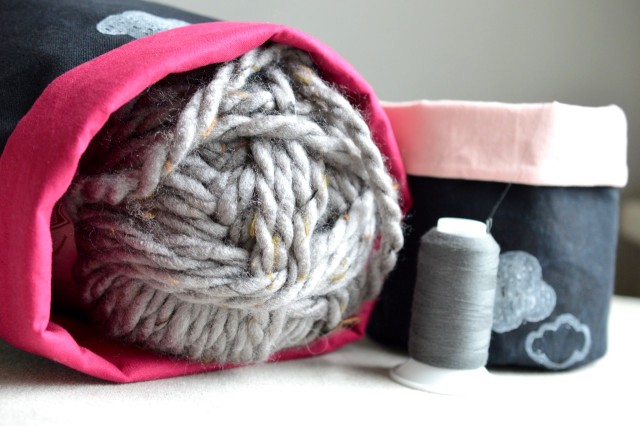
The baskets I made for my secret valentine were sized to fit small sewing supplies and other crafting items but would be great for holding keys or, as I said, chocolate from the Easter bunny. To make nesting fabric buckets, reduce or increase the radius of the circle base and adjust the height accordingly. Then follow the instructions the same way.
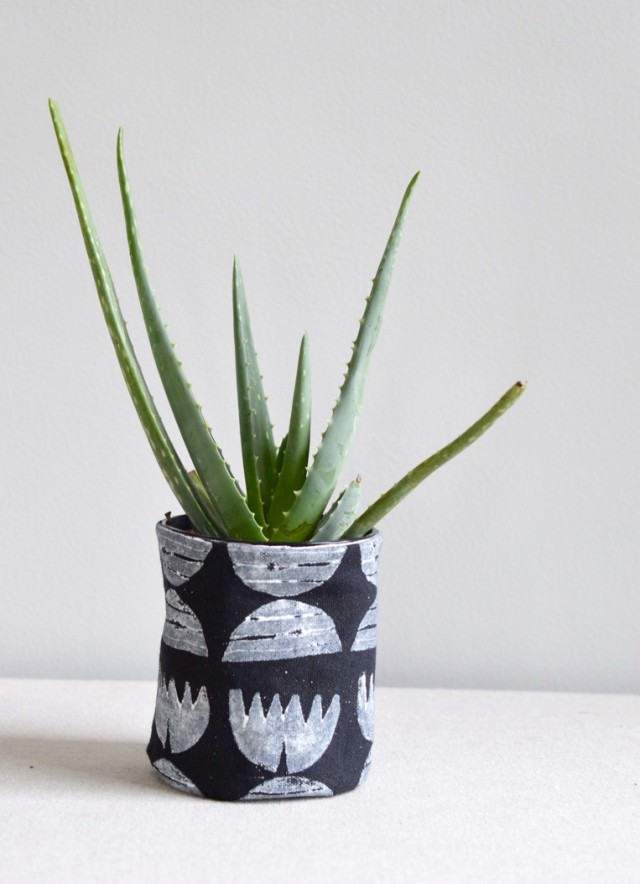
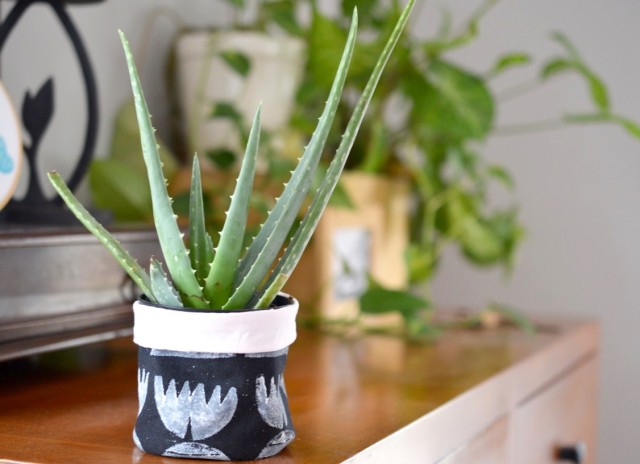
I also made an additional fabric bucket for myself and found the perfect aloe plant to put in it. I made sure that no water would leak out the bottom of the plant.
This print was actually made using potato prints. I hadn’t printed anything with potatoes in ages, probably since summer camp as a kid. It’s a really relaxing way to spend an afternoon. I love exploring how to work with and manipulate fabric. I had so much fun making these and love the feeling of working on something from scratch like this.
Did you participate in the Secret Valentine? I’m glad I finally managed to sign up because I really loved that it took me out of my usual garment-making routine and into something fun.
P.S. I made the impulsive decision to run a little giveaway on Instagram so if you aren’t yet following me over there, now is the time to follow and enter! Win your own circle cutter and other pretty things including the sample fabric bucket!

What fun buckets…and cute stamped designs!!! Thanks for the tutorial :o)
Oh man, thank you! It’s really nice to hear you like the tutorial. It was super fun to pull together.
Those look great! Super useful too. I just found your blog and I’m enjoying reading through your posts, I loved looking through your buy nothing new projects. xx
I’m glad you find it useful! That makes my day. Truly. I’m glad you commented so I could catch a look at your blog! Love all of your sewing projects!
These are SO cute! My home could definitely use some of these 🙂 Thanks so much for the tutorial!
PS. I love your blog’s name! It’s just so…happy!
Thanks so much! I’m glad the tutorial can be helpful. Fabric buckets are so fun. And, thanks for the kind words about the blog name…I’m partial to it. 🙂