I was recently invited to become a “how-to” contributor over at Terry Fabrics. They asked me what I wanted to make with their curtain weight fabric and I chose some of this great camper van fabric to make a drawstring bag. See, I got these two boys and as lovely as they are, tidy isn’t their thing. Their toys have taken over much of our home despite my best efforts to keep things tucked away and organized.
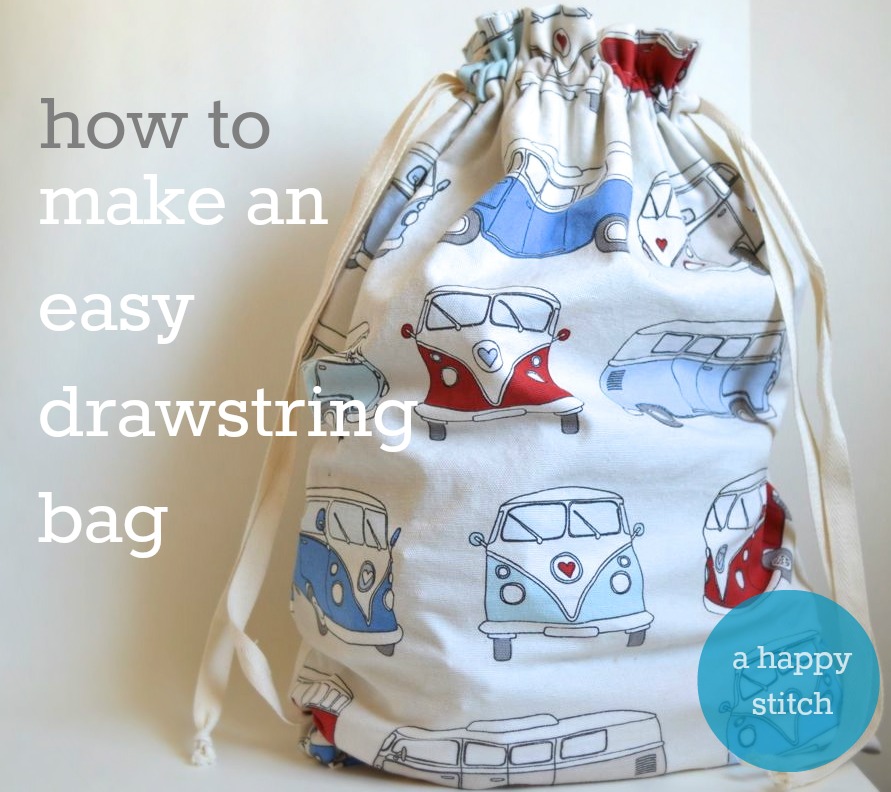
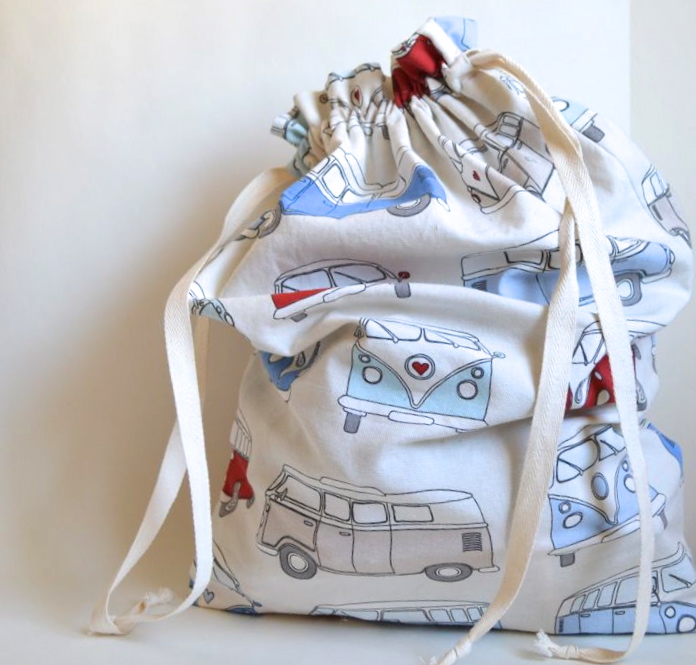
In my most recent attempt to organize and de-clutter I purchased fabric-lined baskets and sorted the toys into the baskets. And still somehow, more toys wandered into the house and the baskets overflowed into a mess. Argh! My solution was to make a custom-fit drawstring bag to hold one particular toy set taking up lots of space. Doesn’t that look nice? Or, at the very least, better:
Here is how you can make a custom-fit drawstring bag for yourself:
First, measure the toys by placing piling them up on a cutting mat (commonly used for sewing) or with a tape measure. Be sure to pile up the toys on top of each other because that is how they would sit in a bag.
Once you have approximate measurements you will add 1 inch to width and 8 inches to the height. Using those measurements, cut two pieces of fabric.
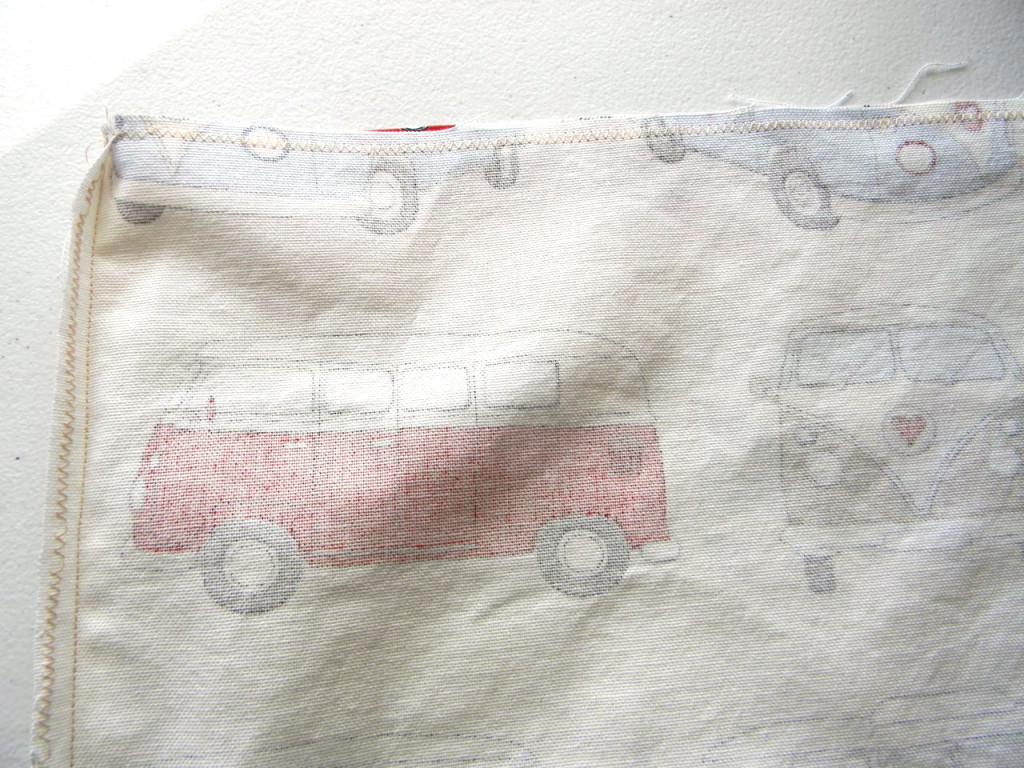
Face the fabric with its right sides together (the pretty patterned sides facing each other) and sew a stitch along both long sides and one short side leaving only one short side open. If you want to, sew a zigzag stitch at the end of the fabric to prevent it from unravelling.
The bag should look basically like a pouch at this point. Keeping it inside out, fold the top of the bag down 3 inches.
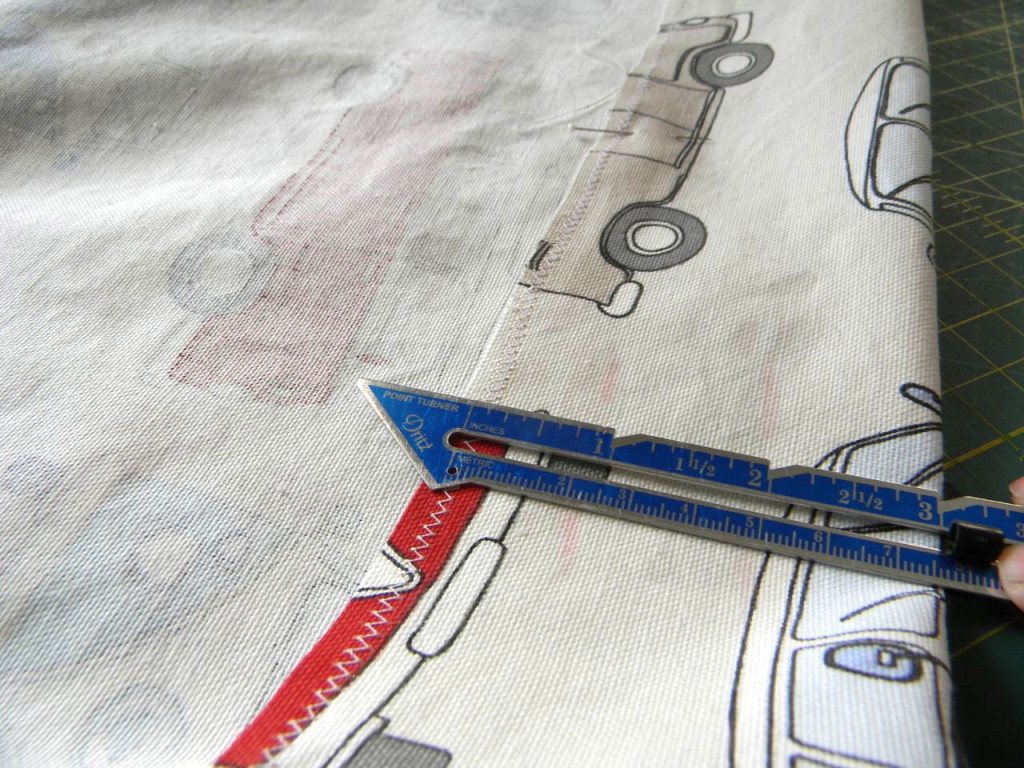
Using a measuring tool, mark lines at 1 inch down from the folded top and 2 inches down from the folded top all the way around.
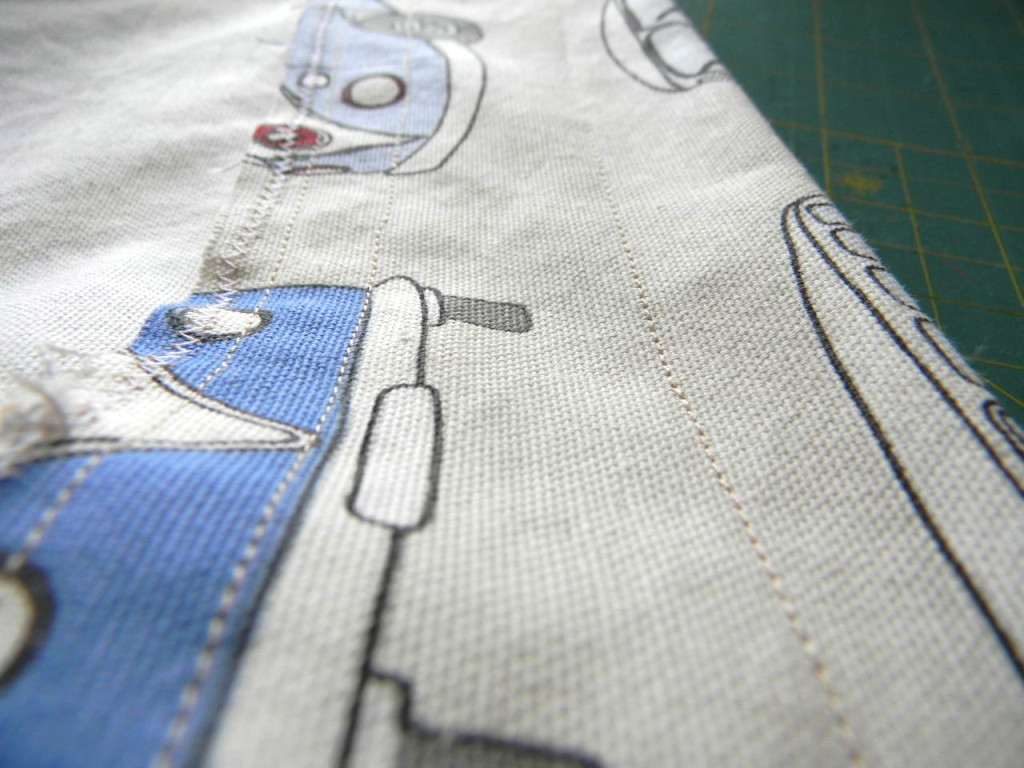
Sew on these lines and sew a third line 3 inches down as well for a total of three lines. Your third sewn line will be stitching next to the raw edge of the fabric. It should look like this:
You will notice that the stitches 1 inch and 2 inches down from the folded top have formed a tube, this will be the casing you use to insert the drawstrings.
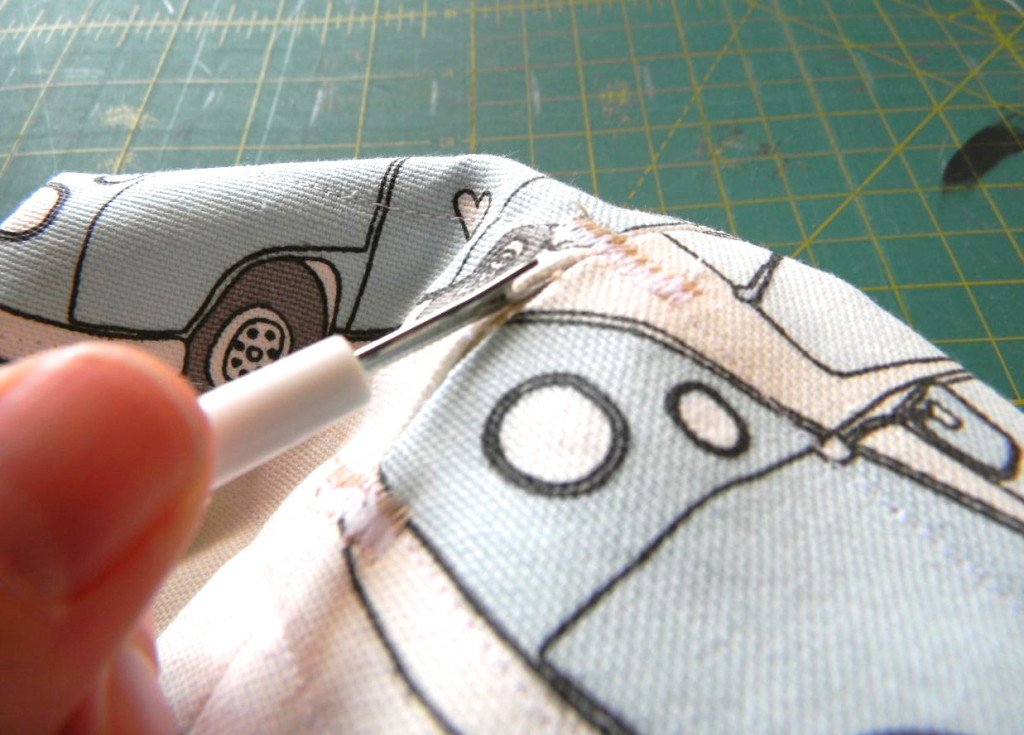
In order to make this casing, turn your bag right-side out and use a seam ripper to remove the seams from both sides of the bag in the area between these two stitches. If you want to, you can make a small zigzag stitch at the top and bottom of these seams to keep the area secure.
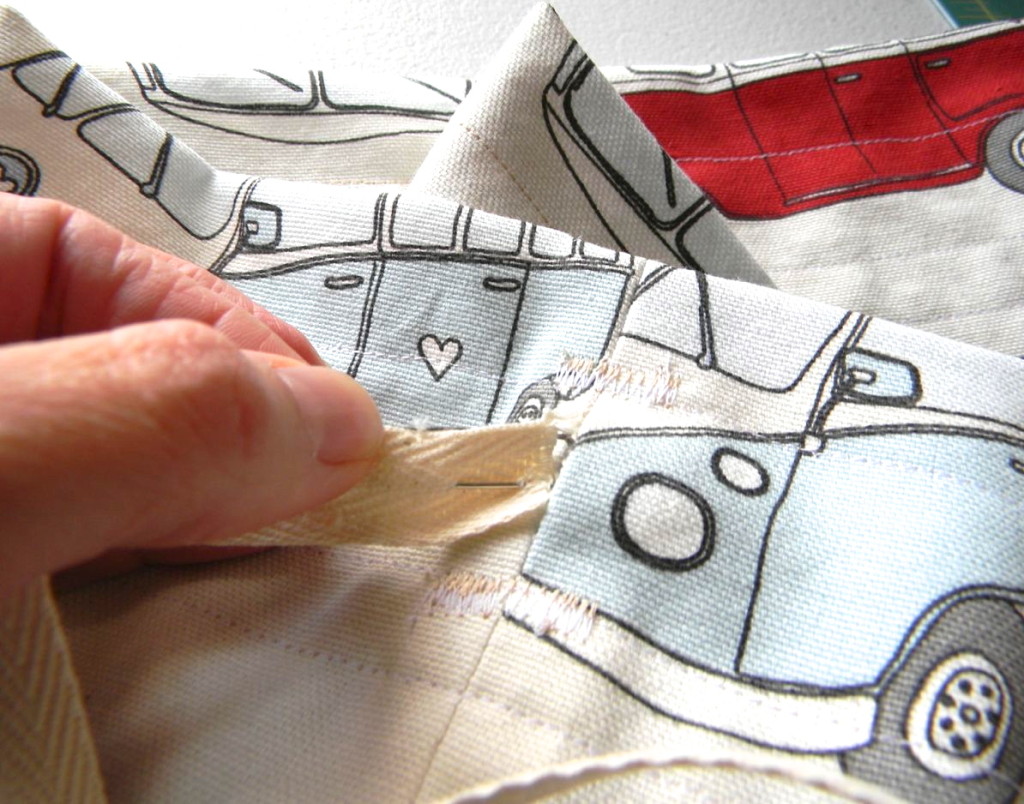
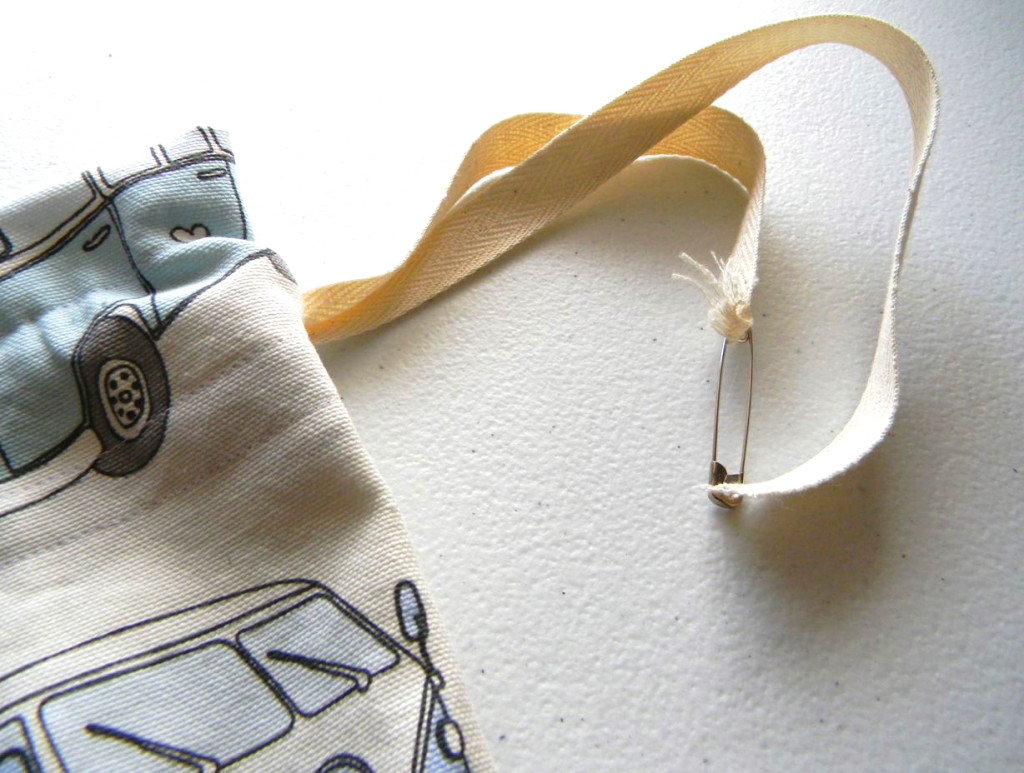
You are ready to insert your drawstrings! Begin by measuring the full length around the top of the bag and add eight inches to your measurement. Cut two ribbons or pieces of twill tape to the size of what you have measured. Secure a safety pin on the end of one of the pieces.
Use the safety pin to insert the twill tape into the casing your created and work it along the whole length of the casing you created.
Work your way, moving the safety pin with your fingers one full circle around. Wherever you inserted the twill tape, it should also come back out.
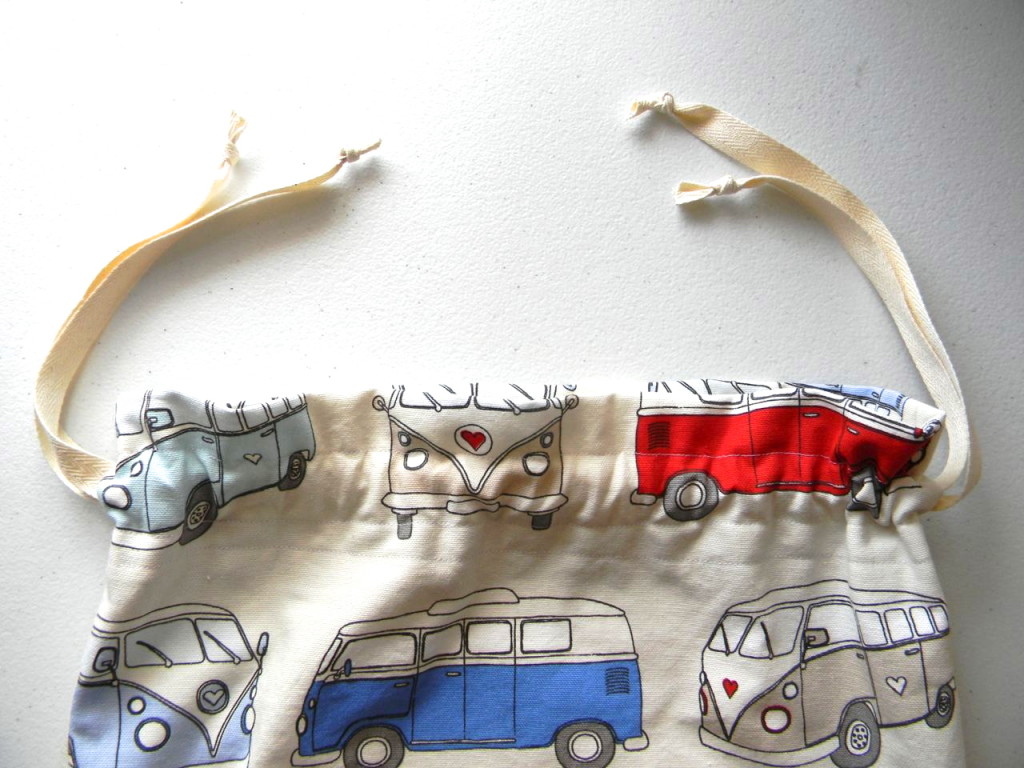
Repeat with the other twill tape. This will mean that you have one piece of twill tape going into and out of the left hand side opening and another piece of twill tape going into and out of the right-hand side opening.
When you tug on these they will tighten and close the bag!
Enjoy your organized toys! (For a little while, at least!)



Another great tutorial! I am going to make a couple of these to help keep our toys under control as well! Love the fabric you chose, too.
Glad I can be of service!
Adorable!
Thanks D. If I can appeal to your designer instinct I’m a happy girl! 🙂
Great idea! That fabric is tooo cute!
Thanks Amy. I’m totally in love with that fabric.
I just saw this on instagram and needed to see some details 🙂 Verrry cute. The fabric is amazing, I love that type of knit. I’m guessing there’s a specific name for the really sturdy knit… the kids love being in knits, as well, but knit fabric has been a difficult world for me to navigate. This is perfect! 🙂
Oh, thank you! Yes, there must be a name for this ‘sturdy knit’…I don’t think it’s an interlock, though. All I know is I love it. The trick to knits is use a walking food, a jersey needle and a stretch stitch (zigzag). Go for it!
So smart. I’m bookmarking this for sure.
Thanks for this tutorial. I looked all around the internet and this was the best one, have now made lots of these out of Ikea curtain offcuts and my house is steadily becoming less of a toddler state!
I’m so happy to hear it! Fight the clutter my friend!