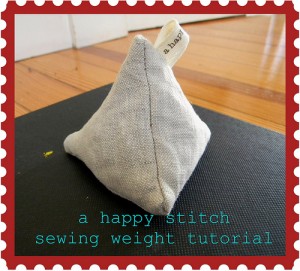
one of the women in my fantastic tuesday night class this week enthusiastically reminded me of how wonderful it is to sew with weights. (it’s not sewing while pumping ironing, which is how I’m making it sound.)
so let me explain because sewing weights are fantastic. by weighing down a pattern rather than pinning it, you can trace directly onto fabric (with tailor’s chalk or another marking tool) and skip having to pin things down. then you just toss the pattern aside and cut the fabric along your easy to see lines. no more fussing with straightening the pattern, pinning its fussy self down only to find it has puckered up and needs to be re-pinned. who has the time or patience for that? technically speaking, anything can be used as a handy sewing weight…soup cans, scissors, pincushions, etc. but, c’mon that isn’t very fun or very pretty. and, every once in a while it ought to be ok to indulge in making even the sewing process pretty.
so, now that you are sold on their unbelievable usefulness and the need for more pretty in the process, let’s get down to making one. I used random scraps of linen to make mine…it’s amazing how beautiful a little scrap of fabric can be and there is little more of a useful feeling than using up some scraps.
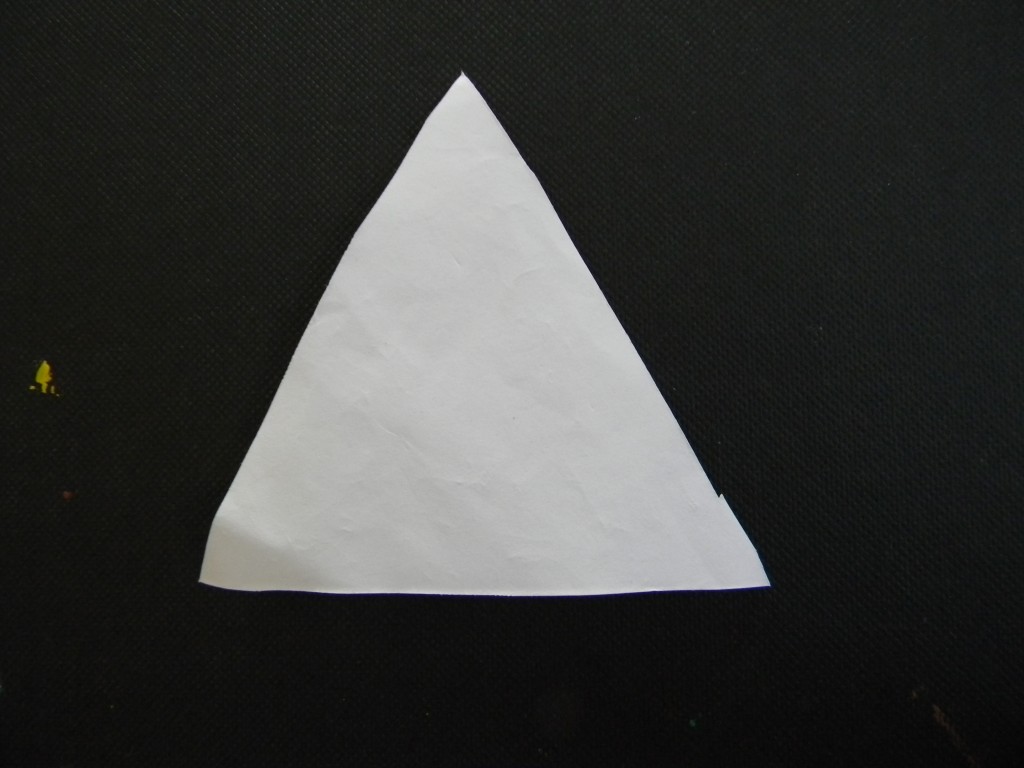
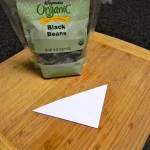
1. hold up a piece of paper and trace this triangle. yep, right on the screen.
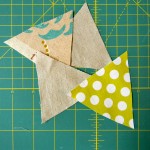
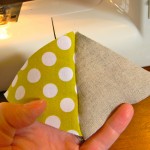 3. with a 1/4″ seam allowance sew together one side of two triangles.
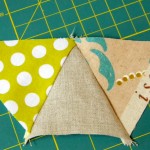 4. along another side of the triangle sew another triangle.
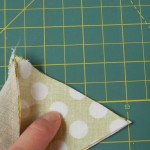 5. folding the middle triangle in half, match the final open sides and sew shut to form a three dimensional triangle.
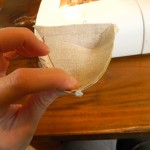 7. take the final triangle and set it along one side of the triangle you have already sewn. sew with the same 1/4″ seam allowance you’ve been using all along. this can get a little tricky, just be sure to sew only what you intend to and don’t miss something you mean to sew. (ha! I just realized that the preceding would be the rule for just about every stitch ever.)
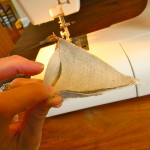 8. do the same stitch with the next side.
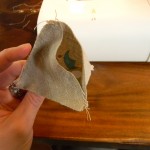 9. sew a 1/2 an inch or so at the beginning and end of the final side, leaving an opening of about 2 inches in the middle of the final side. then turn the whole thing inside out, exposing the pretty sides. (take a quick moment for a victory dance. it’s awfully pretty isn’t it!)
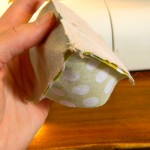
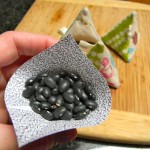
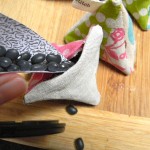
10. now…fill it up! you may want to fill yours with something heavier than beans (which is what I used but it doesn’t end up all the heavy…heavy enough but not super heavy). you could use metal bits from the hardware store, I’ve heard of people using that to give it some heft. i digress a bit. to fill, cut a corner off an envelope and fill it with your weight of choice. this forms a convenient funnel for pouring into the opening you made. it works best if one hand is holding the funnel while the other is holding the sewing weight opening.
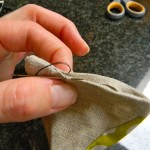 11. last, hand sew the opening shut using a slip stitch or other hand stitch.
now…go sew like mad with your handy-dandy weights!
p.s. filled with poly-fill this would make a great pincushion for a gift to someone else or yourself.

love it! and nice tip on the envelope funnel!!
yeah, I use that funnel trick all the time!
On vacation this week and I plan to make a couple of pattern weights. I agree, great tip on the envelope funnel. I was looking everywhere for a funnel and this makes it so much easier!
Thanks Gigi! Good for you, treating yourself to a little sewing indulgence.
You had me right up til you said slip stitch. 🙂 I really need a tutorial on hand sewing. I can do a lot these days with my machine but yeesh, I can’t sew a button!
JLJ, I can arrange that!