 I don’t want to boss you around or anything but you are gonna want to put down whatever you are doing and make a linen and pom-pom infinity scarf. Or, maybe make a dozen…just to be sure you are ready for the holidays. Why linen and pom-poms? Because, dude, they are amazingly fun together!
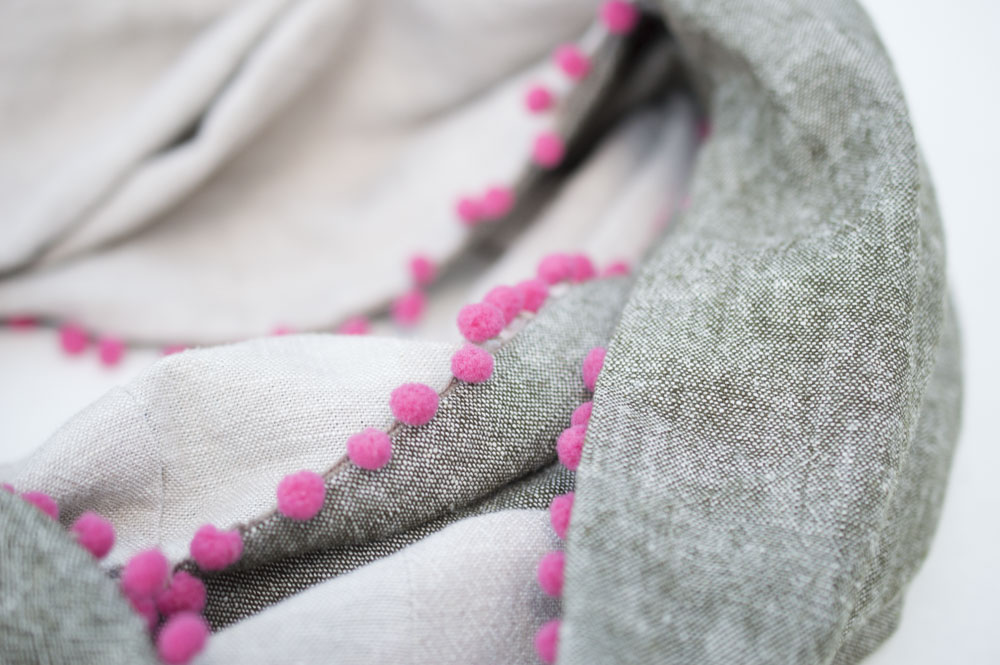 I was inspired to pull together this scarf when I saw a friend of mine wearing something similar and I couldn’t stop staring at it (most of my friends are used to this odd habit by now). I was smitten with my friend’s scarf and had to figure out how to create one for myself. The combination of neutral fabrics with the playful fun of pom-poms was just so perfect. I really strive to wear what I sew and this scarf has that perfect quality of being super wearable basic without being a boring basic. I have already worn in a handful of times. It was also so easy to make that I knew I needed to pull together a quick tutorial. I’m happy to show you how I did it!
I’m also really happy to get a chance to teach how to make them at Urban Sewciety in a few weeks. So, local friends be sure to join the class so we can ogle over them together.
 Supplies:
1 and 1/4 yard one color linen, pre-washed
1 and 1/4 yard different colored linen, pre-washed (or 2 1/4 yard of the same color if you prefer a single color)
4 and 1/2 yards of mini-sized pom-pom trim, such as this. Large-sized pom-poms will get too heavy and droopy so stitch with the minis.
Cut:
2 pieces 18″ by 37″ of each color linen
Cut your 4 and 1/2 yard length of pom-pom trim in half.
(If you are making a single-colored scarf, simply cut 2 pieces 18″ by 74″ and skip step 1 in the Sewing section.)
Sewing:
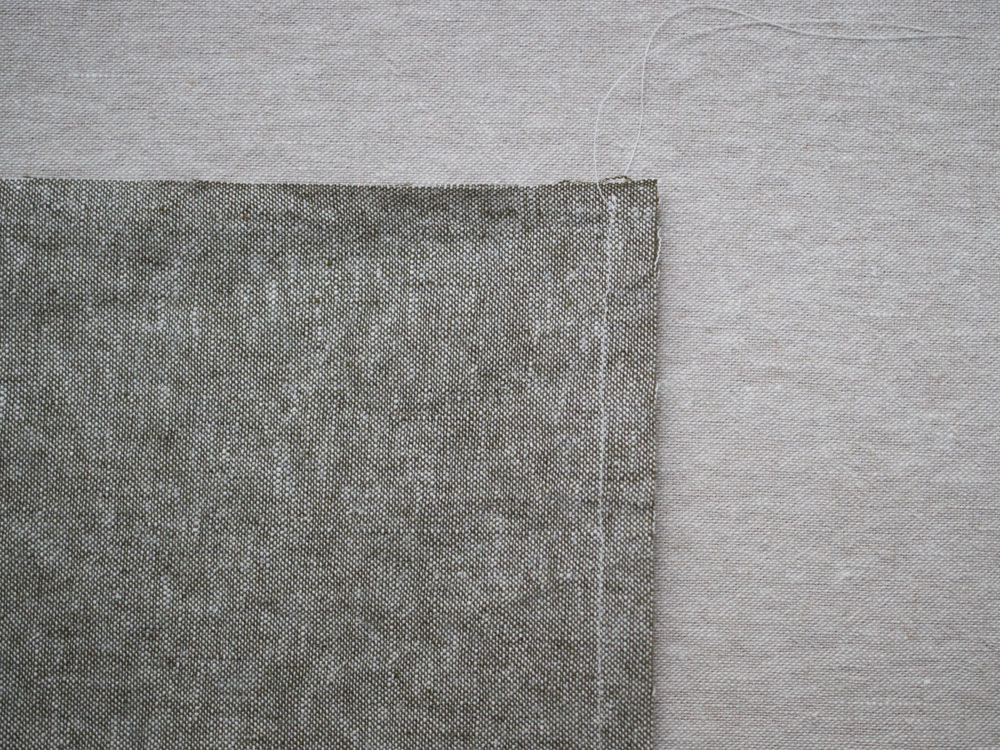
- Take the two pieces of same colored linen and pin the short, 18″, ends together and sew with a 3/8″ seam allowance. This creates one long strip of fabric. Repeat with other colored linen pieces. In my example, I used olive and black linen and I will refer to them that way to make these instructions easier to understand.
 2. Press open seams. Pin pom-pom trim in place along the edge of the olive linen. Pin pom-poms facing inward.
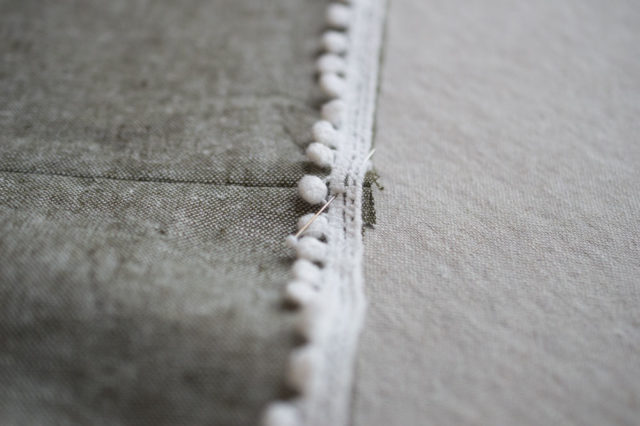 3. Put your ZIPPER FOOT on your sewing machine. Sew the pom-poms in place, using the zipper foot will help you secure the pom-poms in place WITHOUT sewing over any of the pom-poms. Those mini pom-poms are pesky, though, and make it too easy to accidentally stitch over. Just go slow and take your time!
 4. Pin the black linen, right sides together, with the pom-pommed olive linen piece.
 Note: Be sure to pin such that you will be able to see the stitch you created when you stitched the pom-pom trim. This will greatly help you sew later on.
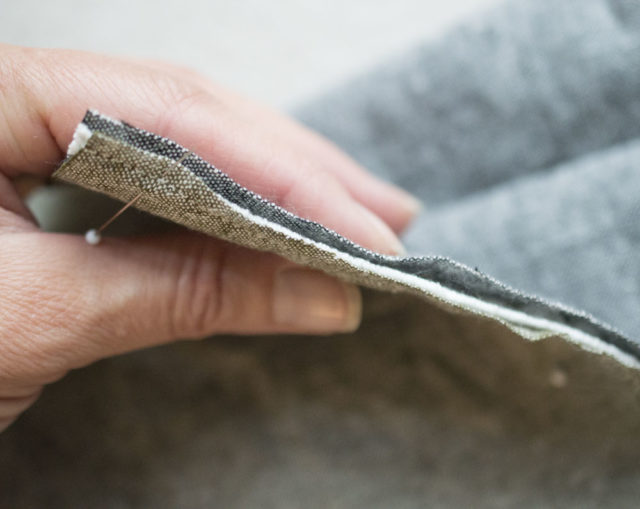
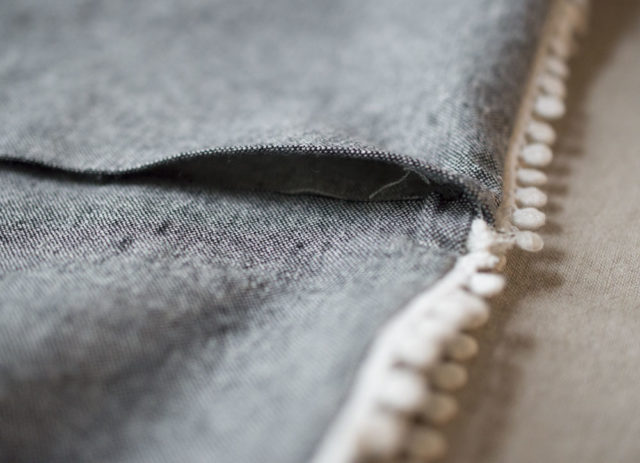
 5. Sew along both long sides, still using the zipper foot, by sewing over the pom-pom stitch line, this ensure you don’t sew over any of your itty-bitty pom-poms. DO NOT, however, sew the first 1/2″ and the last 1/2″ of the length, leave those un-sewn.
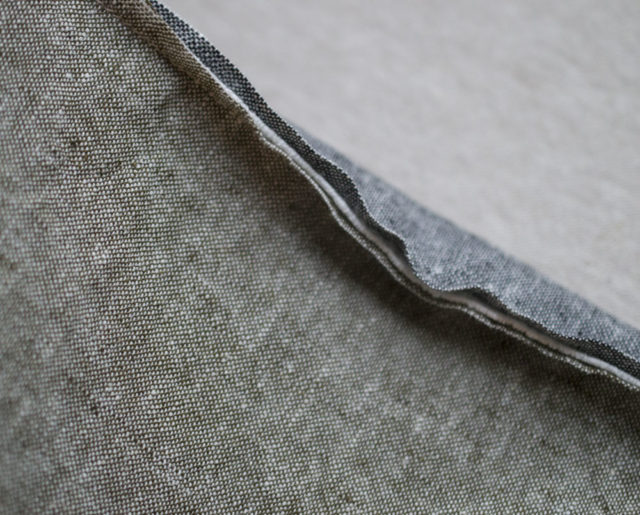 6. Pull the whole thing right sides out. You can press in place if you would like.
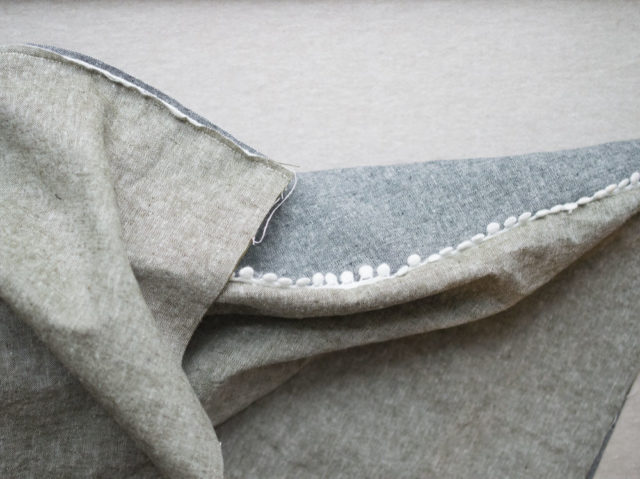 7. Along the short end, press back the black linen piece ( the linen without pom-poms) to get it out of your way. Place, right sides together, the short end of the olive linen pieces with pom-pom trim. You will want to use your standard sewing foot for this stitch so go ahead and remove your zipper foot. Pin in place and stitch, only though the olive linen, with a 3/8″ seam allowance.
 8. Press the seam and tuck it inside of the scarf. Press a fold toward the wrong side on the black linen, so it fully covers the seam opening.
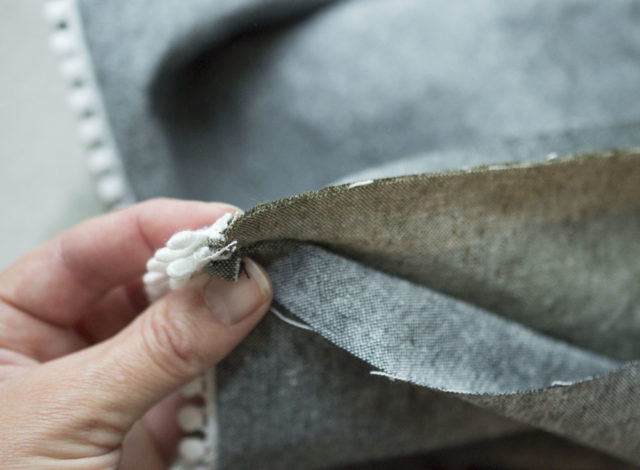
 9. Pin together, only pinning the black linen to itself to prepare it for a slip-stitch closure.
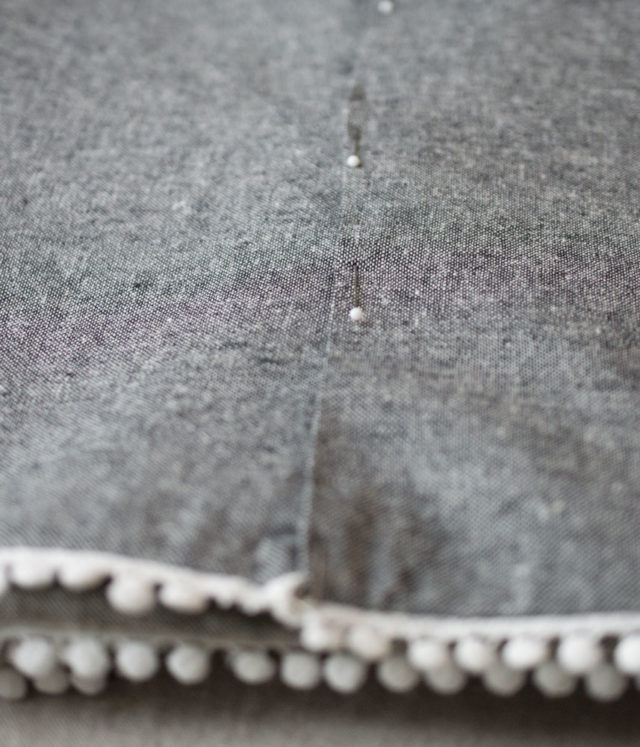 10. Prepare your hand-sewing needle and thread and fold the pinned black linen to be sure your olive linen side is out of the way. Close up the opening with a basic ladder stitch (there is a good tutorial on the stitch here).

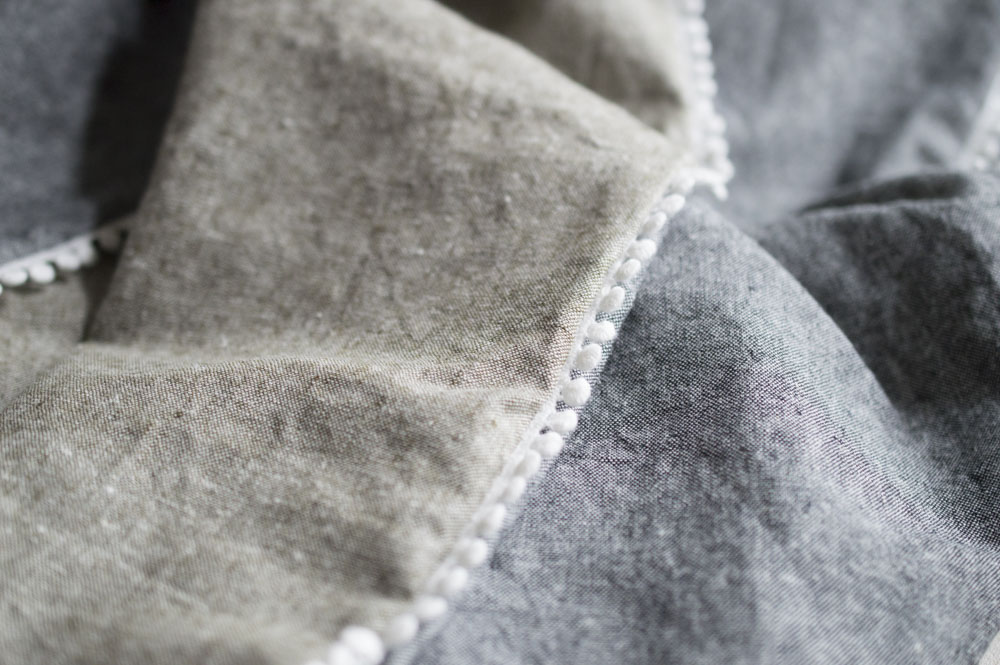
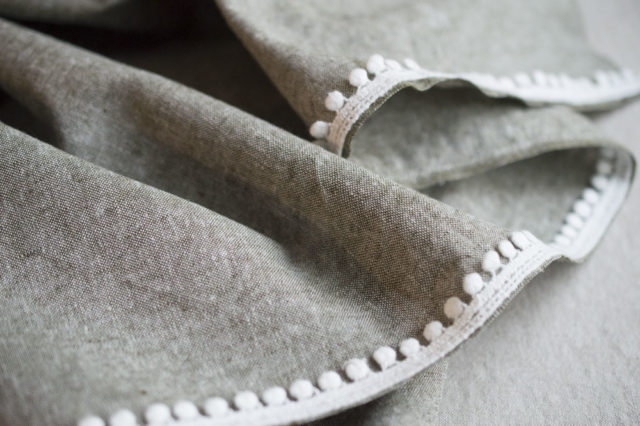
You are done!


Those pompom are sooo cute and playfull. Nice touch 🙂
Thanks Nathalie!
So cute! I have made many of these over the years and have flannel sitting around for a wintery one. A tip for sewing those pom poms: use a zipper foot! you can get close to them and not worry about catching them in the stitching.
Oh Erin! I’m so glad you mentioned the zipper foot. I totally forgot to put that in, I definitely used my zipper foot. And, now I’m going to edit that into the original. Plus, it’s a great opportunity to gain confidence with the zipper foot without having to put in a pesky zipper. 🙂
Melissa, I love this scarf – it’s so elegant yet fun! Thanks v much for posting – I look forward to trying this out over the next few weeks. Happy holidays and big hugs x
Hello Friend! So lovely to hear from you. Happy holidays and hugs to you too. I really hope you share yours. I am so sad we won’t be hanging out this December, was so much fun to hang out and catch up.