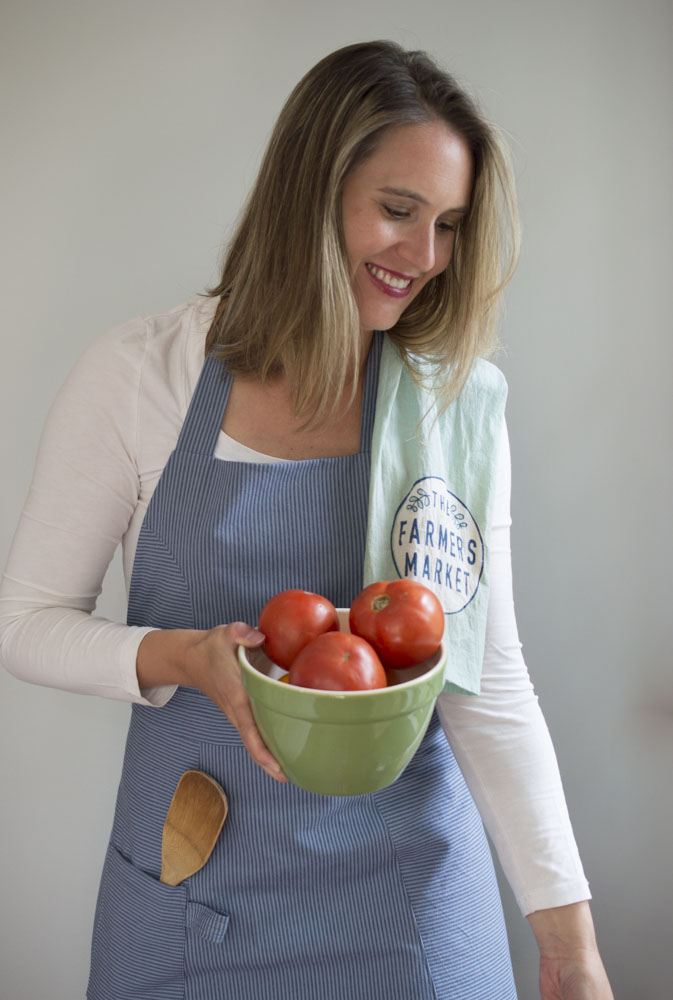
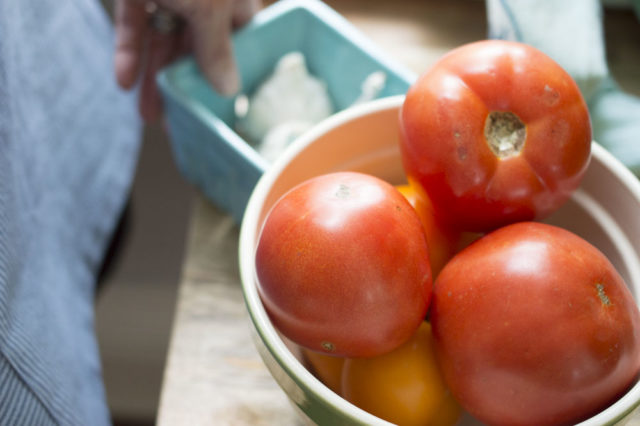
Oh friends. It is tomato season in New Jersey. I know people scoff when they hear New Jersey’s slogan is the Garden State but that is for real. The southern end of the state, especially, is full of farmland. And when it come to tomatoes the slogan is for real for real. You know the “Jersey tomato”? Well, my kitchen is swimming in these lovely, colorful, luscious golden globes. We belong to a farm cooperative, Honeybrook Organic Farms, (the oldest Community Supported Agriculture programs in our state, actually). Every year, around this time, we receive what feels like bushels of amazing tomatoes. On top of that, my kids ALWAYS buy me a tomato plant at the school plant sale. It’s just one plant but, man oh man, one tomato plant can really produce!? Either way you cut it, I am up to my ears in tomatoes and need to “can” them ASAP. (I don’t really know how to actually can tomatoes and am frankly terrified of botulism so I make freezer tomatoes). I knew I was going to need a good, sturdy apron to tackle the tomato issue so when Betz White asked if I would review her Craftsy class, Easy Modern Apron, I jumped at the chance. Thus was born my “So Many Tomatoes” Striped Modern Apron!
 Let start with the promised review of Betz’s class, shall we?
I haven’t taken a on-line class through Craftsy in a long time so it was interesting to revisit that format. Craftsy seems to have updated its style and look and I really like it. They feel more competitive with the style of Creativebug classes these days. You can speed up or slow down the class, do a 30-second repeat, etc. By buying the class you get access to the on-line course but also a pdf version of the pattern.

If you wanted to, you could just follow the pdf and not watch the course but I wouldn’t recommend it. Not because it’s complicated or anything but because you would really miss out on all of Betz’s great tips! Betz is, of course, a great teacher. She also has been sewing for so long that she’s got these little techniques she shares that are ingenious! Her use of a straw and a chopstick will change how I turn straps right side out from here on out! You do not want to miss out on learning from this master sewer.
That said, the pdf is really helpful the next time you make an apron and you don’t feel like watching a whole video to do it. Win-win.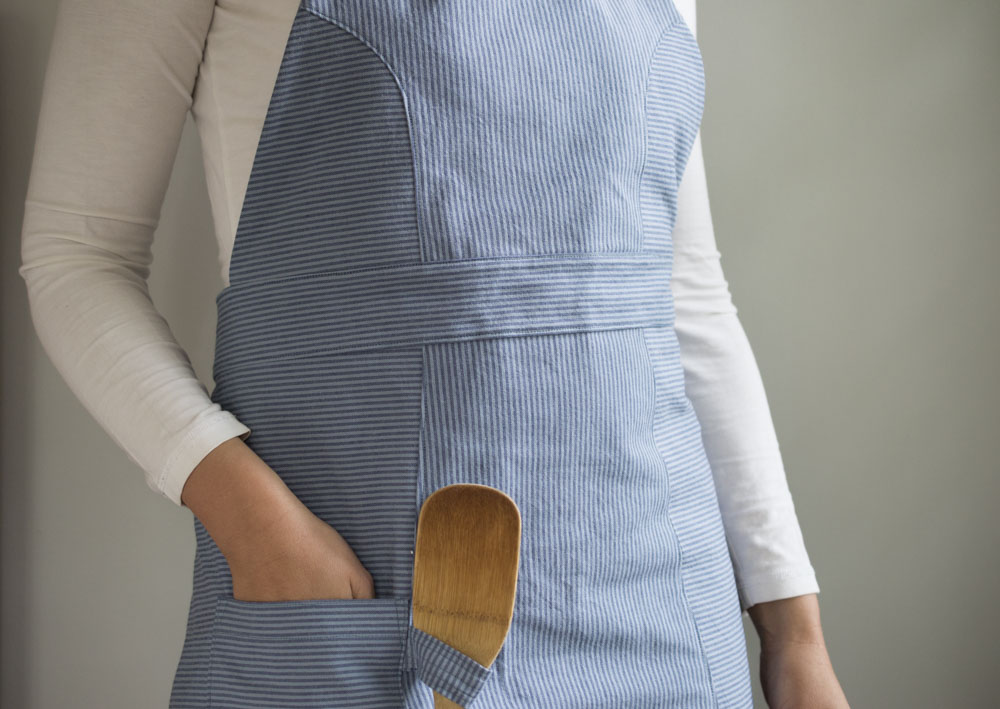
One thing that might annoy some people is that the class comes with just bodice pattern pieces and the rest of the pattern is measured and cut. This does NOT annoy me at all, in fact I prefer it. I’m faster and more precise when I measure and cut fabric than when I have to cut a pattern piece, place it on my fabric and cut around a pattern piece. For example, if a waistband is a straight 2″ by 33″ I just want to cut that out, man! I do not want to deal with weighting down and cutting around a pattern piece! I actually wish more patterns just told me what to measure and cut. Maybe that is just me? Anyway, I mention it because I have seen forums where people get upset about not having a pattern piece for everyone component. It’s a personal preference thing.
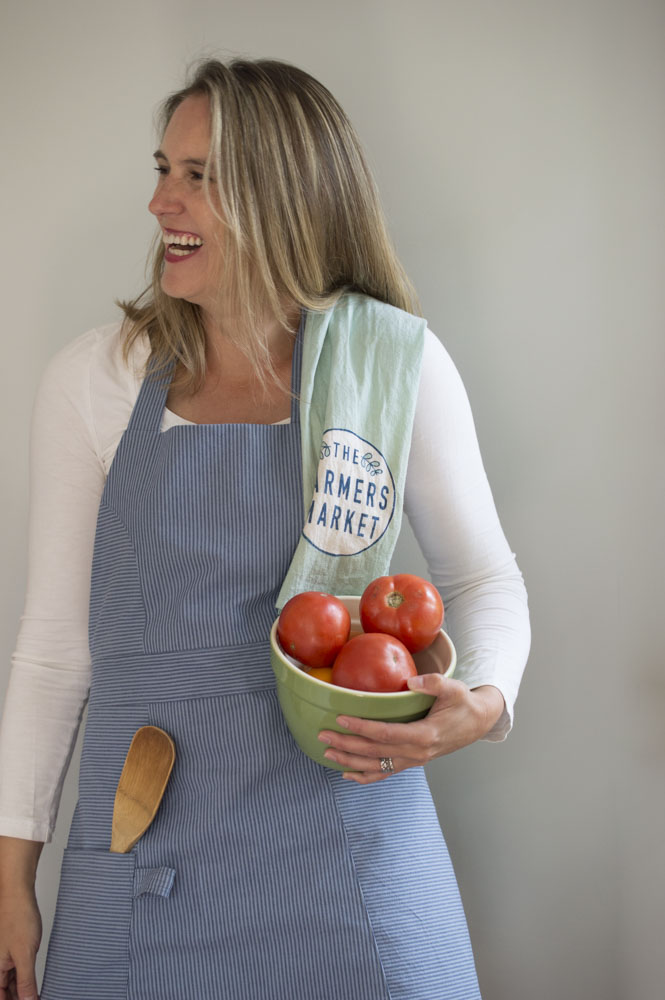
I chose this demure, stripe fabric for my apron but the fun thing about this apron (and really what endears me to aprons in general) is you can bust out the novelty fabric to make them festive and colorful or go with quieter and sophisticated. I think versatile is the word I’m looking for. They make fun holiday gifts, too. I think everyone in my life already has an apron. Ha. I sometimes can’t stop myself. So, this one was for me. Me and my tomato project require an industrial but feminine apron, apparently.
If you want in, you are in luck! My lovely blog readers get 50% off this Craftsy class by using this link. So, it’s a good time to try it out!
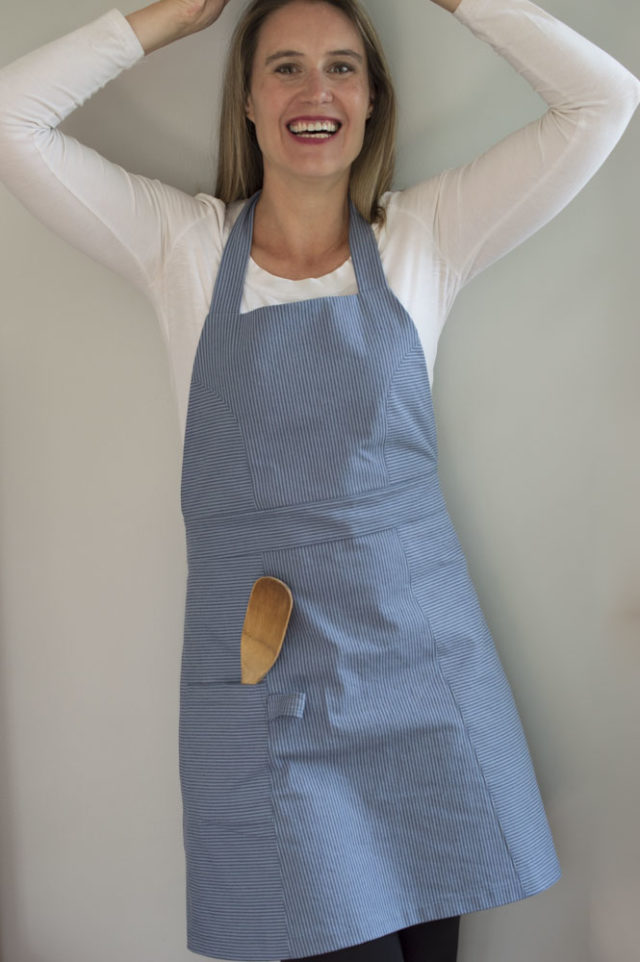
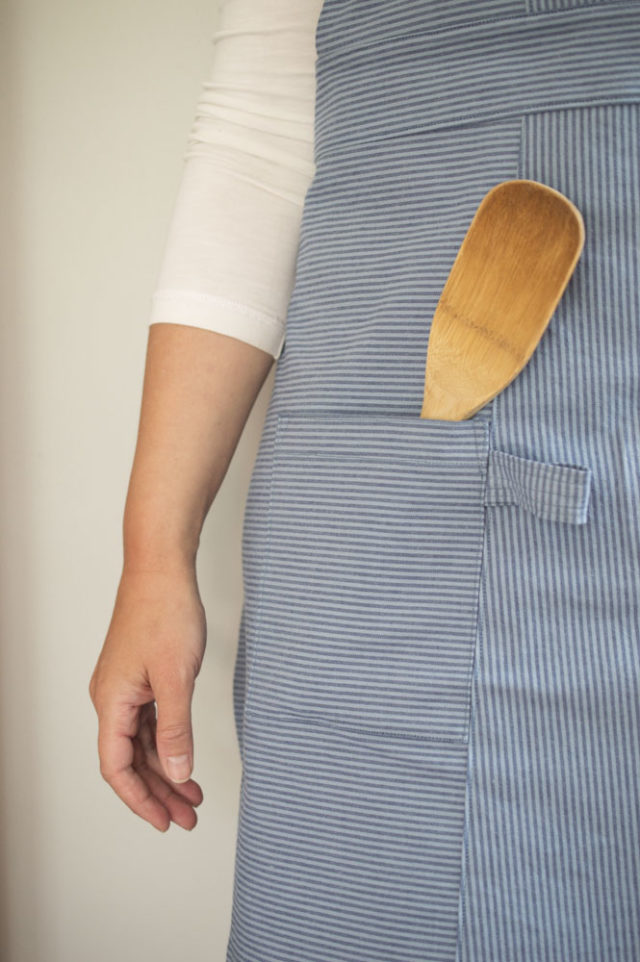 For my apron, I did change up the pockets. The pattern includes very cute, rounded pockets that I knew wouldn’t fly for my more masculine apron. Instead, I kept with the industrial kitchen-look by adding a tea towel loop and one square pocket. In case you want to replicate the look, here is what I did:
- Cut one loop piece at 1.5″ by 5″; Fold both long edges over 1/4″ and then fold those inward toward the middle until they meet. Sew four lines of stitching in even intervals to hold the folds in place. Create a loop by folding short ends toward each other. Set aside.
- Cut one pocket piece 6″ by 8″; make a standard hem at the top by folding over 1/2″ and then another 1/2″. Stitch along the folded edge. Fold over the other three sides 1/4″ to the wrong side. Stitch on pocket, placed where it is comfortable for your hand, with the belt loop placed just below the pocket hem.
So simple. Now, I need to stop and admire the amazing stripe matching going on with this pocket. Right?! Ooh, these teeny tiny stripes are a headache but so worth it!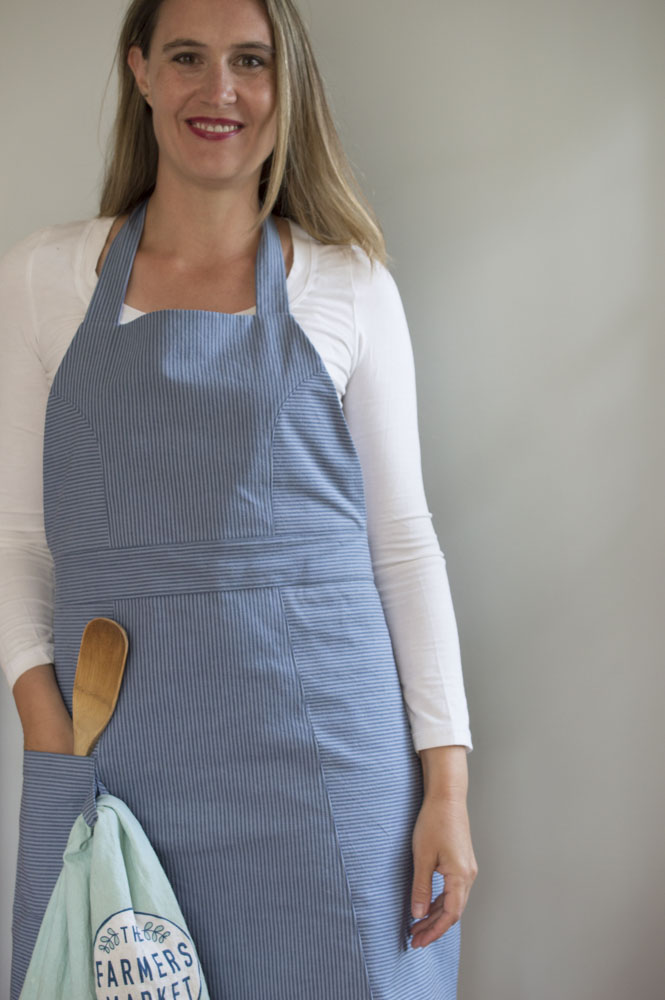
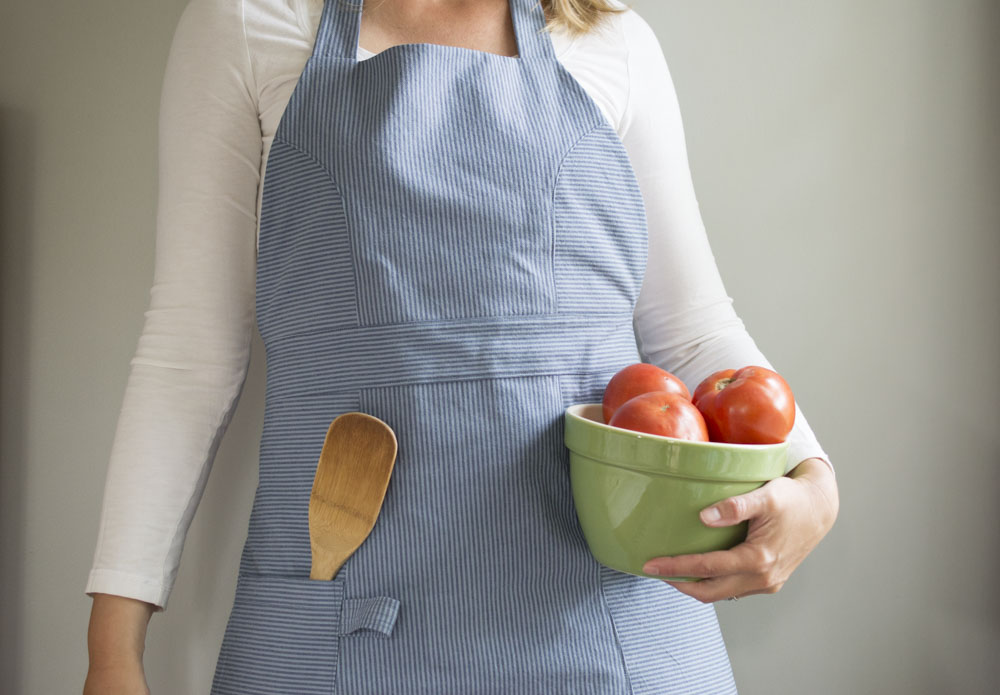

I’m very happy with my apron and can’t wait to initiate it into the mess that is my tiny kitchen. Nothing says fall like a long morning stirring tomatoes in the kitchen. Put some music on, like this tune, while the kids build legos….that’s the kind of morning I can melt into.
Don’t forget, you’re special so you get 50% off this Craftsy class by using this link. Good time to give Craftsy a try, right?
Note: I was given complimentary access to this class but was not otherwise compensated for this review. All opinions are my own, as always.

Thank you, I signed up for the class and just finished it today. I have a bolt of lightweight jean material that a friend gave me and I plan to make aprons for everyone this Christmas from the class.
That’s so cool! A bolt of denim…you lucky duck! Have fun.